views
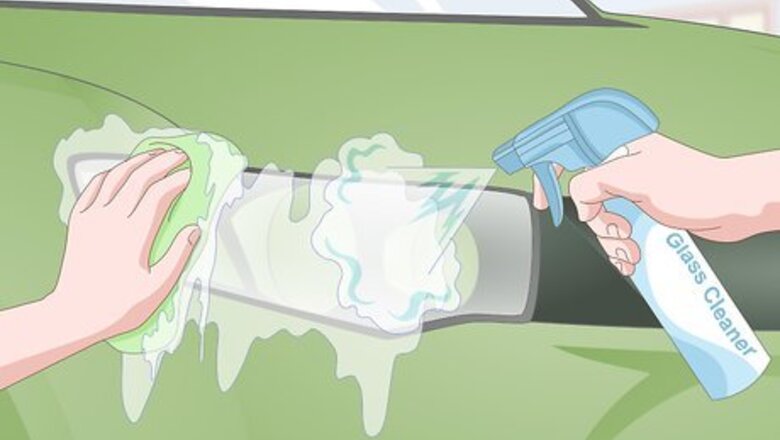
- Clean your headlights with glass cleaner or soapy water, dry them off, and then tape around your headlights with automotive masking tape.
- Coat each headlight with a thin layer of toothpaste. Then, scrub it with a microfiber towel, sponge, or toothbrush for 2 to 5 minutes.
- Spray the headlights with water and buff out the toothpaste. Then, coat each light with car wax and UV-resistant sealant.
Washing and Taping Your Headlights
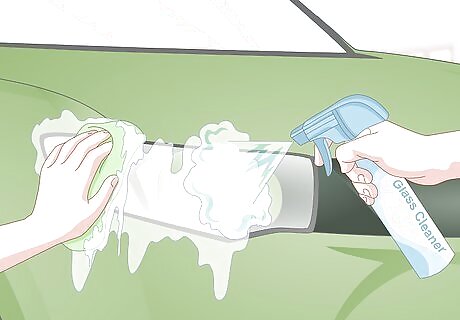
Wash the headlights thoroughly with glass cleaner or soapy water. Spray your cleaner of choice liberally onto both headlights. Then, use a lint-free microfiber cloth or soft automobile sponge to wipe away any dust, dirt, and stuck-on debris. Giving your headlights a quick wipe-down gets rid of the worst of the mess, allowing the toothpaste to work more effectively on what’s left.
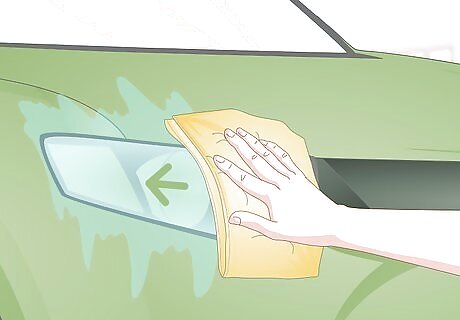
Dry the headlights with a lint-free cloth or chamois. Dab your headlights with a microfiber towel or chamois to soak up any streaks or droplets of moisture. Be sure to dry off the edges of the headlight covers, as well. Lint-free cloths don’t leave behind small fibers like regular cloths, which can easily become stuck on the headlight covers. Alternatively, apply the toothpaste while the headlights are still wet to produce a bubbly lather similar to soap.
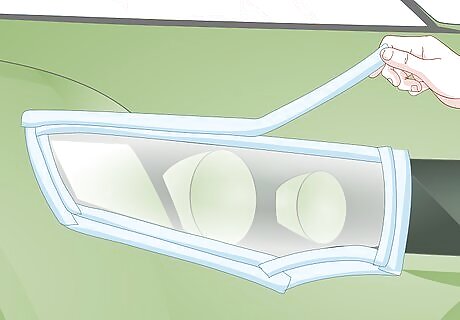
Tape off the area around your headlights. Stick several strips of automotive masking tape or painter’s tape over the paint at the top, bottom, and sides of both headlights. Then, inspect the tape to make sure there’s no exposed paint around the lights. Taping around your headlights protects your car’s paint from the toothpaste. The gritty toothpaste, combined with the pressure of polishing, can potentially scratch or remove the paint.Warning: Avoid any type of tape stronger than painter’s tape. Duct, electrical, and other high-strength tapes can leave behind unsightly adhesive residue, or even strip small amounts of paint from your vehicle when you peel them off.
Polishing Your Headlights with Toothpaste
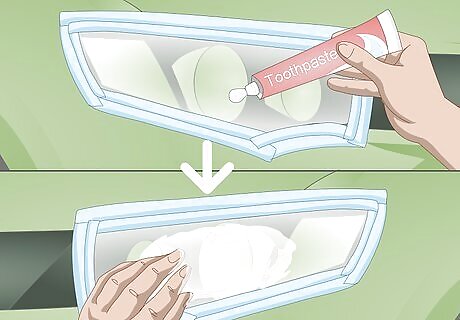
Cover each headlight with a dime-sized blob of non-gel toothpaste. Squeeze the toothpaste directly onto the center of the headlights. Then, spread the toothpaste with your fingers using circular motions until it covers the entire surface of the headlights in a thin layer. Or, apply the toothpaste to a microfiber cloth or sponge and then rub it onto the headlights. Use any type of toothpaste as long as it’s a paste rather than a gel. Gel toothpastes aren’t abrasive enough to chip away at the yellow, dingy layer of oxidation that makes your lights foggy. Start with a thin layer of toothpaste at first and then add more later as needed.Tip: For even more scrubbing power, use a toothpaste that contains baking soda. Or, add a dash of baking soda to your toothpaste.
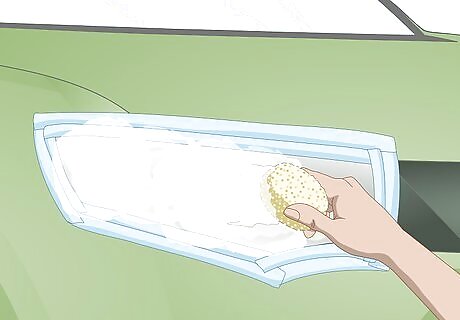
Scrub the headlights vigorously with a microfiber cloth or sponge. Move your cloth or sponge in tight, circular motions to wear down the yellow, oxidized layer over your headlights. After scrubbing for 2 to 5 minutes, the toothpaste starts to turn yellow and you’ll see the gunk and grime disappear. Alternatively, use a soft-bristled brush, like a toothbrush, to increase your coverage and really work the toothpaste into the plastic. Getting your headlights looking like new requires a bit of elbow grease. Don’t be afraid to really dig in and scrub your headlights.
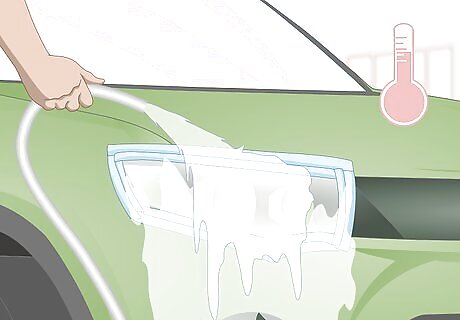
Rinse the headlights with water and buff out the toothpaste with a cloth. Spray the lights with a spray bottle or hose to break up the toothpaste. Then, take a clean microfiber cloth and wipe the toothpaste in circular motions to buff it out. Just keep spraying and wiping the headlights until all of the toothpaste is gone. The toothpaste dries into a cloudy film, so it’s important to wipe off every little bit.
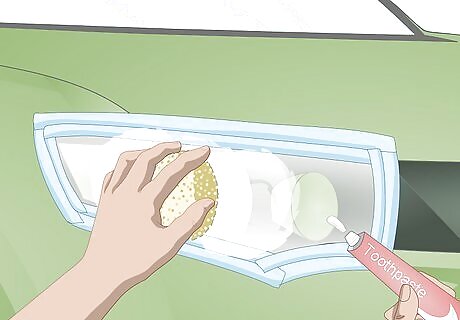
Reapply and scrub the toothpaste as needed. If your headlights are still a little yellow and foggy after rinsing off the toothpaste, add more toothpaste and repeat the cleaning process 1 to 2 more times. Then, remove the tape from around your headlights when you’re finished.
Applying Wax and Sealant on Your Headlights
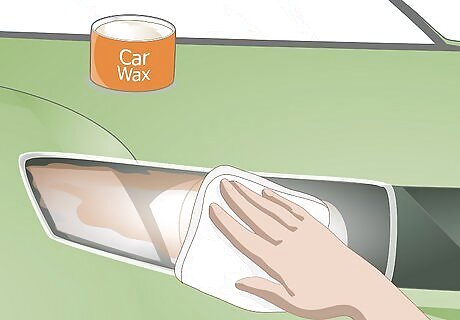
Dry your headlights and coat them with car wax. Car wax protects your headlights from dirt, scratches, and UV rays to keep them from yellowing as quickly. Just take a microfiber towel and wipe your headlights dry. Then, apply a dollop of car wax onto the cloth and wipe it onto each headlight using circular motions. Let the wax dry for 1 to 2 minutes, or according to the manufacturer’s instructions, and buff it out with a clean, dry cloth.
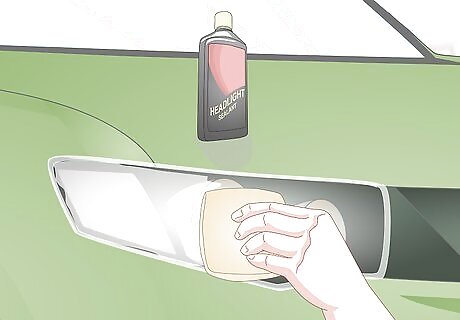
Apply UV-resistant sealant to shield your headlights from the sun. To further protect your headlights from oxidizing UV rays, wet a folded paper towel with the UV sealant solution and wipe it onto both headlights. Just use long, sweeping strokes to cover the entire headlight. Find UV-resistant headlight sealant at any automotive supply store, as well as most supercenters, gas stations, and convenience stores. A good UV sealant slows the formation of oxidation on your headlights as they get exposed to the sun’s rays. Only apply a single coat of sealant unless otherwise specified by your specific brand of sealant.Tip: Always follow the instructions for the specific product you’re using to ensure the sealant works properly.
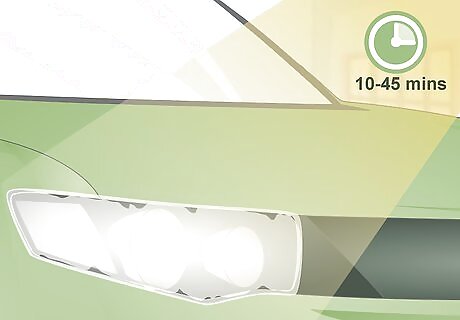
Cure the UV-resistant sealant in the sun for 10-45 minutes. Park your vehicle outdoors where it gets direct or partial sunlight. Most headlight sealants dry to the touch in a few minutes and cure to full strength within about 30 minutes. The exact cure time depends on your specific product, the amount of sunlight available, and humidity. Or, cure your sealant by shining a UV lamp directly on your headlights for 10-15 minutes. Hold off on washing your vehicle for at least 8 hours after applying headlight sealant.
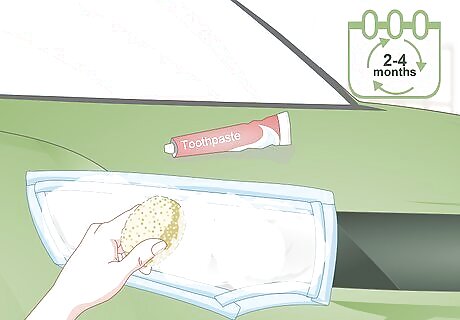
Repeat the cleaning and sealing process every 2-4 months. While toothpaste polishes your car’s headlights back to their original shine, it’s not a permanent fix. Once the outer layer of plastic is damaged, it’ll eventually revert back to its yellow, hazy state even after it’s cleaned. So, polish, wax, and seal your headlights every few months, or when they start showing signs of yellowing. You may need to clean your headlights more or less frequently depending on how often you drive.





Comments
0 comment