views
Recovering Your Card's Data
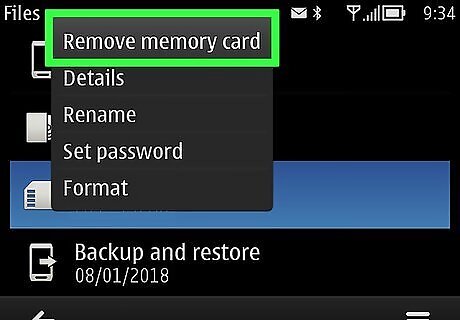
Stop using the card immediately if you haven't already. If your camera displays a message that says "Card Error", "Read Error", or something similar, turn off the camera and remove the memory card. Continuing to try to use the card after this point will reduce the likelihood of you recovering all of the data on the card.
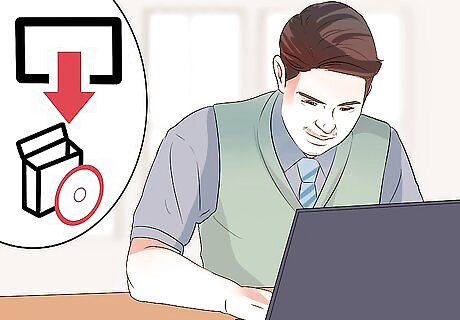
Search for a data recovery program. While your card might be done for, there's still a possibility that your data is recoverable. Some of the most popular free data recovery programs include the following: Recuva - After you select your hard drive location (in this case, your SD card) and check the "Photos" option, Recuva does all the hard work in the background. Recommended for most users. CardRecovery - After a brief setup, CardRecovery scans any attached SD cards. Once your evaluation period with CardRecovery is up, you'll need to pay to continue using its services. Photo Rec - This program has a minimal interface and requires basic knowledge of how to navigate the Command Prompt program, so it isn't recommended for beginners.
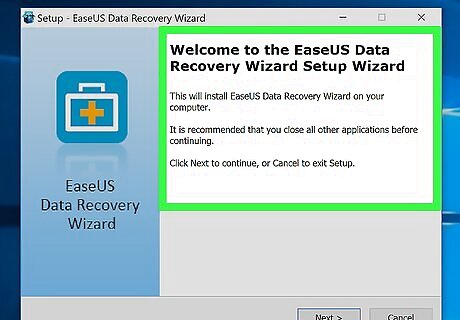
Download and install your selected data recovery program. Typically, this process will entail opening your recovery program's page, clicking the Download button, and double-clicking the downloaded setup file. The location of the download button will vary from site to site. If you can't find it, try looking for it on the top or the side of the site's page.
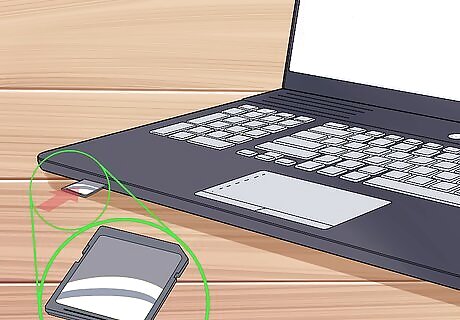
Connect your memory card to your computer. Most PCs have a thin, rectangular memory card slot with the word "SD" next to it. This will most likely be on the side of the computer's casing if it is a laptop, or somewhere on the CPU box if it is a desktop. If your PC or Mac doesn't have an SD card slot, you can buy an SD card reader that plugs into your computer's USB port for less than $10. You may have to allow your computer permission to use your SD card before you can access it.
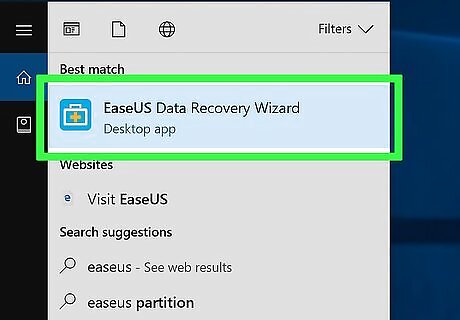
Open your data recovery program. It should be installed in whichever location you chose earlier.
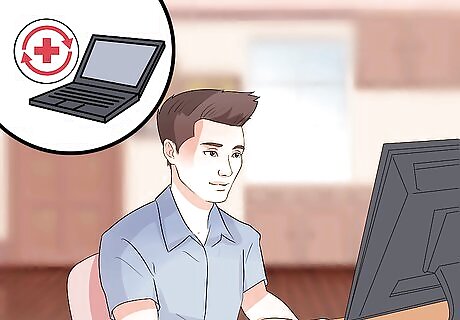
Follow the on-screen directions. You'll usually need to select the memory card as the location to scan and select the "Photos" option in your data recovery program's scan criteria before you can successfully scan your attached SD card. After the scan completes, most programs will give you the option of restoring or exporting all salvageable photos to a location of your choice (e.g., your desktop).
Repairing a Memory Card on Windows
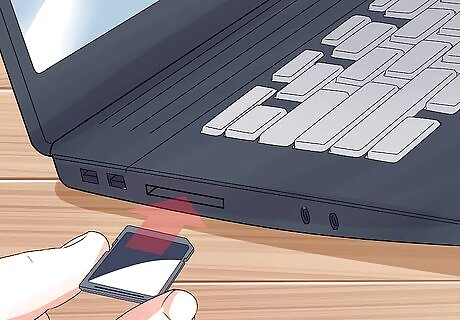
Connect your memory card to your computer. You can usually do this using the long, thin memory card slot with the word "SD" next to it that's built into your computer. It will most likely be on the side of the computer's casing if it is a laptop, or somewhere on the CPU box if it is a desktop. If your PC or Mac doesn't have an SD card slot, you can buy an SD card reader that plugs into your computer's USB port. These usually cost less than $10. You may have to allow your computer permission to use your SD card before you can access it.
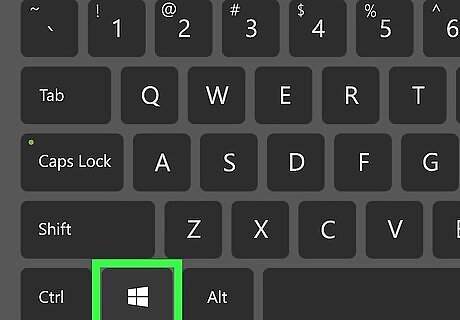
Click ⊞ Win. It's in the bottom left corner of your screen.
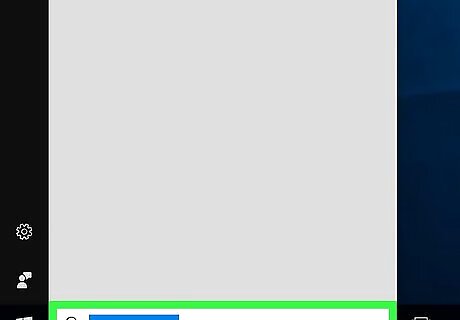
Type "My Computer" into the search bar. While the "My Computer" application is called "This PC" or "My PC" on Windows 8 and 10, typing "My Computer" will redirect your search to your computer's default version of My Computer.
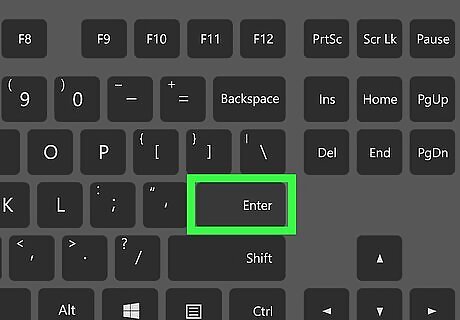
Tap the ↵ Enter key. This will open the This PC window.
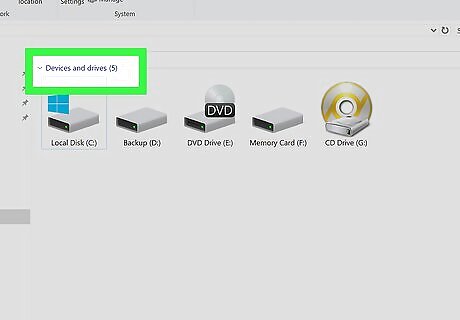
Review the "Devices and drives" section. This is on the bottom half of the "This PC" window. You should see a drive marked "OS (C:)" here (this is your primary hard drive) as well as any other connected drives, one of which is your memory card. If you cannot tell which disk is your memory card, remove your card with this window open and note the drive that disappears. Remember to reinsert you card before continuing.
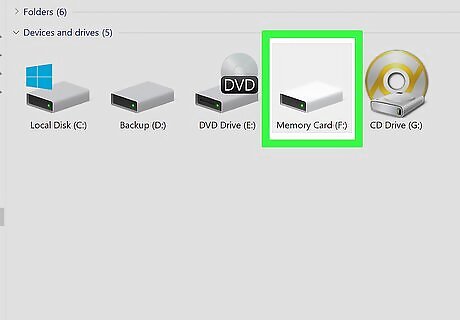
Note your memory card's drive letter. The computer's default hard drive letter is "C", so your memory card will be a different letter.
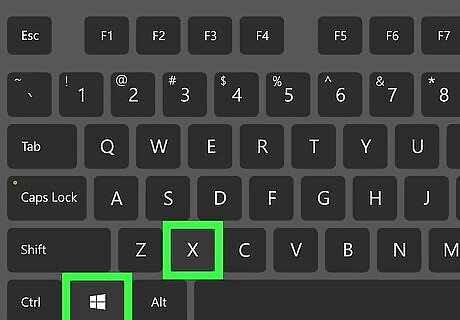
Hold down ⊞ Win and tap X. This will open the Windows quick-access menu over the Start button in the bottom left corner of your screen. You can also right-click the Start button to open this menu.
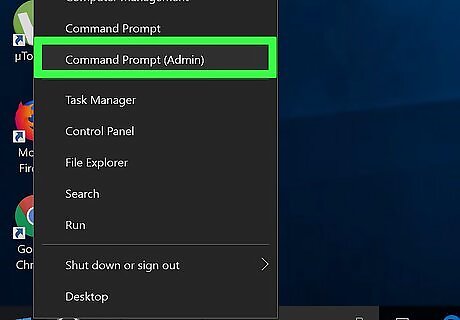
Click Command Prompt (Admin). Doing so will open the Command Prompt program which will let you reformat your memory card. If you aren't using your computer's administrator account, you won't be able to do this.
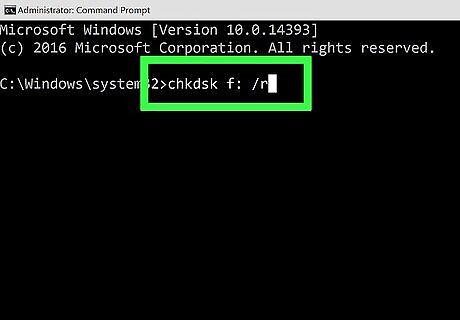
Type chkdsk f:/r into Command Prompt. You'll need to replace "f:" with your memory card's drive letter (e.g., "e:"). The "chkdsk" function checks your selected disk for corruption and then reformats the areas in need of repair. There is only one space between "f:" and "/r".
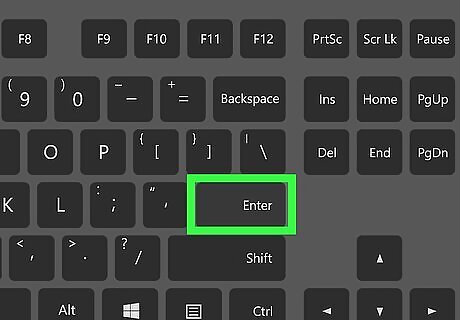
Press ↵ Enter. This will initiate the disk checking process. If Command Prompt finds any repairable issues, it will fix them if possible. If Command Prompt asks for permission to continue, press Enter to grant it permission. You may get an error that says, "Cannot open volume for direct access" after hitting Enter. This error usually means that your disk either does not need formatting (e.g., it isn't damaged) or it is beyond repair. In some cases, the "Cannot open volume for direct access" error is a result of your computer's antivirus preventing the formatting process. Try disabling your antivirus program while reformatting your drive to see if it fixes the issue.
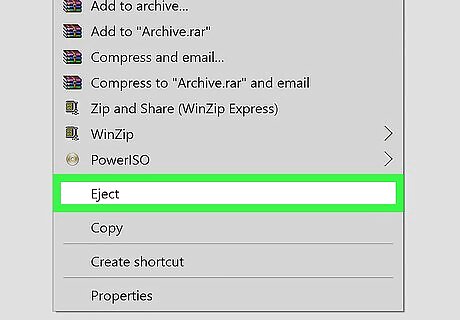
Remove your SD card. Once the process is complete, you can safely remove your SD card from your computer and place it back in your camera.
Repairing a Memory Card on Mac
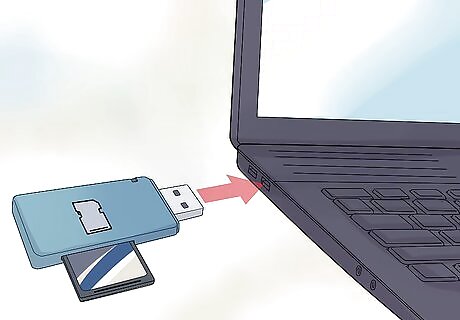
Connect your memory card to your Mac. You may need to buy an SD card reader since not all Macs come with an SD card slot. If your Mac does have an SD card slot, it will be on the side of the casing (laptop) or on the back of the CPU box (desktop). It may also be on the side of the keyboard on some desktop units. Some devices require that you enable disk use via USB through its settings before your computer will recognize it.
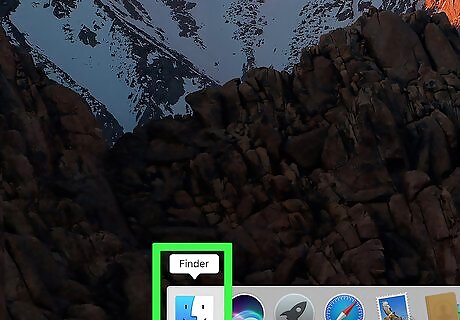
Open your Mac's Finder. This is the blue face icon in your dock.
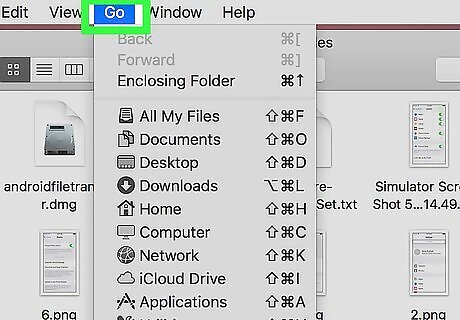
Click Go. It's in the toolbar at the top of the screen.
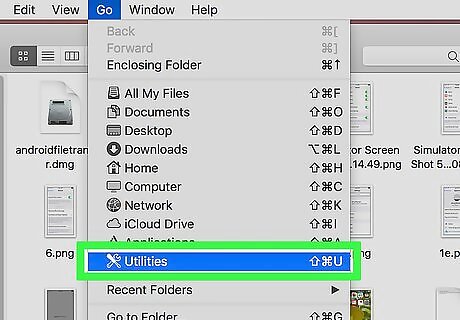
Click Utilities. This will open the Utilities folder, from which you can run the Disk Utility. Alternatively, you can hold down ⇧ Shift and ⌘ Command and then tap U to open Utilities.
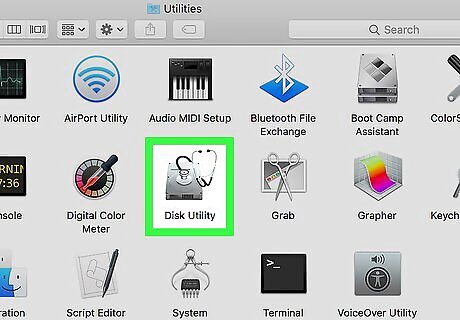
Double-click Disk Utility. This app resembles a grey hard drive with a stethoscope on top of it.
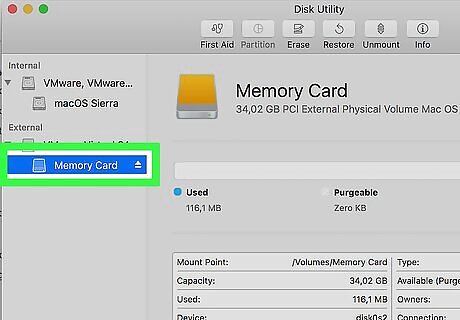
Select your memory card. It should be listed under the "External" section in the left-hand pane of the Disk Utility window. If you don't see your memory card listed here, try removing and re-inserting the memory card.
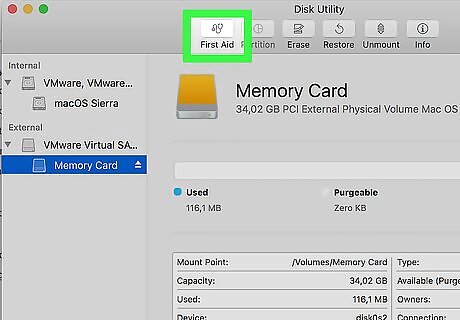
Click First Aid. This is the stethoscope icon in the row of options at the top of the Disk Utility window.
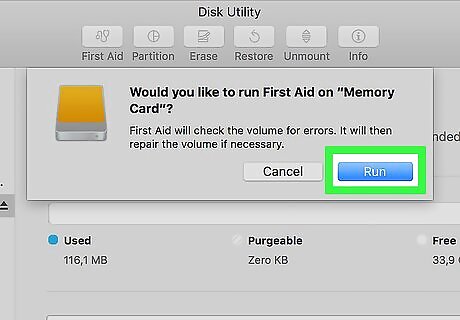
Click Run. If you see a pop-up window that says "Your disk is about to fail" instead, you won't be able to repair your memory card.
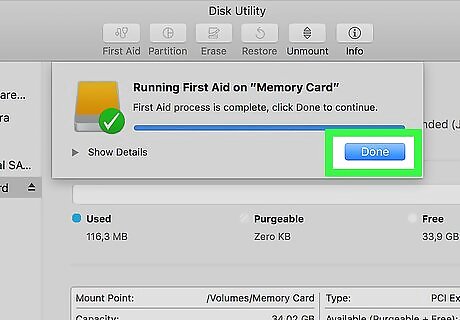
Wait for your memory card to be repaired. Once your Mac tells you the process is complete, you may safely remove your memory card and place it back in your camera. You may see an error entitled "The underlying task reported failure" here. If so, try restarting your Mac and running the repair again.





Comments
0 comment