views
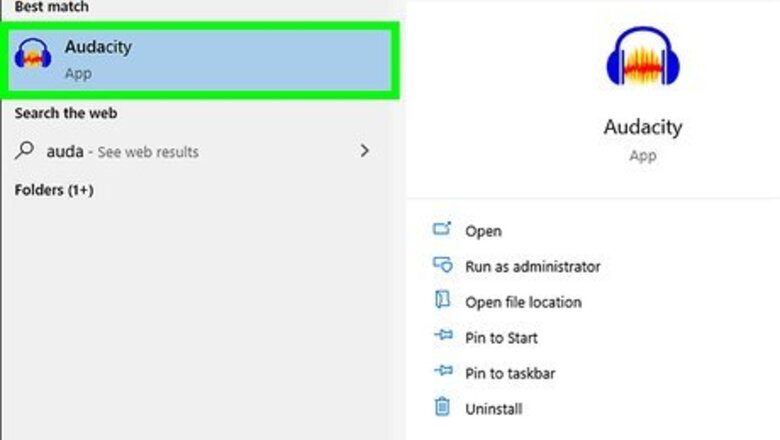
- Audacity is the recommended audio editing application for those on a budget. It is free and compatible with all major operating systems.
- Isolate a section of a song you really like and start looping it.
- Adjust the BPM and time signature within your audio editing software to experiment with different rhythms and tempos.
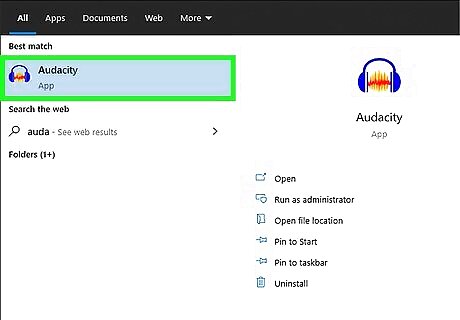
Start with good audio editing software. This is where most of the work happens. In your digital audio workstation, also known as DAW, you can import audio tracks which comprise the beats, instrumental tracks, vocals, sound effects, etc. Some software will let you perform complex operations such as matching tempos or pitch correction. Almost all will allow you to slice, transpose, reverse, timestretch within the framework of your editing software. If you're on a budget, a great application to get started is Audacity. It's free, and it works with all the major operating systems. If you take the time to learn it can perform just as well as most commercial software. Ableton is a good choice if budget is not an issue. For about $500 more than free, Ableton is geared towards live performance. You can prepare your remixes at home, of course, but you can also perform them in real time.
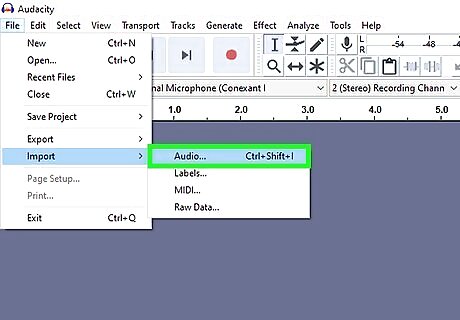
Select a track to remix. Remixing is a derivative art form; that is, it builds directly on at least one other work of art. Selecting which track you want to remix is an important part of the process. Here are some things to consider: Choose something with a hook, melody, chorus, or other element that appeals to you. Remixing usually involves repeating part of the song several times in a row, so pick one that doesn't "get old" too quickly and holds your interest. What you usually have to work with is the final mix of the original track, taken directly from the CD. If you can get separate tracks directly from the recording artist, especially for vocals, it will make your remix cleaner and your work easier. While nothing is as good as having the original, separate tracks, Audacity and Ableton both offer tools that let you remove vocals from a mix (as is done for karaoke), or remove everything but the vocals. This is not easy, and rarely 100% effective, but you can attenuate the backing tracks enough so that in context, the vocals sound like they're isolated. Noise removal plugins are best at this, try to isolate the noise/vocal frequencies from those sweet melodies you want to keep.
Add your own sounds. This is where you stamp the track with your contribution. This can range from changing the feel, by adding new rhythm tracks, to total destruction.

Remember to pay attention to copyright laws in your area if you plan on selling or performing your music live. Unauthorized use of an author's tracks can get you in trouble with the law. Think about what sections you like best—–what would you keep intact, and what will you change? If necessary, listen to the track a few more times to help refine your vision for the final remix.
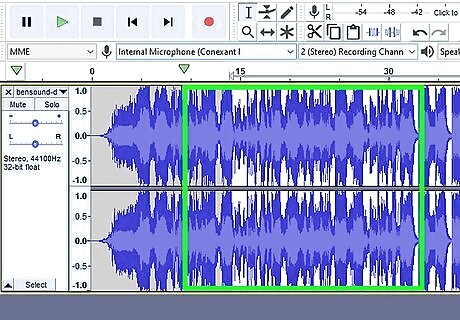
Dissect the track. To make the remix job easier, you want to isolate not just the melodic elements, but the rhythmic elements as well. You can do this in an audio editing application like Ableton or Audacity. These apps make it easy to cut loops. Cutting loops is a fairly simple process. First, listen to your file, and identify the sections you'd like to cut. Then, select the phrase you'd like in your audio editing software, making sure to grab complete measures. A way to test your cut is to loop playback on the selection. If it sounds jumpy at the loop point, you may be selecting too much, or too little. If your software lets you play your loop and adjust the endpoints at the same time, start playback on the loop, and adjust the beginning first—make sure it's starting exactly where you want it to start. Once that's set, go to the end of the loop, and make small changes in the loop length until the sounds seamless, natural, and most importantly, in-tempo. Watch out for loops that include reverb tails or cymbal crashes, since these will often extend past the end of a phrase. Conversely, chopping a reverberation like that can be a really interesting effect. Making sure your loops are cut precisely will make tempo correction within your looping software more accurate. In programs like Sonar and Acid, which use nearly the same correction methods, this is imperative. Time correction is achieved by either specifying the BPM of the loop (often detected automatically), or by inserting markers in the loop inspection window, to indicate where each beat falls. All of this will accomplish the same result as cutting and looping, while still preserving the original file. You can also take this time to do some processing on your loops. If you only have the full mixdown, you can bring out vocals or individual instruments somewhat with EQ. Keep in mind that there is no way to completely isolate a single instrument or voice after a mixdown. For example, you can lighten up the lower register (kick, toms) and bass lines by rolling off the low end. This will keep things from getting muddy, if you use the vocals from that loop over a new bassline, or new drums. For example a boost at 3-5khz will brighten a sound up a lot more whereas increasing a frequency in the low range will bring out more of a muddy, bass mix.
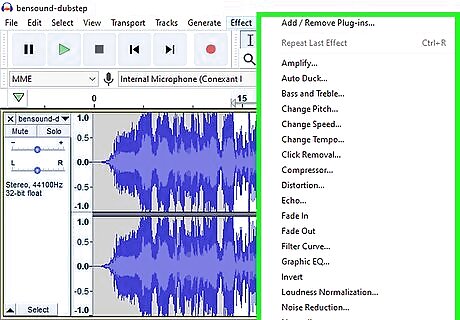
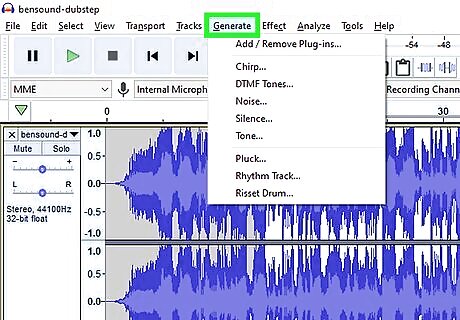
Experiment! Try all the available effects in your DAW/audio editing software to see how they will sound on each part. There are plenty of things to choose from, including delay, phaser, chorus, flanger, filters and other EQ, reverb, amplitude modulation, ring modulation, frequency modulation, time stretching, pitch shifting or correction, vocoder and more. Playing around with these styles will help you figure out what you like, as well as training your ear a bit. Always remember that an under produced track is always better than an overproduced one, make it simple but have fun.
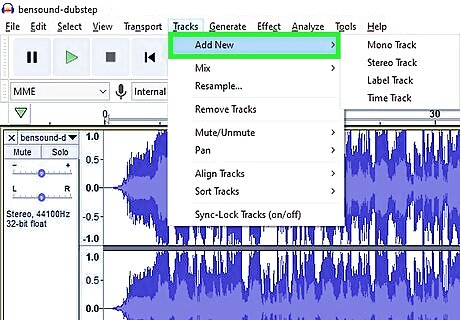
Reconstruct the track. First, set the BPM (tempo—beats per minute) and time signature (usually 4/4 in popular music, but sometimes 3/4) in your looping software. Next, import your loops. Once they are imported and time corrected, you should be able to choose any tempo you like, with very little loss of quality. Now you can start to reconstruct the track. A safe and easy way would be to follow the form of the original (intro, verse, chorus, verse, bridge, and chorus) but you can also completely change it and make it your own. You can layer the vocals from the verse over a portion of the chorus. You can take a verse as-is, cut individual measure of vocals, and superimpose them reversed. You can reharmonize the vocal or lead lines by introducing completely different elements. Have fun, and experiment!
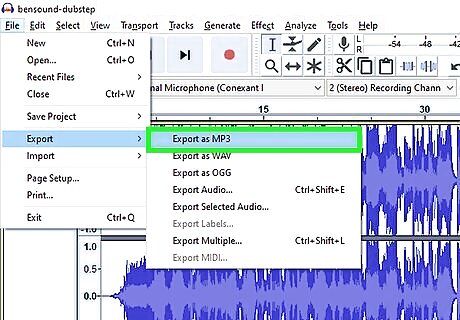
Export your creation (mastering). When your remix has a start and finish, and you are satisfied with it, you should export. Save all or export to a WAV or AIFF file (don't encode an MP3 just yet). Load this into your audio editing software, and normalize it to 99%. This will ensure that your levels at their highest point reach almost the maximum volume. In addition, you can make your remix seem louder by applying a compressor effect to it before normalizing.
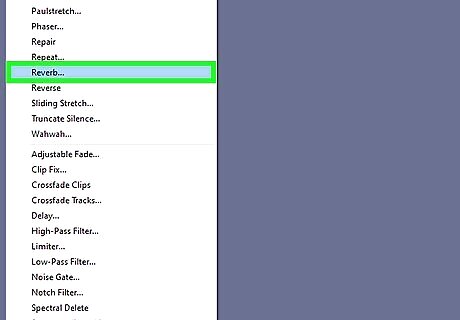
While optional, it's recommended to go back and "master" your track. This means applying effects to bring out certain parts of your mix. If you want a harsher bass overall or brighter highs. A good mastering is the difference between a closet recording and a professional studio.
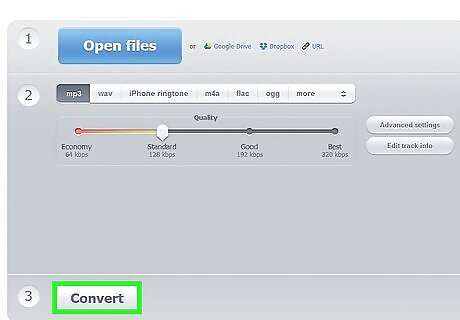
Distribute your remix. Convert the file to MP3, using your favorite MP3 converter.


Comments
0 comment