views
Refilling a Bic Lighter
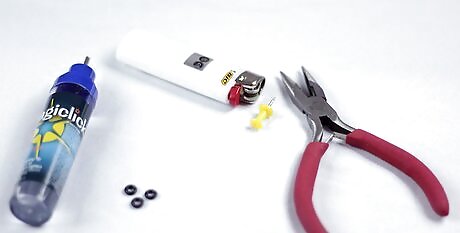
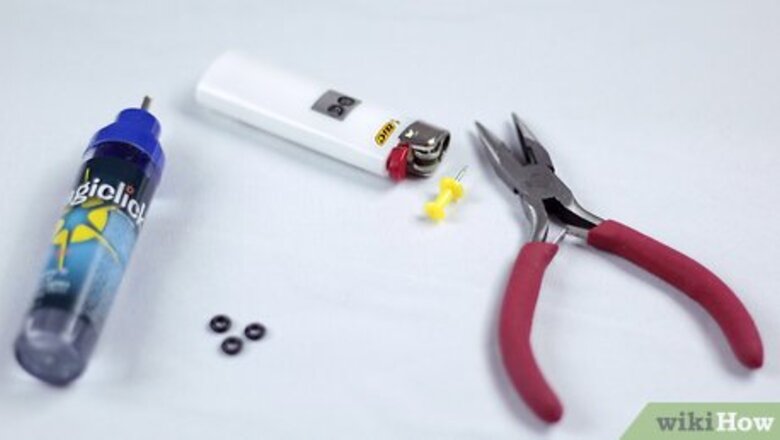
Gather your materials. You can refill a bic lighter fairly easily with a pushpin. If you want to save money on new lighters, you can use this method and keep one Bic lighter for a long period of time. In order to refill a bic lighter, you will need some butane, a pushpin, and three rubber grommets. You can purchase butane and grommets at most hardware stores. You may also want to have a pair of clippers and file on hand, as you may want to file down the pushpin after you fill the lighter.
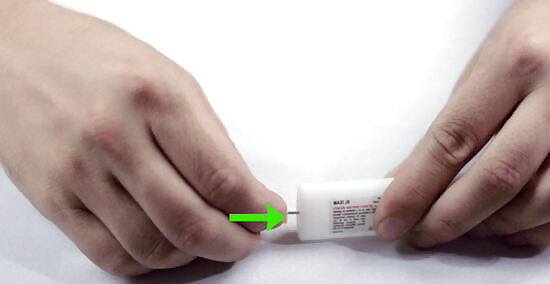
Insert a pushpin into the valve at the bottom of the lighter. If you turn the lighter upside down, you will see a small circular indent on the bottom. This is the lighter valve, which needs to opened with a pushpin for you to refill the lighter. Place a pushpin in the hole and then place the base of the pin on a hard surface like a table. Push down. This should open the bottom of the lighter. You can now remove the pin.
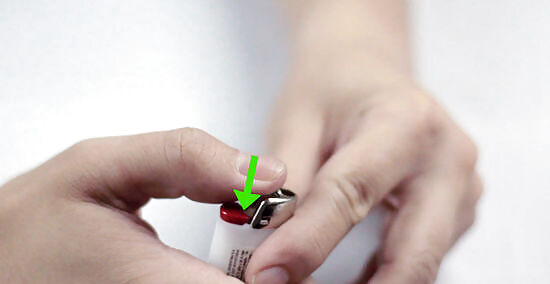
Make sure the lighter is completely empty. Some fluid may spray out when you remove the pin. You want to make sure you empty any excess fluid before refilling the lighter with fresh butane.
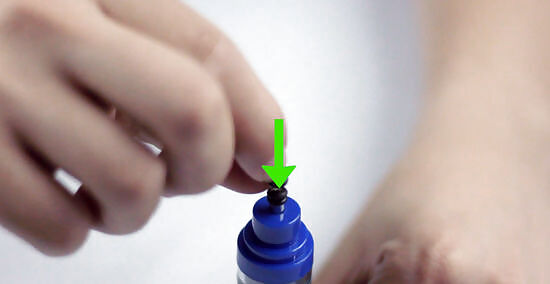
Prepare the nozzle of the butane container. When you remove the lid of the butane container, there should be a small nozzle on top. You need to prepare the butane container's nozzle for use. Rubber grommets are small circular rubber devices with a hole in the middle, shaped sort of like a donut. Take your grommets and place all three of them over the nozzle of your butane container. The rubber should come just past the tip of the nozzle. The grommets keep excess butane from spilling out when you refill your lighter.
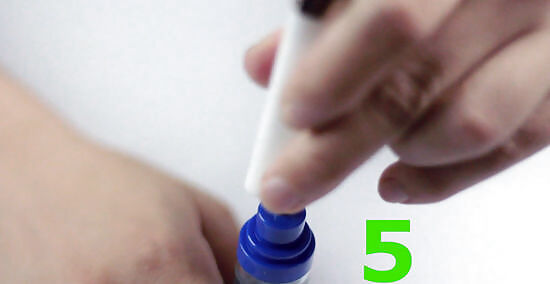
Fill the lighter with butane. Hold the lighter upside down. Place the nozzle of the butane container into the hole at the bottom of the lighter. Then, gently push down on the butane container. The rubber will muffle the sound so you may not be able to tell that the lighter is being filled, but it is. Wait about 5 seconds. That's about how long it takes the lighter to fill.
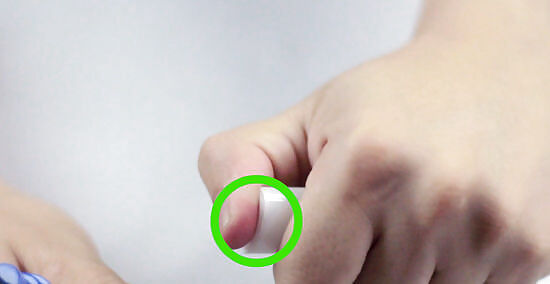
Remove the butane container and immediately cover the valve with your thumb. Once you've filled the lighter, you need to remove the butane container to keep it from overflowing. The fluid will spray out if you don't cover the hole, so place your thumb over the hole as soon as you remove the nozzle.
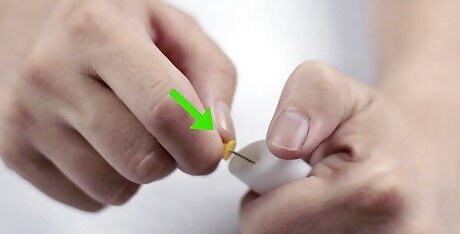
Insert the pushpin back into the hole in the valve. Do this as fast as you can to prevent butane from spilling out. This will remain in the valve to seal it. You will be unable to reuse the factory valve, so you'll have to use a pushpin to seal it.
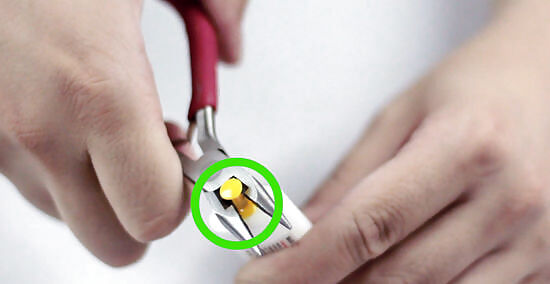
Cut off the top of the pushpin with metal snippers, if you want. This is purely cosmetic, since it would look a little strange to have a pushpin sticking out the bottom of your lighter. It can also be a bit cumbersome to store the lighter if the full pushpin is attached. You can file down the edge of the pushpin, too.
Refilling a Zippo Lighter
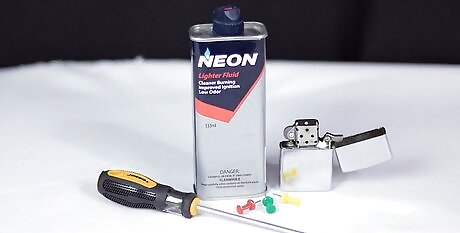
Gather your materials. Zippo lighters are generally made to be reusable. In order to refill a zippo lighter, you'll need zippo lighter fluid, a small flathead or pin, and a zippo lighter. You can buy lighter fluid online, or at the store where you purchased your zippo lighter.
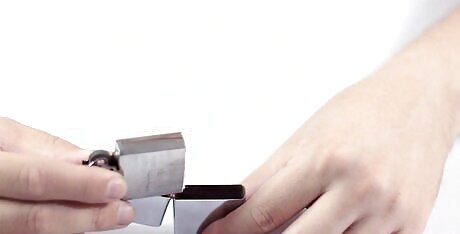
Pull the lighter out of the metal case. Open the case of your zippo lighter. Grab the edge of the lighter and pull it out of its case. It might be a little hard to get out if it's a newer lighter.
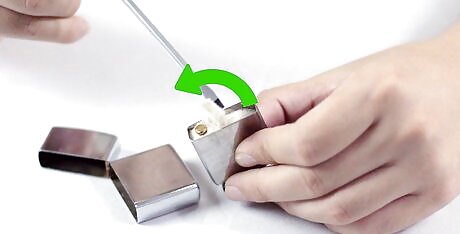
Lift the lever that reads, “Lift to Fill.” Zippo lighters make it easy for you to figure out how to refill them. There is a small lever on the bottom of a zippo lighter that reads "lift to refill." Use your fingers to lift this lever. If you can't get it opened using your fingers, this is where you would use a pushpin or flathead to lift the lever.
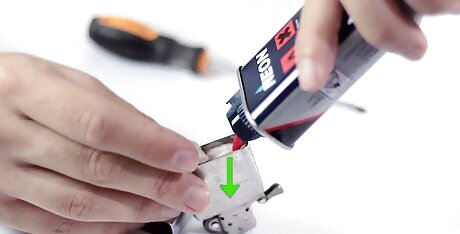
Squirt Zippo Premium fluid into the lighter. Now, take your bottle of lighter fluid. Insert the nozzle of the bottle into the compartment just under the lever. Squirt some fluid into the lighter. Do this just until the padding on the inside of the lighter is damp. Once you're done, close the lever.
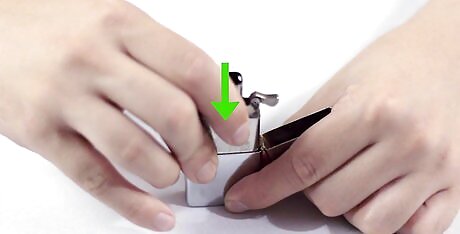
Reinsert the lighter into the case. Once you're done, reinsert your lighter into the case. It should now be ready for use. Under no circumstances should you light your zippo lighter when its out of its case. Lighter fluid may have dripped during the process. You could end up burning your hand or causing the lighter to explode.
Refilling an Extended-Reach or Wand Lighter
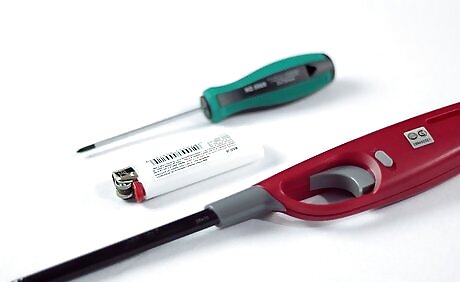
Gather your materials. An extended-reach lighter, also called a wander lighter, is used to light hard-to-reach places, like the pilot light in your oven. The fluid resevoir inside an extended-reach lighter is very similar to a normal BIC lighter. You can modify a regular bic lighter slightly and use it as a replacement reservoir for an extended wand lighter. This may be cheaper than purchasing a new lighter each time your extended-wand lighter runs out of fluid. To start, gather your materials. You will need the following: A new bic lighter A Philips head and flat blade screwdriver
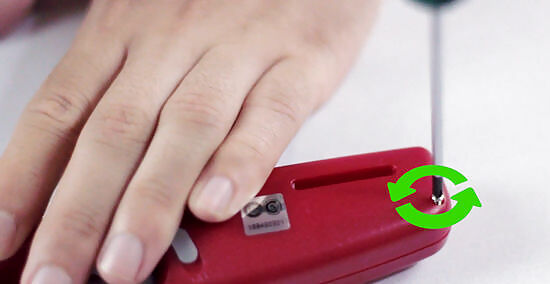
Use a screwdriver to remove the screw holding the lighter together. A single screw holds an extended-reach wand lighter together. Remove this screw. This will allow you to open the lighter. If the screw does not come out immediately after you unscrew it, gently tap the lighter against a flat surface so it falls out. Make sure to keep the screw in a safe place, as you'll need to reinsert it later.
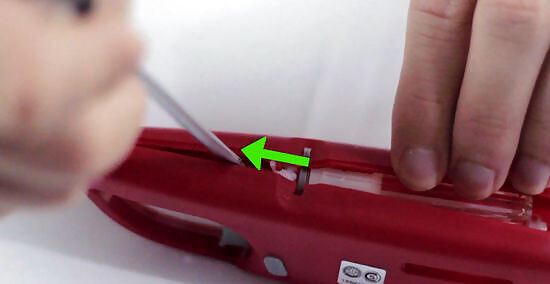
Run a flat blade screwdriver along the seam of the case. This will break the seal holding the case together. Once you've broken the seal, you can open the extended-reach lighter slightly, allowing you to remove the canister.
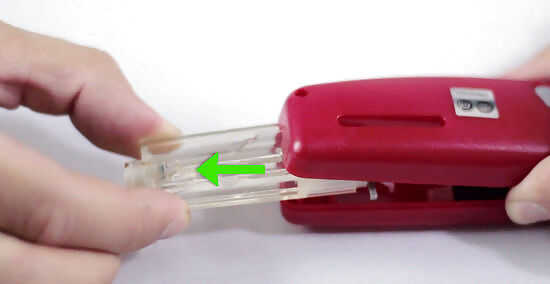
Remove the fluid reservoir. Reach into the extended wand lighter. Remove a small device that looks like a regular bic lighter. This is the fluid reservoir.
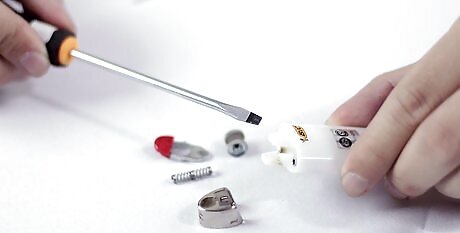
Disassemble a new lighter. You will need to modify your bic lighter first before inserting it into the extended wand lighter. You can disassemble the lighter with your fingers. Remove the windscreen. This is the metal casing circling the top of the lighter. Remove the flint wheel. This is the bumpy, circular part you press your thumb against when lighting the lighter. You should also remove the spring tip and flint, which are attached to the wheel. Once you pull the wheel out of the lighter, these parts should come out as well. Remove the fork, which is the plastic part, often colored red, lining the tip of the lighter. You press down on the tip of the fork when lighting a lighter. You should also remove the spring and jet off the lighter. These are two long devices, one metallic and the other a spring, sticking into two holes in the canister of the lighter. You should be able to see the spring and jet easily once you remove the fork.
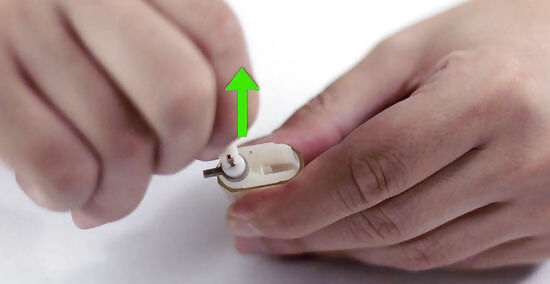
Disassemble the fluid reservoir. Just as you disassembled the new lighter, you can disassemble the fluid reservoir. The fluid reservoir should have a fork spring as well, although it may be lightly colored, with a spring and jet underneath. You'll see that they are very similar, but that the jet from the extended-reach lighter is slightly longer.
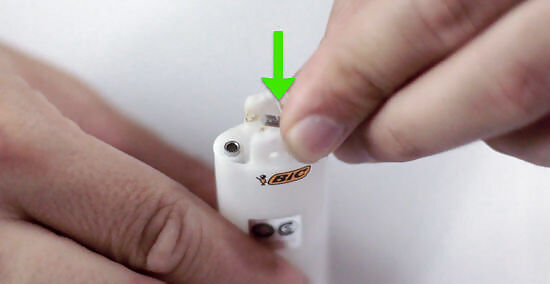
Replace the fork, spring, and jet from the new lighter with those from the fluid reservoir. Now, you can modify the new lighter. Place the fork and spring into the two holes on top of the old lighter. Then, snap the fork on top of the new lighter.
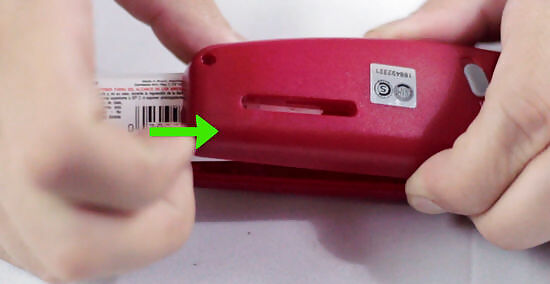
Insert the new lighter into the body of the extended-reach lighter. Make sure that the button is in line with the trigger of the case. In other words, make sure you can draw an imaginary line running from the extended wand lighter's trigger to the button, found on the edge of the fork, of the new lighter. Check that the lighter works, and then you can reseal the lighter.
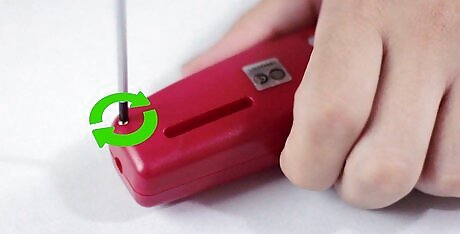
Close the case up with the screw. Reinsert the screw you removed in the beginning back into the outside case of the lighter. You may want to run a line of acrylic or superglue along the edges of the lighter to reseal it further.


Comments
0 comment