views
- Use a digital studio, like Photoshop, to make a mirror image of your design in an sRGB color format and save it as a PNG file.
- Print the mirrored design on the shiny side of sublimation paper with a sublimation printer and ink.
- Cut out the design and attach it to a sublimation blank with heat-safe tape, then put it into a 375 °F (191 °C) heat press for 10 seconds to 3 minutes, depending on the material.
Designing Your Image
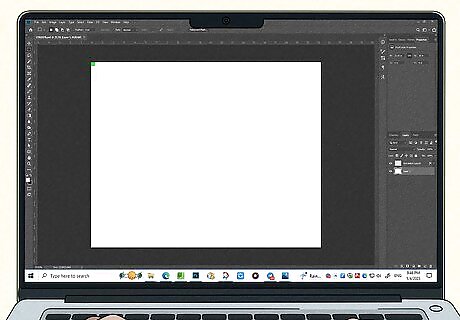
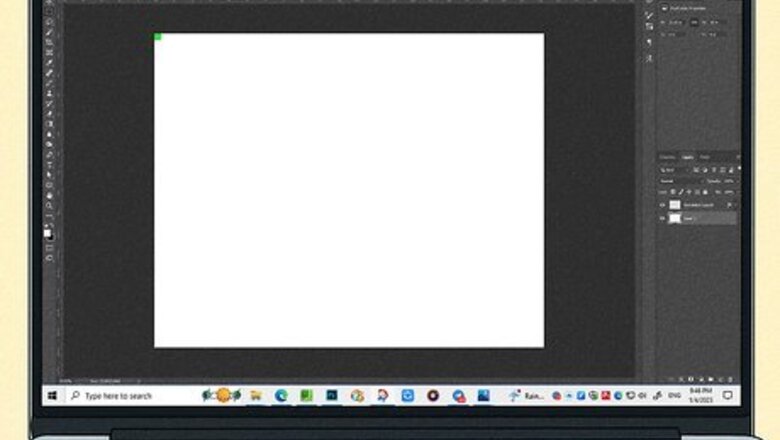
Create your design in a digital studio. You can make your own designs or modify existing ones on many platforms, but the most commonly used are Adobe Illustrator, Canva, Cricut Design Space, GIMP, Inkscape, Procreate, Silhouette Studio, and Photoshop. The best software for you will always be determined by your comfort using it. If you’re new to design, start with a free program like GIMP or Canva to get a feel for creating digital art.
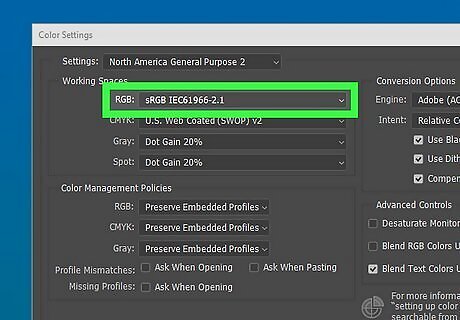
Change your color profile to “sRGB.” Go to “Color Settings” or “Color Management” in your design program, and change the profile to sRGB. This standardizes the color, so what you see on the screen is what you’ll get when you print the design. Make sure the program you’re using manages color—Cricut Design Space and Silhouette Studio do not. You can still use them for other features, but move your design to a different platform before printing.
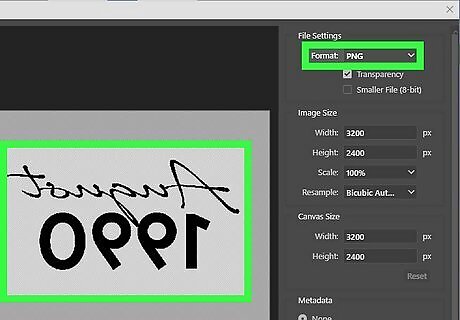
Format your image and mirror it. If your design doesn’t take up the whole space, make the background transparent manually or by converting your file to PNG. Mirror the image by flipping it horizontally so that when you transfer it, the design will be in the correct orientation.
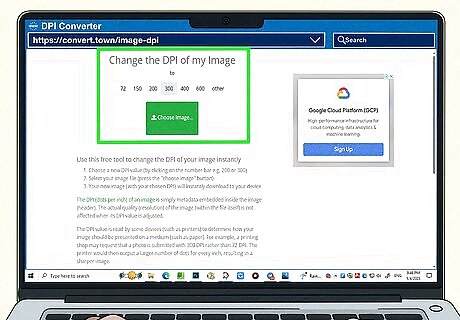
Convert the file to 300 dots per inch. Dots per inch, or dpi, is a measurement of image resolution. Download your file as a high-quality PDF, then go to a converting tool site. Go to the dropdown menu and select 300 dpi. Some programs have dpi converters built in. For example, Photoshop allows you to change your resolution in the “Image Size” window.
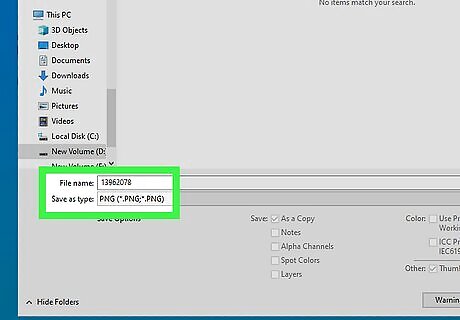
Save the image as a PNG file. You can make a sublimation from many kinds of formats—SVG, PDF, JPEG, TIFF, etc.—but not all files are created equal. If you have a transparent background, as many designs do, save your file as PNG to preserve it. If you’re switching formats, check that it doesn’t change the sizing of your image by first sending it to a regular printer.
Printing the Design
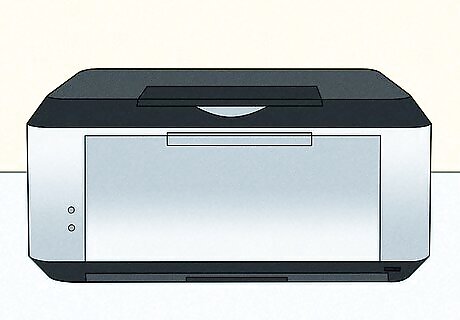
Use a sublimation or inkjet printer. Sublimation printing is different from regular printing. Laserjet printers use heat to turn toner powder into an inked design, but if you use heat with sublimation inks they will vaporize. Use a sublimation printer or an inkjet with sublimation ink. When you sublimate something, you turn the ink into a vapor that bonds with the shirt, mug, or other item. This makes the design last longer than other methods, like screen printing. Inkjet printers with tanks instead of ink cartridges can be converted—just fill the tanks with sublimation ink.
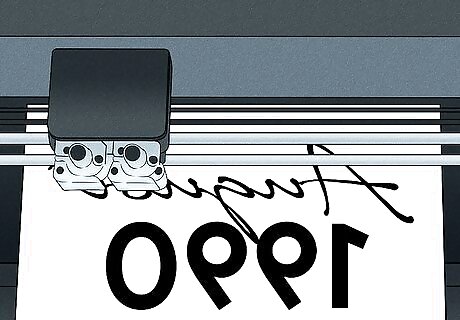
Print the design on sublimation paper. Sublimation paper allows the ink to transfer from the page on to your mug or t-shirt when you heat it up. Load your printer so that the bright white side of the paper gets printed on, then print your design. Don’t worry if the colors aren’t vibrant—they’ll brighten up when they get transferred.
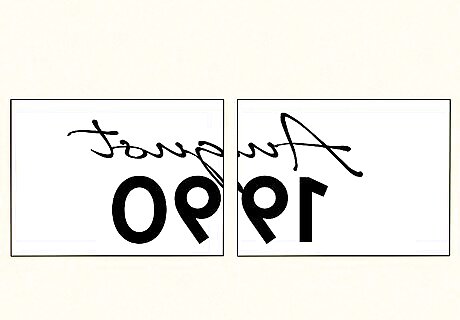
Print large designs in parts or with a poster printer. If you want your design to be larger than 8.5 by 11 inches (22 cm × 28 cm) and don’t want a new printer, break it into parts and save it in different files. Resize the images and print them out, then carefully tape them together with heat-safe tape. If you’re trying to start a business with large sublimation prints, invest in a wide format printer—it’ll save you some work.
Transferring the Image
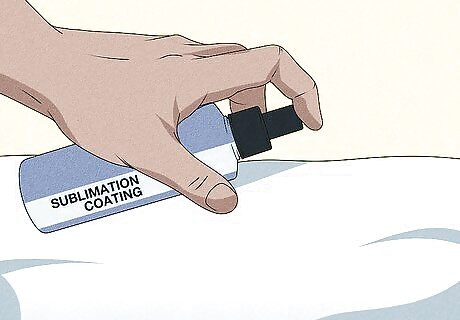
Prepare a sublimation blank or pre-treat your material with a sublimation coating. Sublimation inks can only merge with synthetic polymers, so untreated cotton isn't a good option. Print on a polymer-coated sublimation blank or a high polyester blend cloth. If you have something specific you want to print on, like a favorite cotton shirt, pretreat it with a sublimation coating. Most sublimation is done on white or light materials, but it isn’t strictly necessary. If you’re printing on something dark, transfer a completely white version of the design onto the fabric first or bleach the area. Common items to print on are tumblers, mugs, shirts, coasters, keychains, and koozies.
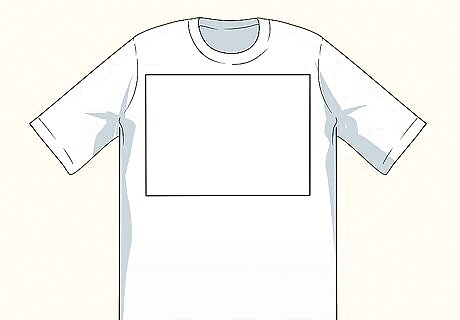
Center the design on your blank. If you’re printing on clothing, iron out any wrinkles in the fabric, then fold it in half vertically to iron a crease. For mugs, tape one end of the transfer directly under the handle, then wrap around the sheet and make a seam with the other side. Use the crease as a guide to lay out your design.
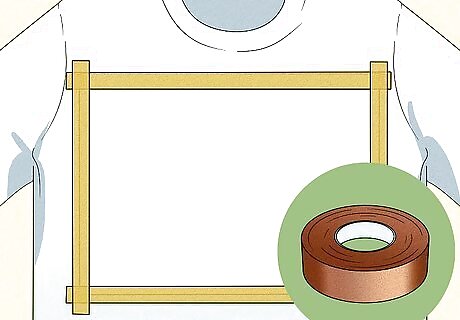
Attach your design with spray adhesive or heat-safe tape. Secure the design with heat-safe tape or a spray adhesive to keep it from shifting during the transfer process. Secure it as firmly as possible—if the sublimation paper moves while transferring it can leave see-through “ghost” images on your blank. Spray the glue on the transfer sheet by laying it flat and spraying the adhesive in the air above it. The fallout of the spray will be enough to adhere it to your material.
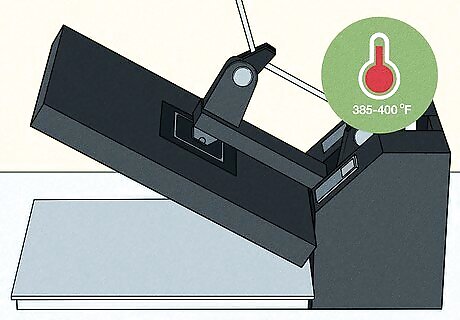
Preheat your press. What material you’re using dictates what temperature to turn your heat press to. Usually, it’s between 385 and 400 °F (196 and 204 °C). Set your press to 250 to 270 °F (121 to 132 °C) for polyester, 380 °F (193 °C) for treated cotton, and 350 to 400 °F (177 to 204 °C) for ceramic mugs and canvases.
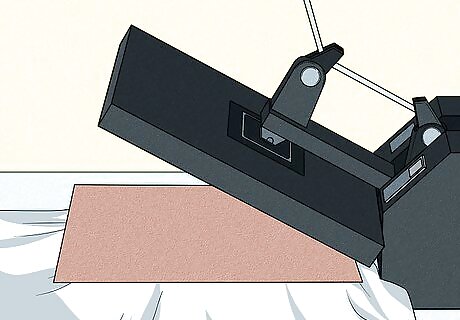
Put butcher paper between the back of your design and the press. The vaporous ink can transfer easily, so use butcher paper to protect the press. If you’re printing on a shirt or bag, put another piece inside to keep the image from bleeding through.
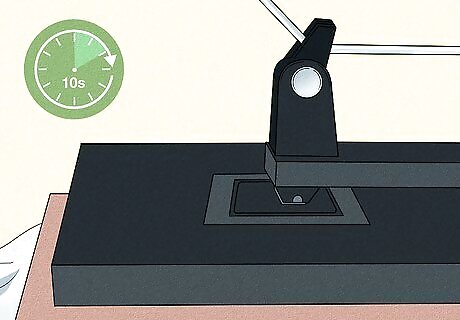
Press your item for 10 seconds to 3 minutes. Different materials require different lengths of time, but they all work the same way. Make sure the design is firmly on your item with no air bubbles in between, then press it based on the material. Heat mugs for 2.5 to 3 minutes, polyester for 50 to 60 seconds, cotton for 10 to 20 seconds, and canvas for 40 seconds. Use a clamshell press for something flat or a cylindrical press for mugs and tumblers.

Carefully remove the transfer paper once it's cool. Wait for the transfer paper to cool completely before touching it; when it’s hot the ink can still shift around. Remove the tape and slowly peel off the back of the design. Keep your sublimation prints lasting longer by storing them in a cool, dry place, keeping them out of the sun, and following the care instructions on the blanks.


Comments
0 comment