
Open Word on your iPhone or iPad. The Word icon looks like a "W" and a blue document icon on a white background. You can find it on your home screen or in an app folder.
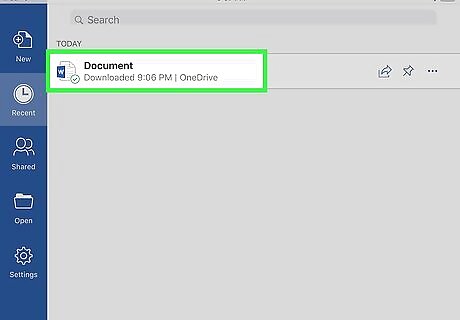
Find and tap the document you want to print. You can open a saved document from the Recent tab, or tap Open and view a list of all your documents. You can also open a new document, and print it when you're finished editing.
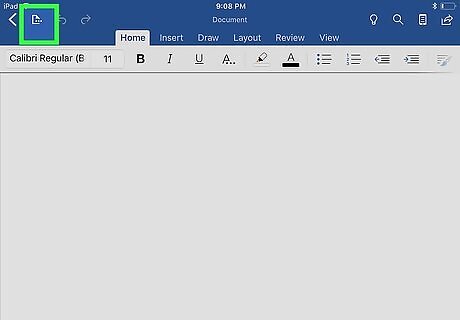
Tap the three-dot menu ⁝. This button is on a blue navigation bar in the upper-right corner of your screen. It will open your "Document" menu on a new page.
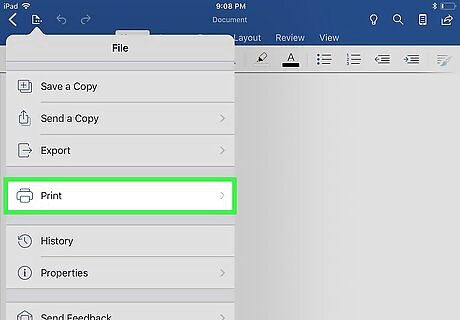
Tap Print on the menu. This option is listed next to a blue printer icon.
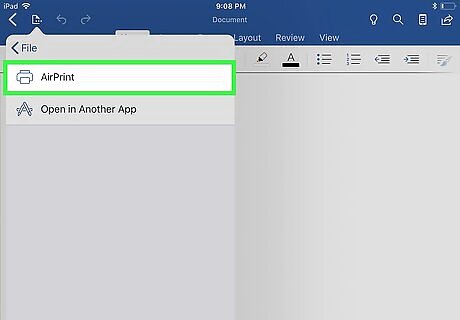
Select AirPrint on the Print menu. This will open a print preview and allows you to customize your printing preferences. If you're using a printer with no AirPrint, you'll have to download your printer's dedicated iPhone app, select Open in Another App here, and then open the document in your printer's app.
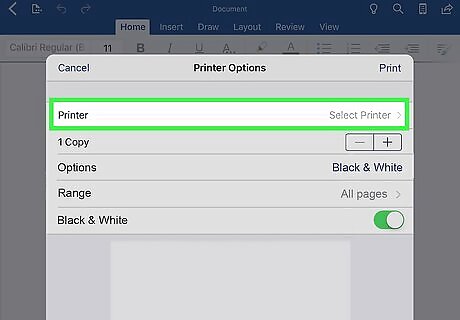
Tap the Printer box. You can find this box at the top of the Printer Options page. It will open a list of all the available printers in your network.
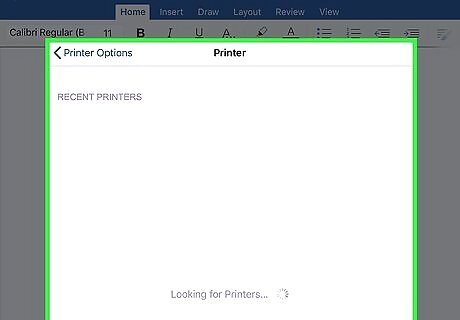
Select your printer. This will take you back to the Printer Options page, and allow you to customize your printing options.

Slide the Black & White switch to On iPhone Switch On Icon. You can find this switch among the options below the Printer box at the top. When this option is enabled, your document will be printed in black & white. If you're using a non-AirPrint printer with an external app, find the Black & White option in your printer's app and make sure it's enabled.
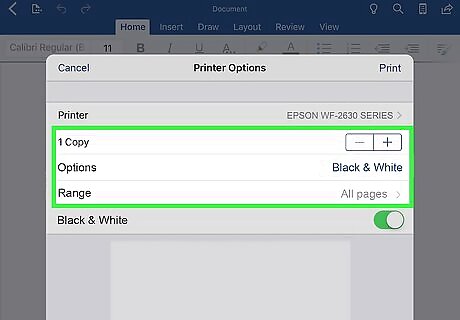
Customize other printing options (optional). You can select how many copies you want, and other options like double-sided printing or page range here.
Tap Print. This is a blue button in the upper-right corner of your screen. It will send your print job to the selected printer. You can collect your hard copy as a black & white document.


Comments
0 comment