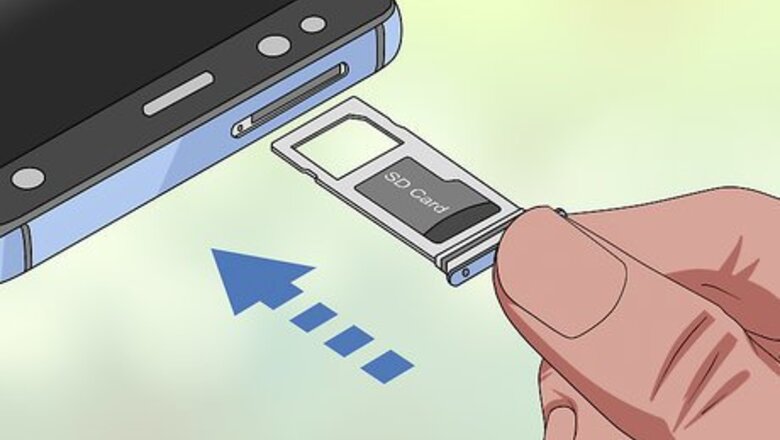
views
Using a Samsung Galaxy
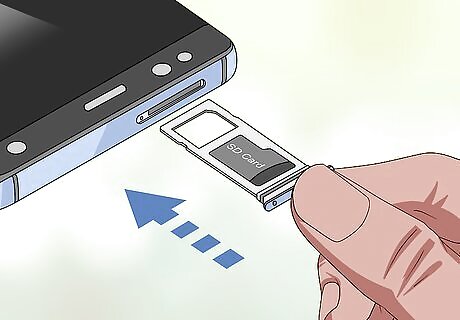
Make sure your Android's SD card is in place. If you need to insert the SD card, you may need to remove the back from your Android. In some cases, you'll need to remove the battery from your Android as well before you can access the SD slot. Remember to turn off your device at first!
Open the My Files app. Find the "Samsung" folder in your Samsung Galaxy's App Drawer, tap it, and then tap the My Files app icon, which resembles a white folder outline on an orange background. The My Files app is a stock app on most Samsung Galaxy phones running Android Nougat (7.0) and above.
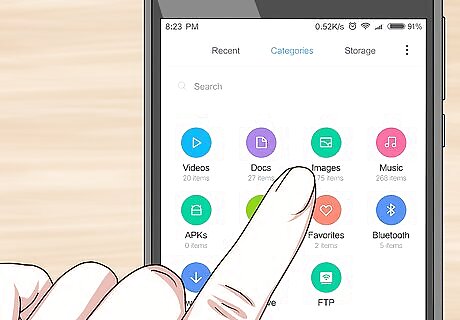
Tap Images. It's under the "CATEGORIES" heading in the middle of the page. Doing so opens a list of photo albums on your Samsung Galaxy.
Select an album. Tap the album from which you want to move your photos. If you want to select all of your Samsung Galaxy's photos, tap Camera here.
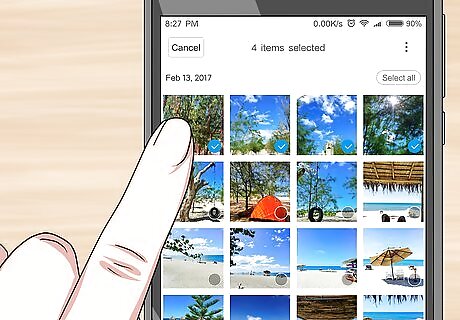
Select photos to move. Tap and hold one photo to select it, then tap any other photos that you want to move. You should see a checkmark appear to the left of each selected photo. You can also tap ⋮ in the upper-right corner, tap Edit, and then tap each photo that you want to move.
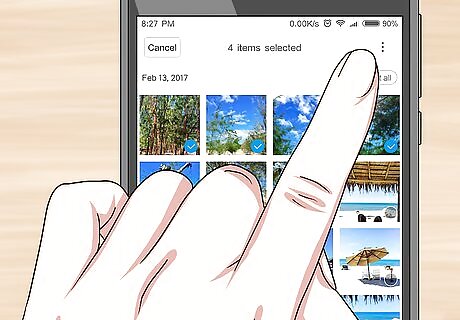
Tap ⋮. It's in the top-right corner of the screen. A drop-down menu will appear.
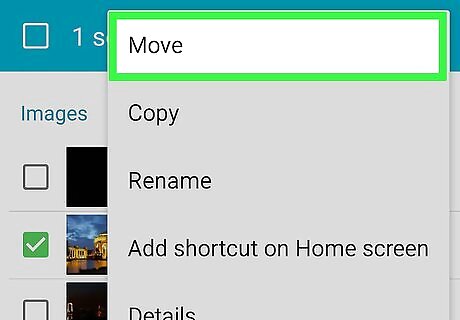
Tap Move. This option is in the drop-down menu. Doing so opens the storage menu. If you'd rather copy the photos onto the SD card (which will leave a copy of the photos on your Samsung Galaxy's hard drive), tap Copy here.
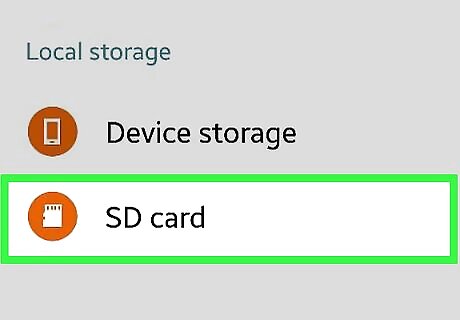
Tap SD card. It's below the "PHONE" heading near the top of the storage menu.
Select a folder in the SD card. Typically, you'll tap DCIM and then tap Camera to select the default photo storage folder, but you can select any folder on your SD card. You can also tap Create folder to make your own folder.
Tap DONE. It's in the upper-right corner of the menu. Doing so will move your photos into your selected folder on the SD card, thus removing them from your Samsung Galaxy's internal storage in the process. If you selected Copy instead of Move, this will store a copy of the photos on the SD card while leaving the original photos on your Samsung Galaxy's hard drive.
Using Stock Android
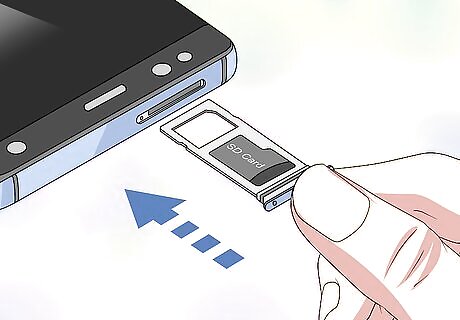
Make sure your Android's SD card is in place. If you need to insert the SD card, you may need to remove the back from your Android. In some cases, you'll need to remove the battery from your Android as well before you can access the SD slot.

Open your Android's Settings Android 7 Settings App. Tap the Settings app icon, which resembles a multicolored gear in your Android's App Drawer.
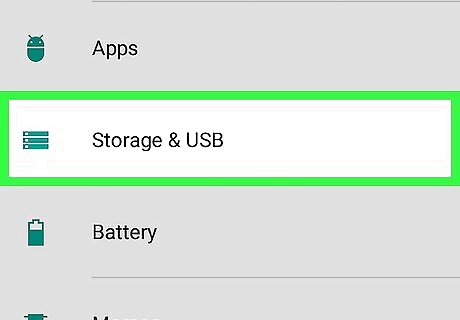
Scroll down and tap Storage. This option is about halfway down the Settings page. Doing so opens a list of your Android's storage locations, including the SD card.
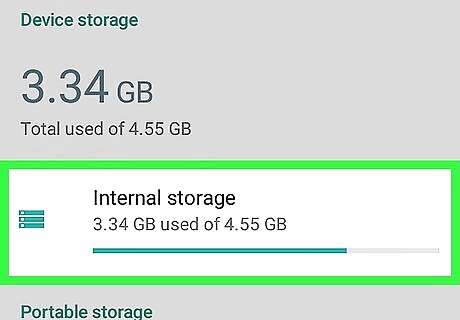
Tap Internal shared storage. It's at the bottom of the "Device storage" group of options. Some phones or tablets might just have Internal storage here instead.
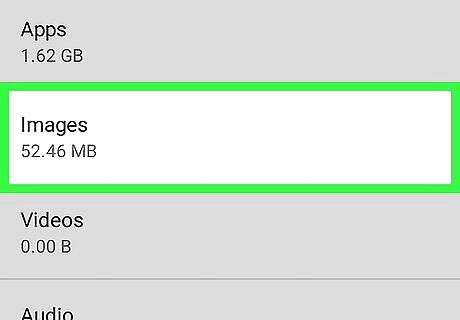
Tap Images. You'll find this option near the middle of the menu.
Select an image location. Tap Camera to view any photos you've taken using your Android's camera. You can also tap another folder listed here to pull photos from a different location (e.g., an app) if applicable.
Select photos to move. Tap and hold a photo to select it, then tap other photos you want to move to select them as well. You can also tap ⋮ and then tap Select all to select every photo in the folder.
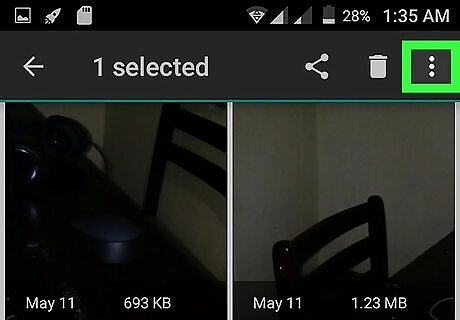
Tap ⋮. It's in the top-right corner of the screen. A drop-down menu will appear.
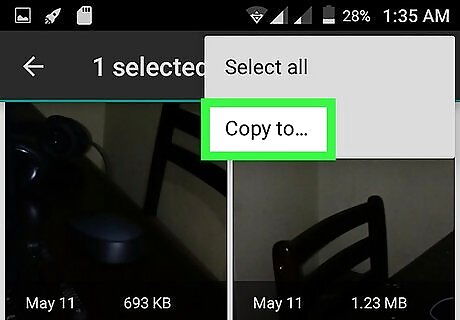
Tap Move to…. This option is near the top of the drop-down menu. Doing so prompts a pop-out menu with storage locations to appear. If you'd rather copy the photos to the SD card, instead tap Copy to... in the drop-down menu.
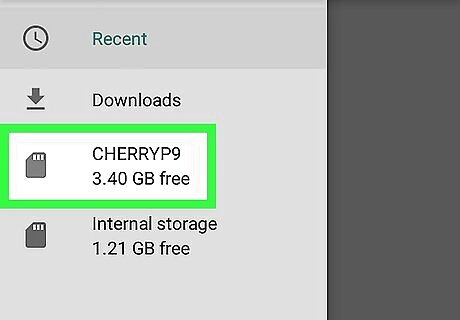
Tap your SD card's name. It's in the pop-out menu. The SD card's storage page will open.
Select a folder to move your photos to. Either tap an existing folder, or tap ⋮ in the top-right corner, select New folder, and enter the folder's name. Photos are typically stored in the Camera folder, which is in the DCIM folder on your SD card.
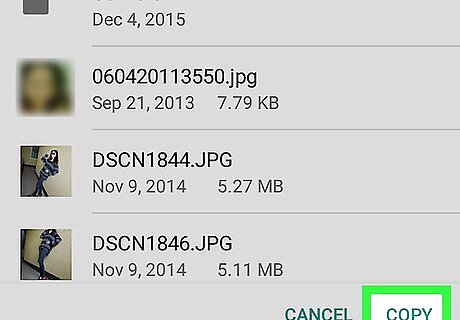
Tap MOVE. It's in the bottom-right corner of the screen. Your Android's photos will be moved from the internal hard drive onto the SD card. If you selected Copy to... instead of Move to..., your photos will be copied onto the SD card, but will also remain on your Android's hard drive.
Using ES File Explorer
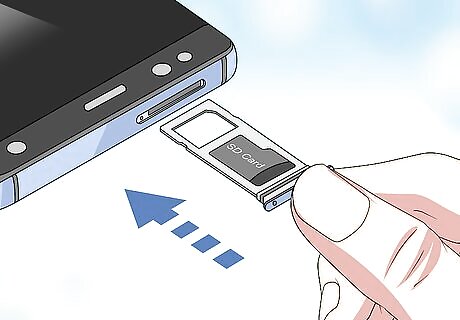
Make sure your Android's SD card is in place. If you need to insert the SD card, you may need to remove the back from your Android. In some cases, you'll need to remove the battery from your Android as well before you can access the SD slot.

Download the ES File Explorer app. Skip this step if you already have ES File Explorer on your Android. To do so: Open the Google Play Store Android Google Play Tap the search bar. Type in es file explorer Tap ES File Explorer File Manager Tap INSTALL Tap ACCEPT when prompted. Wait for ES File Explorer to finish installing.
Open ES File Explorer. Tap OPEN in the Google Play Store, or tap the ES File Explorer app icon. You may have to scroll through a few introductory pages before you can proceed.
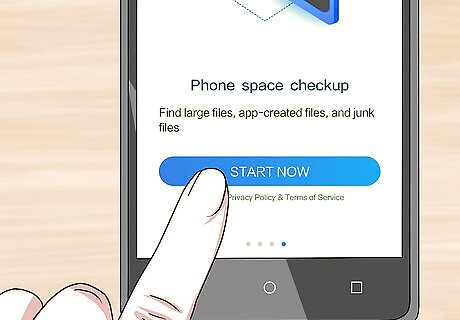
Tap START NOW. It's a blue button in the middle of the screen. This will open ES File Explorer's main page. Skip this step if you've opened ES File Explorer before.
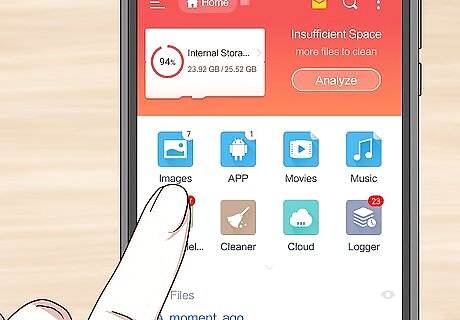
Tap Images. It's in the middle of the page. Doing so will open a list of your Android's photos. You may have to scroll down to see this option.
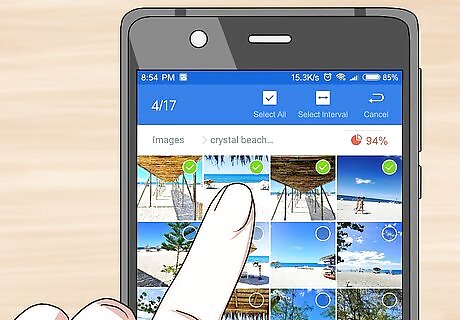
Select photos to move. Tap and hold one photo to select it, then tap any other photos that you want to move to select them as well. If you want to select all images here, tap and hold one image to select it, then tap Select All in the upper-right corner of the screen.
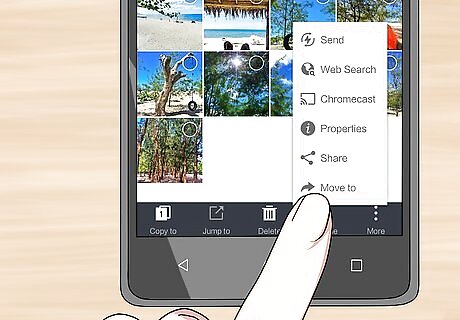
Tap Move to. It's in the lower-right side of the screen. A menu will appear. If you'd rather copy the images to your SD card, instead tap Copy to in the bottom-left corner of the screen.
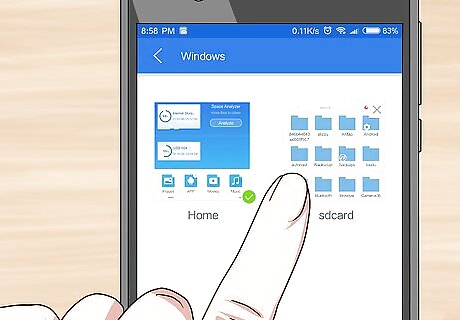
Select your SD card. Tap your SD card's name in the resulting menu. Depending on your Android, you may not have to select your SD card—it may open automatically.
Select a folder. Tap the folder on your SD card into which you want to move the selected photos. Doing so will immediately move the photos onto the SD card. If you selected Copy to instead of Move to, the photos will be copied instead.


Comments
0 comment