views
Starting Your Hair Wrap
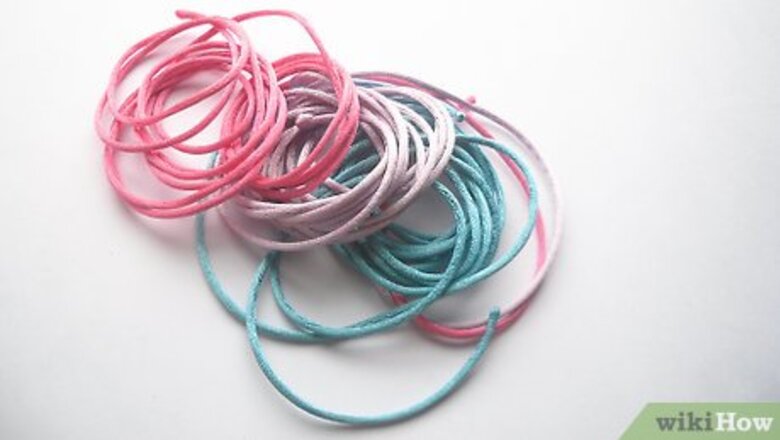
Measure out the length of thread. Cut the thread or embroidery floss to your desired length. A good rule to follow is measuring the thread against the chosen strand of hair and make the thread 2-3 times longer than your hair or the extension you are wrapping. Measure out as many colors as you want to add to the first wrap and lay them out together.
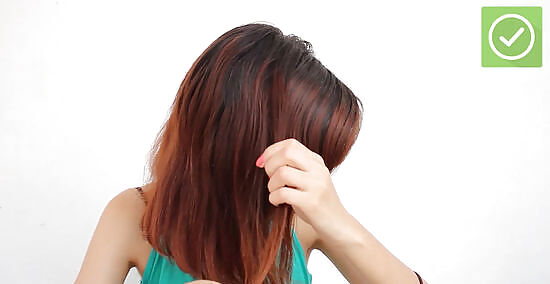
Select and separate the section of hair you want to wrap. Choose a section of hair that is no thicker than a pencil. Most who wrap their hair go for a subtle location at the base of their hairline (by their neck) to create a for a pop of color. If you want to go all out, pick a section at the crown (top) of your head. Separate the chosen hair section and wrap a ponytail holder around your remaining hair, or clip it back to keep it out of the way.
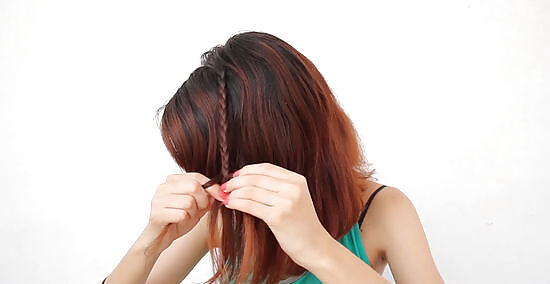
Secure the selected hair. Braid the section chosen as tight and clean as possible, with minimal flyaways and unwanted bumps. Separate the small section of hair into three pieces. Braid the hair down as far down to the end as possible. Secure with a small elastic. You can choose to straighten the strand of hair but you don't have too. To smooth out the little frizzy pieces of hair that might be sticking out, lightly wet your fingers and slick down the entire braided strand. It is also helpful to secure a tissue with bobby pins at the root of the braid to help prevent the surrounding hair from getting into the wrap when you start.
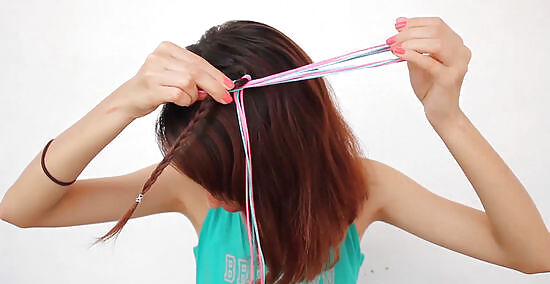
Gather the colorful threads and fold them in half. Using the end of the thread, tie the floss onto the base of the braid as close to the scalp as you can with a basic double knot (making a number 4 and sliding the end of the thread through the 4). Make sure the knot is tight and secure. Secure the thread again (or thread bundle of several colors) with another double knot. Fold the excess thread down against the hair so that it gets tucked inside the wrap as you work your way down.
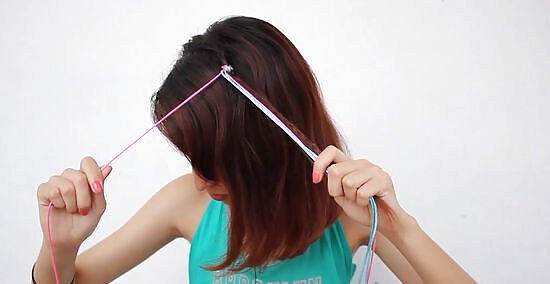
Choose your starting thread color. Choose one string color to wrap around the braid for the several colors you have in the bundle. This means separating one color strand of thread and holding the rest of the colored strands smooth with the braid.
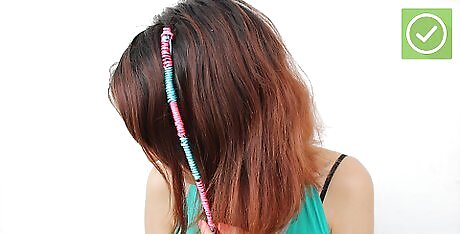
Have fun creating your hair wrap - be patient and be creative! Once you try these basic designs, you can try new ways to create different unique patterns on your own braids. Most commonly, people choose to wrap just one braid but don't be afraid to wrap several braid strands or even do your whole head! You can keep your hair wrap in for a couple days or an entire month. Most people decide it is time to remove the wrap when it starts to smell or feel funny. No matter what, do not leave it on longer than a month. An old wrap can mold. If you want to keep rocking the wrap look, remove the old one and start a new one on a different piece of hair. To remove the hair wrap, carefully snip the knot off and unravel the thread. Be careful to avoid cutting your own hair.
Creating a Simple Wrap
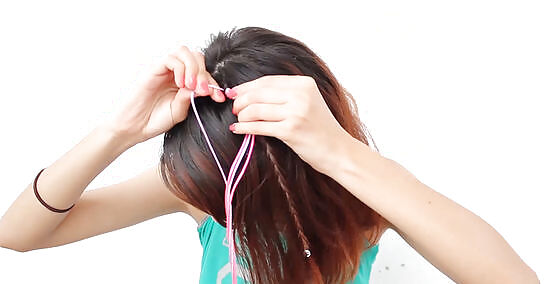
Start wrapping the braid with a simple wrap. Pull the first piece of colored thread clockwise tightly around the braid until you are ready to switch colors.
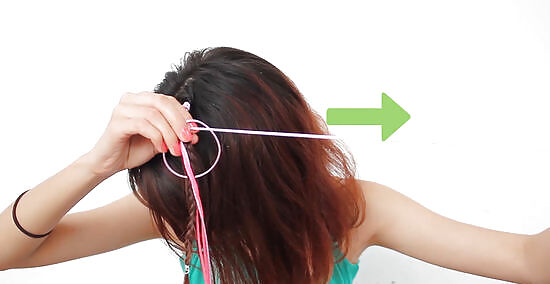
Change thread colors. Wrap with the first color thread until you have gone about an inch or so down the braid. To switch to a new thread color, tie a knot around the wrap with the first color, then lay it down with the other strands and pull out another color. This will secure the wrap at the color change. The tightness of the first color will hold down the next color so you don't have to worry about it becoming loose. You can wrap down about an inch again or vary the length to create an alternating design pattern of colors.
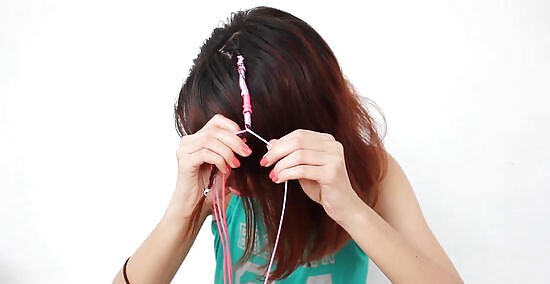
Next repeat the switch. Keep wrapping until you use up all the colors in your original bundle. You can get more creative by using two colors of thread and wrapping them at the same time to get alternating colors. To get even more creative, you can use three colors of thread wrapping them in together (which creates an alternating color scheme).
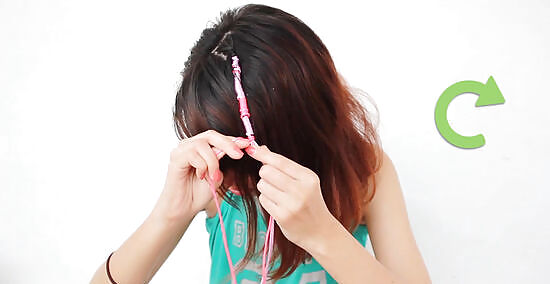
Alternate and knot each color. Wrap one color using your knot choice down approximately one inch but instead of tying it off with a final knot you will loop the thread through itself and secure. Then take the additional two strings from the top of that 1 inch (2.5 cm) section, and make crisscrosses over the top of the 1 inch (2.5 cm) section you just created with the first color of the three. Secure all three strings at the bottom with a double knot. HINT: This is often a great place to add a decorative charm or bead. Use clear fishing line to tie the charm or bead into the thread bundle.
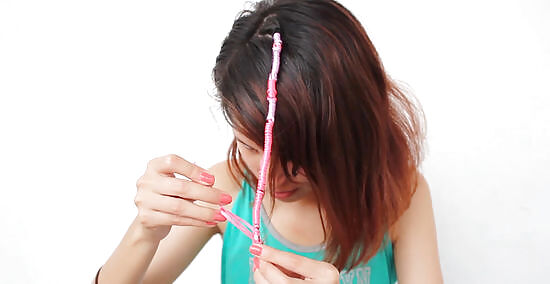
Remove hair elastic and tie the wrap at the end. To finish the wrap, pull the current thread through the loop of the final wrap to make a knot. Trim any excess thread from the bottom.
Creating a Forward Knot Hair Wrap
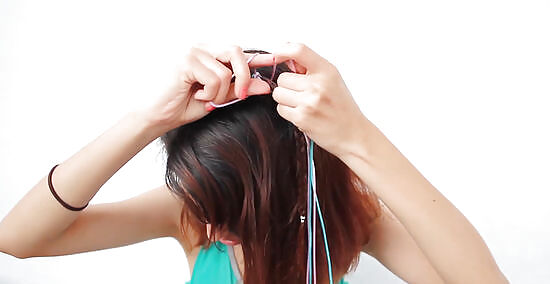
Tie each wrap with a forward knot. Do this by wrapping the thread around the hair, then taking the string on the left and crossing it over the string on the right and make a 4. Then tuck the end under and through 4 - pulling the end through the loop created (example at right). Pull the knot tight. This creates a half forward knot. Repeat to create a full forward knot. Continue repeating to create a series of knots that will work all the way down the hair wrap. This method will make a very secure wrap.

Start to alternate colors. To switch the thread color, lay it flat with the braid and pick a new color. Begin tying more forward knots with one color until you are about an inch down and then switch to another color. Repeat this all the way down the braid until you have used up all the colors and reached the end of the braid. If you run out of string, just tie another piece onto the end of the last string/thread with a secure knot. Clip off excess thread.
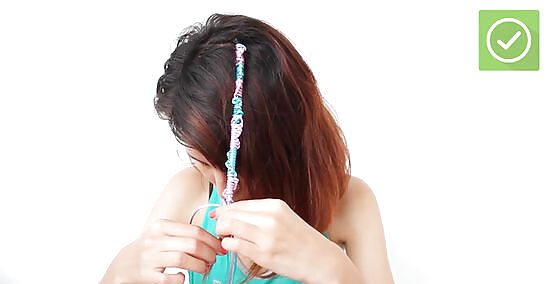
Remove hair elastic and tie the wrap at the end. To finish the wrap, pull the current thread through the loop of the final wrap to make a knot. Double it with the other threads to make the knot extra secure. Trim any excess thread from the bottom.
Creating a Chinese Staircase Hair Wrap
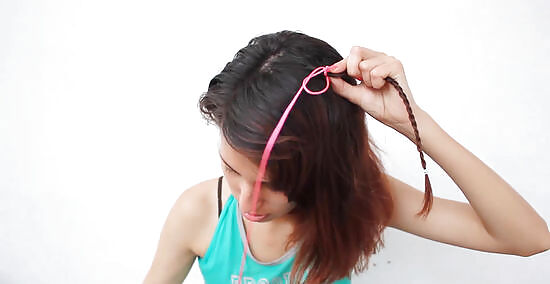
Start the Chinese Staircase hair wrap. Take thread behind, hold it into a 4 with your hand and pulled of thread through like a knot. Then pull it all the way up to your scalp or the top to the braid.
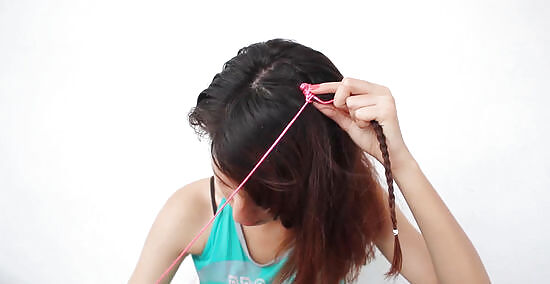
Repeat. After about 10-15 times of doing this same 4 tie knot, the wrap will be about an inch down the braid and you will start to see how the pattern is going around and around your braid.
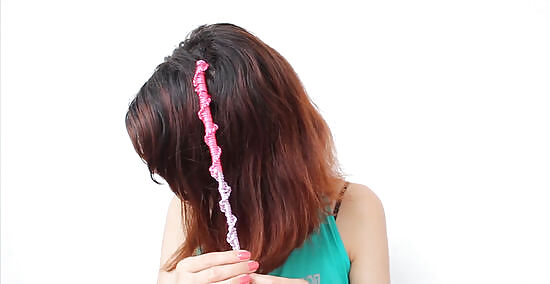
Tie knots in a circular motion around the braid. To make the pattern flow, when you are tying it, you will pull it in a circle for each new knot. Don't pull it too tight, just a light tug up so that it is easy enough to get out of your hair when you are ready to remove the hair wrap.
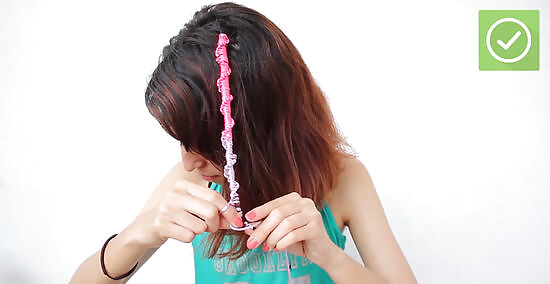
Remove hair elastic and tie the wrap at the end. To finish the wrap, pull the current thread through the loop of the final wrap to make a knot. Double it with the other threads to make the knot extra secure. Trim any excess thread from the bottom.







Comments
0 comment