
views
Creating Announcements with Pre-made Templates on the Computer

Pick a program. You can use a website for pre-made designs, or use a program such as Microsoft Publisher, Microsoft Word, or Adobe Photoshop. Some websites offer free designs you can print at home.

Choose a design. Most programs come pre-programmed with basic designs, and certain websites, such as Snapfish, have free designs specifically made for graduation. To choose a design, find the "Templates" section in the program you're using. Often, you can open the templates where you'd create a new document. Click through them until you find an appropriate category, such as "Invitations." When choosing a design, decide what you want to convey. Do you want something more serious? Use a script font and clean lines. If you want something more fun, pick a goofy font and include some cute photos. Select the template that best fits the mood you want to create. Customize your card. You can change design elements by clicking on them. Use the toolbar to change colors, fonts, and texts.
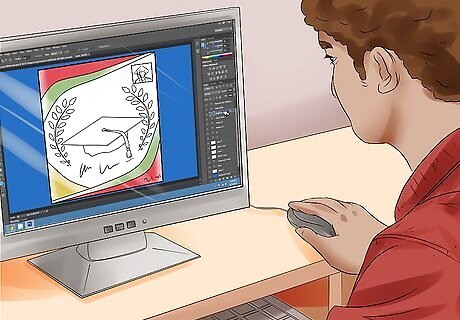
Create your own design. If you don't like any of the designs provided, create your own design. You can do something simple, such as creating a border and placing the graduation information inside. For instance, in Microsoft Publisher, you can change the color scheme to match your school's colors. Add a border. Click on "Insert" and then "Borders and Accents." Choose one you like from the drop-down menu, or click on "More Borders and Accents" if you want something different.

Include the graduation information. Include your name, the location of the graduation, your school, and the date and time of the graduation. You might also include the address and the degree or level of education you're completing. To insert new text in a program like Microsoft Publisher, you'll need to insert a new text box. Click on "Insert" and then "Text Box." You can then type in the text box you've created. Make sure to change the font to one you like by highlighting the text and using the toolbar. In a program such as Microsoft Word, you won't need to insert a text box, but you might have more difficulty placing your images and borders. For instance, it might say, "You're invited to the graduation of Jessica Jay Jones from the University of Hard Knocks at Cornwall Stadium on January second two-thousand sixteen at ten o'clock in the morning. She will be receiving a Bachelor's of Science in Psychology." You don't necessarily need to include the degree, but you can include the address of the graduation ceremony if you choose.
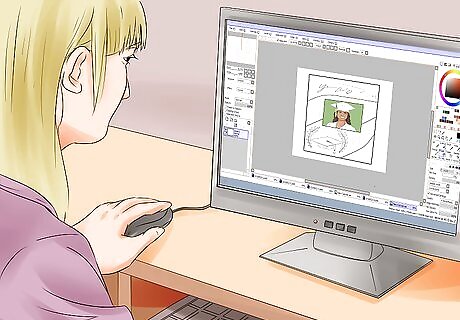
Insert a picture. The benefit of creating an announcement on the computer is that you can insert a picture before you print it off. To insert a picture in Microsoft Publisher, click on "Insert" and "Pictures" to choose the picture you want to add.
Print off the announcements. You can print off the announcements at home for free, but you can also take them to a local printing shop so they look slightly more professional.
Using a Graduation Kit

Visit your local office supply store. You can also find graduation announcement kits online or at big box stores. Buy extra. You are likely to mess up one or two, so be sure to buy a few extra.
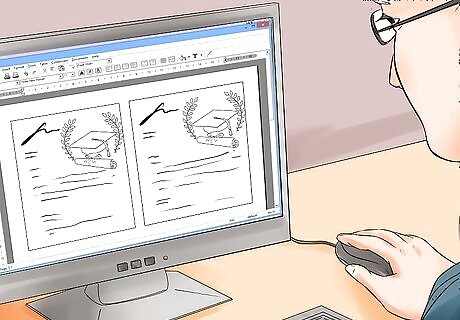
Create the information you need in word processing program. Set it to half a page, so you know how much room you have. Include your name, the location of the graduation, your school, and the date and time of the graduation.
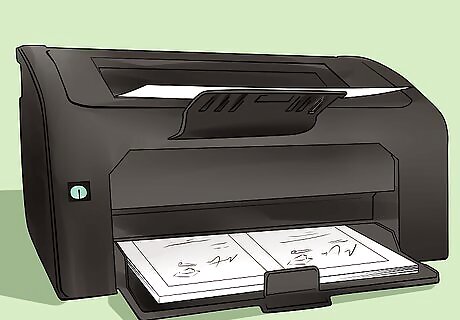
Print the information on the card. Most of these kits include half-sheet announcements. When printing on them, make sure to set your page size to a half sheet.
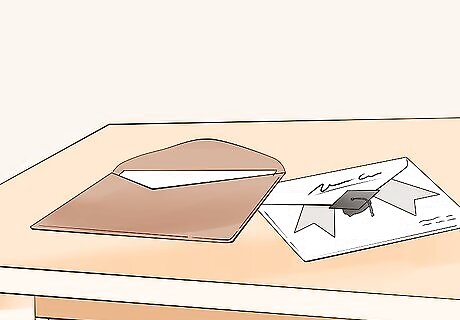
Use the provided envelopes. Place the cards in the provided envelopes. Include a picture if you would like.
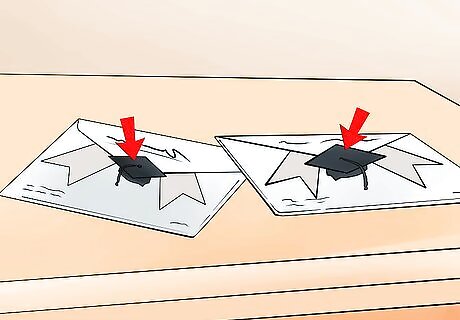
Seal with the provided stickers. Many kits include stickers for seals. Seal and address the envelopes.
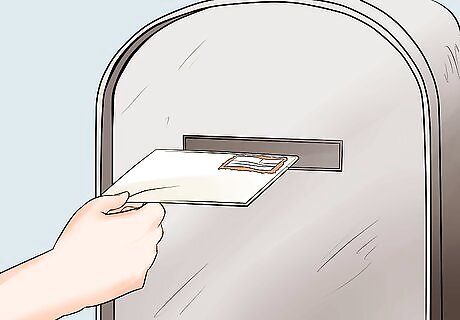
Send out your announcements. Place a stamp on the invitation, and send out your announcements.
Making Announcements by Hand

Try a chalkboard card. Creating a chalkboard card is a cute way to say you're done with school. Start with a set of blank note cards. Brown craft paper cards work well for this project, but you can use any color or style. You can also make your own cards by folding cardstock in half. Print or write your graduation announcement information on the inside. Remember to include your name, your graduation date and time, your school, the degree or level of education you're achieving, and the location. Paint a splotch of black on the front. The splotch should cover most of the middle of the card, but it doesn't need to be a perfect square. In fact, a swath of of black paint can look more interesting than covering the whole square. However, if you want to create a perfect square, you can use a piece of cardboard as a stencil. Let the paint dry. It needs to be dry to the touch before you move on to the next step. Draw a note on the chalkboard you've created. Use a piece of chalk or a chalk pen. For a graduation announcement, try writing something like "Done with My ABC's" in a fun font. If you're worried about your handwriting, use a stencil to help with your lettering. Spray a fixative over the design. In a pinch, you can use a light coating of hair spray. Hold the spray over the card and lightly mist it, being sure to cover the front in the fixative. Let it dry. Slip a picture inside. Your family and friends want to see you, the happy graduate.
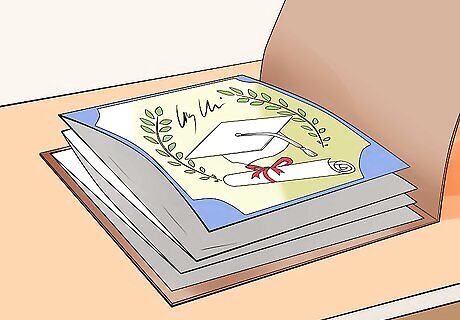
Create a simple layered invitation. Use a textured piece of 8 1/2 inch- by 11-inch paper, such as watercolor paper. You can also use a textured piece of colored paper in your school colors. Cut it in half. Trim a patterned piece of paper to be slightly smaller than the first. Center it in the middle of the paper and glue it on. For this step, you can use your school colors, or just a pattern you like. Print your graduation information on a smaller piece of paper. You should be able to use a fourth of an 8 1/2 inch- by 11-inch piece of paper. If you chose a serious pattern in the above step, choose a more serious scripted font. If you chose a less serious pattern, try a more interesting font. Glue it in the middle of the paper. Stick the whole invitation in an envelope with a picture.
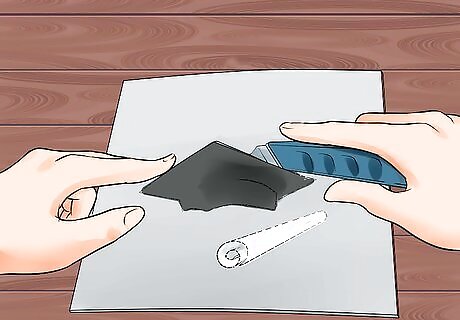
Use die-cuts. Choose a piece of paper in one of your school's colors. Cut it in half. Look at your local craft store for die-cuts. Choose one that is your school's other color and that is relevant, such as a mascot or the school's letters. Glue the die cuts on in a pattern on the left side of the page, going from top to bottom. For instance, you place the letters from top to bottom or layer shapes to make the card pop. Glue a smaller piece of paper on the right that either matches the die-cuts or is a neutral color. Print or write your graduation information on an even smaller piece of paper. You should be able to use a fourth of a printed sheet. Use the piece you just glued on as a frame. Glue the graduation information on. Place it in envelope with a picture. Address and send the invitation.





Comments
0 comment