views
Forming the Walls
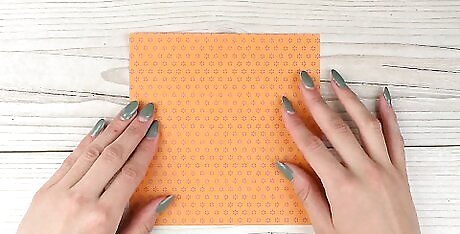
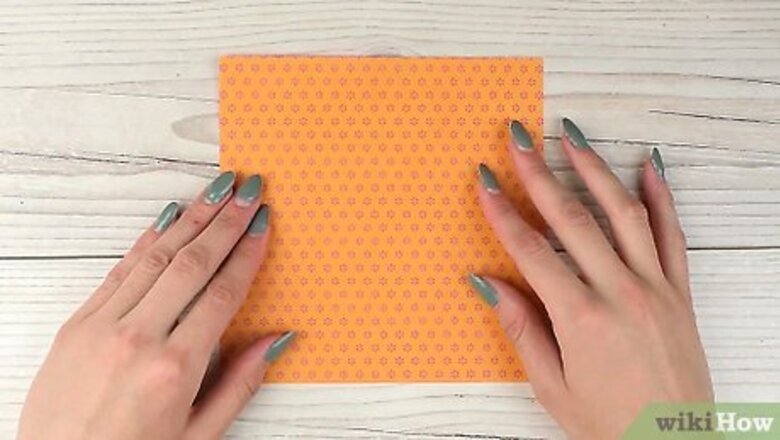
Place a square sheet of origami paper with the colored side face down. Grab a square colored sheet of origami paper that’s around 6 by 6 in (15 by 15 cm), which will work well for your project. Double-check that the colored portion of the paper is facing down, so your folds can be as accurate as possible. Any kind of square paper will work well for this. If you want to make a large origami house, consider using a larger piece of origami paper.
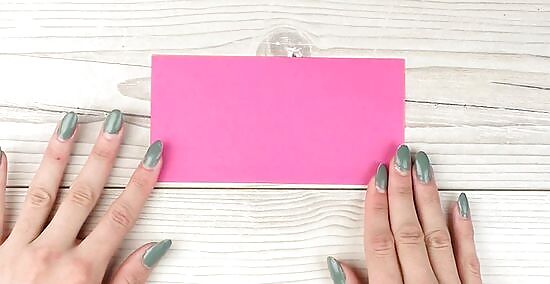
Fold the paper in half from top to bottom. Check that the top and bottom edges of the paper are meeting one another so there’s an even crease going horizontally along the center of the paper. The colored side of the paper will be visible once you start folding it.
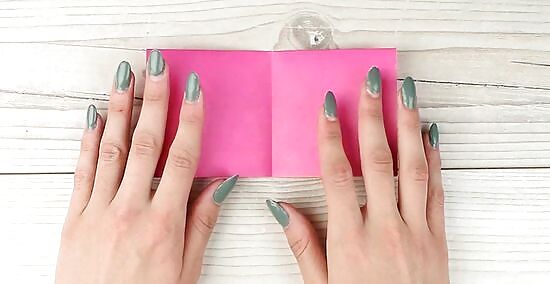
Fold the rectangle in half again to form a square and then unfold it. Fold the paper in half again, transforming the rectangle into a square. Crease along the sides of the square, then unfold the paper so it’s rectangular again. At this point, there will be 2 total creases on your origami paper.
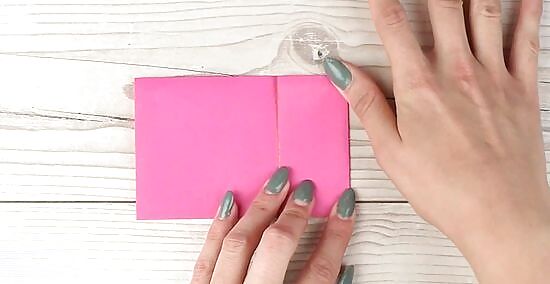
Fold both sides toward the central crease to form quarters. Take the right section of folded paper and fold it along the center, vertical crease. Crease along the edge to make a defined fold, then repeat the process with the left section of your origami paper. For this part of the process, just fold your paper into quarters.
Creating the Roof
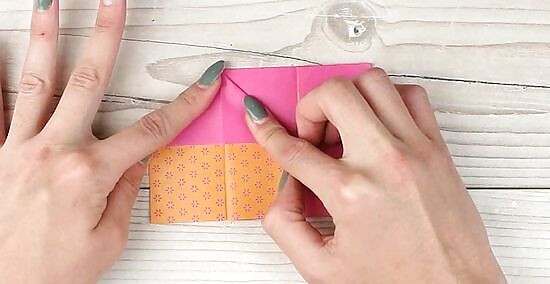
Open the upper left flap and press it into a triangle. Pry open the upper left flap of your origami house, where the paper is folded into 2 layers. Separate these layers from one another, then press on this fold to create a distinctive triangle. You’ve now created half of the roof. Currently, you’re creating the back of your origami house.
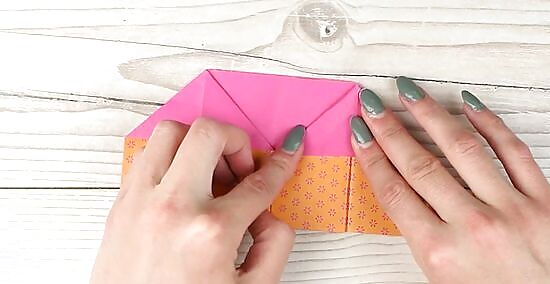
Repeat this process with the upper right flap of the paper. Take the upper right flap on your origami house and separate the 2 layers of paper from one another. As you did before, press the upper crease into a triangle shape along the right side of your origami house, creating the other half of the roof. This part can be a little tricky. Don’t be discouraged if it takes a few tries before you get it right!
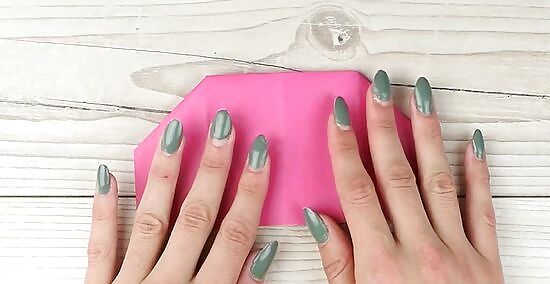
Flip over the paper to view your finished origami house. Turn your origami paper so the newly formed triangles are face-down. At this point, look for a long, distinctive roof that’s separated from the lower section of the house. If you’d like, you can draw windows, doors, shingles, and other decorations on your house using a marker.
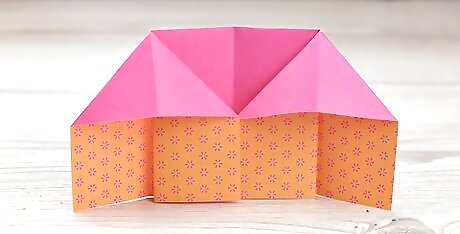
Place the house upright to display it. Set the house on a flat surface, like a table or countertop. With the bottom folds, your house can stand upright on most surfaces. Check that the 2 pressed triangles are facing backwards, and that the rest of the home is facing forward.




Comments
0 comment