views
Making the Hydroponic Bed
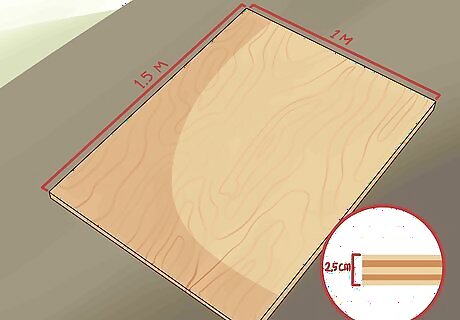
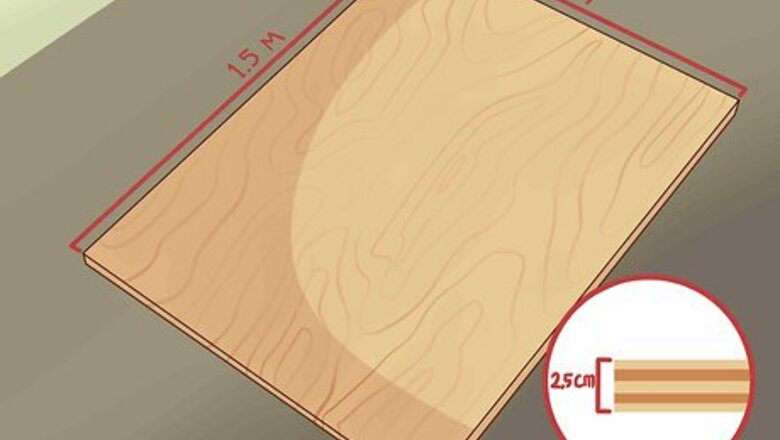
Cut out a piece of plywood measuring 1x1.5m, and 2.5cm thick. This will be used as the bottom of the hydroponic bed.
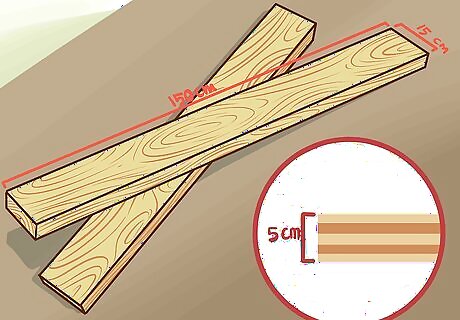
Cut two pieces of lumber 15x150cm, and 5cm thick. Cut a further two pieces of lumber 15x85cm, and 5cm thick. These will be used as the siding of the hydroponic bed.
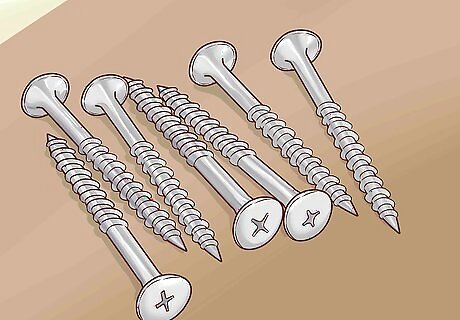
Get seven 1/2cm deck screws. Screw the lumber border pieces together to create a frame, using two screws to attach each two lumber borders together. Then drill a 2cm hole in the centre 1cm from the bottom. This will later be used to drain excess water, preventing the plants from becoming swamped.
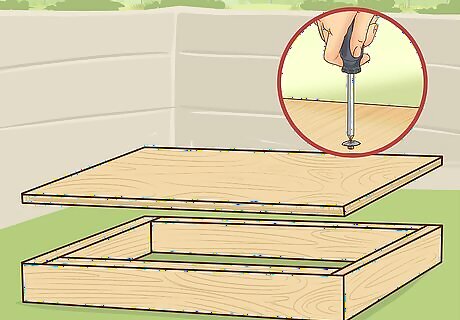
Screw the frame down onto the plywood. Place the frame down and the plywood on top. Use enough screws to make it secure, about 1 every 20cm is enough.

Use standard 6 millimetre black plastic to hold the water. Cut the plastic giving the box an extra 30cm on each side. That would make the 6 millimetre plastic 1.3x1.8m. You also need to cut a hole in the plastic 44cm from the edge in the middle; this will also be used to drain water if it fills up too much, to prevent drowning the plants.
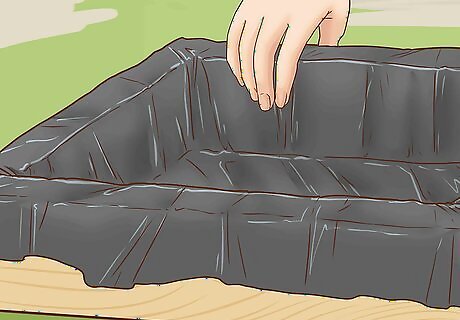
Place the plastic in the box, smoothing it out perfectly. It has to be a completely smooth bottom. Wrap the excess over the edges of the box and tape it for now. Be sure to make sure the hole in the plastic and the hole in the wood line up.
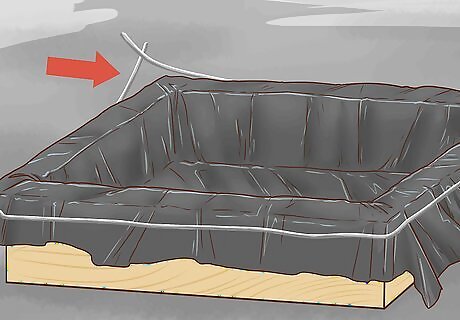
Add wire. Now that it is taped in place and smoothed, wrap wire around the edges to keep it into place.
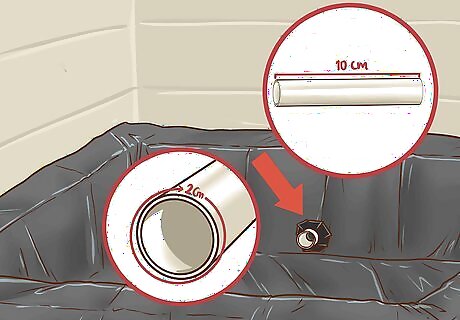
Take a 2cm circumference pipe, 10cm long and place it through the plastic and the wood holes. It should only be sticking into the box about 4 cm.
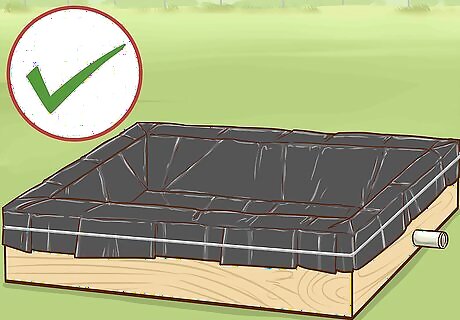
Done. The bed is complete and you can now start prepping it for planting. You can repeat as many times as you want until you get the amount of beds you want for your space.
Prepping the Bed for Planting
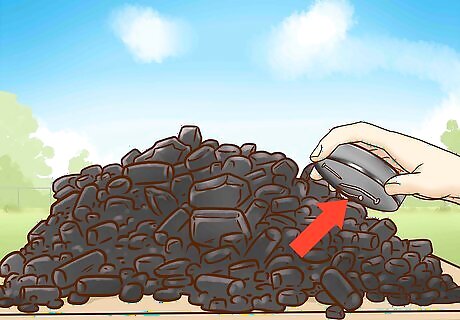
Take 5kg's of charcoal and sift through it for nails with a decently powerful magnet. You will find quite a few since the majority of what's being burned is pallets, and you don't want nails in your hydroponic bed, for obvious reasons.
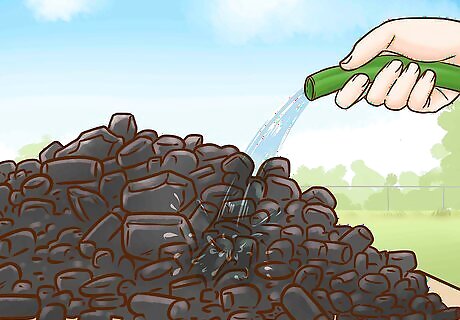
Rinse all of the charcoal thoroughly to just clean it off for the plants.

Leave the charcoal out to dry for about a day in direct sunlight while being stirred occasionally.
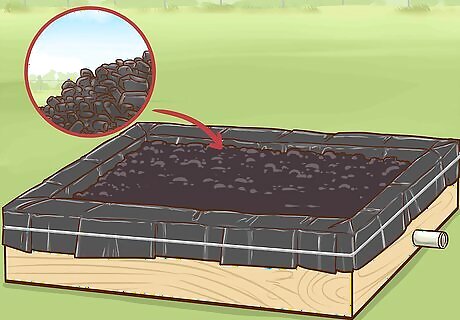
Once dried, the charcoal is ready to go into the bed, and you are finished with this part.
Making the Nutrient Water
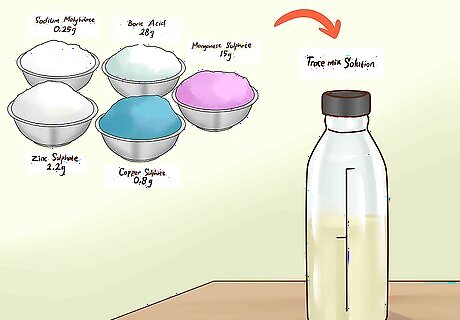
Make the trace mix solution. Take the 1L bottle and fill it halfway with the hard water. Add the nutrients (Zinc Sulphate: 2.2g, Manganese Sulphate: 15g, Copper Sulphate: 0.8g , Boric Acid: 28g, Sodium Molybdate: 0.25) one by one, letting them dissolve before adding the next one. Once finished, fill the bottle up to 1L. This will now be referred to as the Trace Mix Solution. It can be saved and used multiple times afterwards.
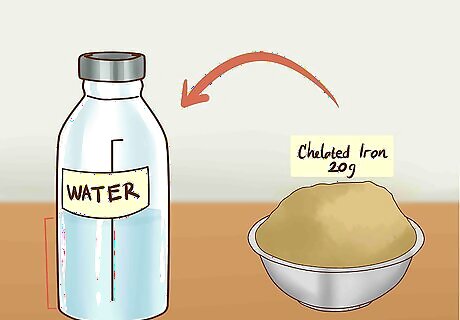
Make an iron chelate solution. Fill the second 1L bottle halfway with hard water. Add the 20g of Chelated Iron from item #7. Fill the bottle up to 1L. This too can be used multiple times afterwards.
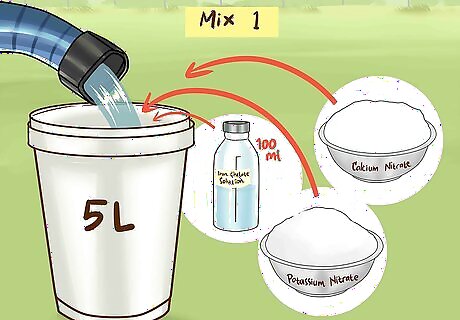
Take a 5L container, and fill it up with 4L of hard water. Add the Calcium Nitrate (item #2) and let it dissolve completely. Add the Potassium Nitrate (item #3) and let it dissolve completely. Add 100ml of the Iron Chelate solution. Fill the bucket up to 5L with water. This will be known as Mix 1.
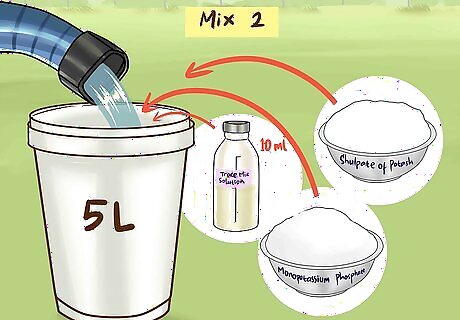
Take the second 5L container and fill it up with 4L of hard water. Individually add the Sulphate of Potash (#4) Monopotassium Phosphate(#5) and Magnesium Sulphate individually, allowing each to dissolve fully before adding the next. Add 10ml of Trace Mix Solution. Fill the bucket up to 5L with water. This will be known as Mix 2.

Understand that the reason you make two solutions (Mix 1 and Mix 2) is to avoid certain chemicals from reacting with each other over time. You now have enough ingredients to supply 100L of nutrient solution for your plants.
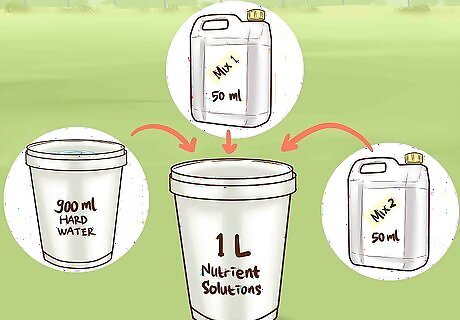
Use your nutrient solutions. Create a mix of 90% water, 5% Mix 1, 5% Mix 2. So to create 1L of nutrient solution, use 900ml of hard water, 50ml of Mix 1 and 50ml of Mix 2.
Planting
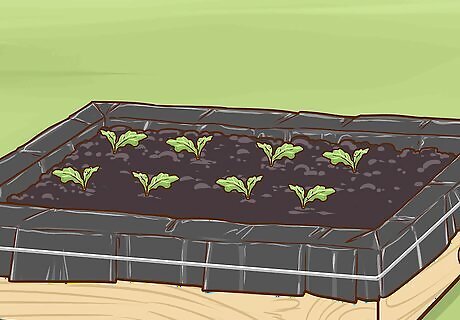
Plant the plants you desire in the charcoal bed. If they are already seedlings, plant them with a thin layer of charcoal between them and the bottom. If you're using seeds, then take out 1/4 of the charcoal and spread them and put the charcoal back on top.
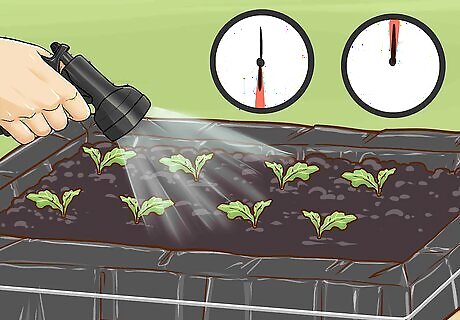
Water your plants a couple times a day and they will be strong and healthy.
Cleaning Your Charcoal
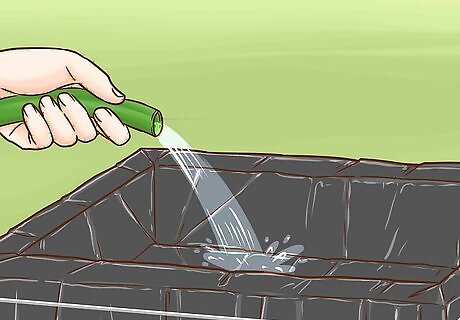
Wash the beds out. After each time you harvest anything from these beds, you should wash them thoroughly, removing any unwanted growth and cleaning it. This should happen at least three times a year.

Allow the charcoal to dry in the sun while stirring it occasionally.
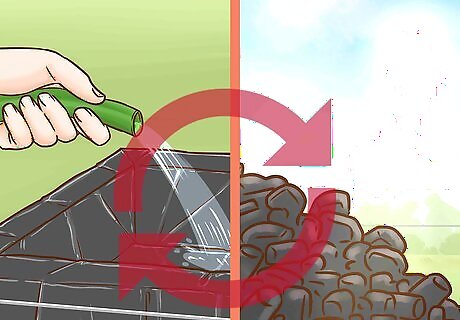
Repeat this entire cycle for clean efficient food.


Comments
0 comment