views
Measuring and Marking
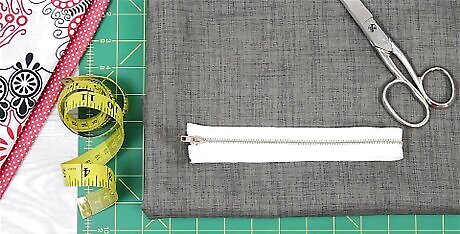
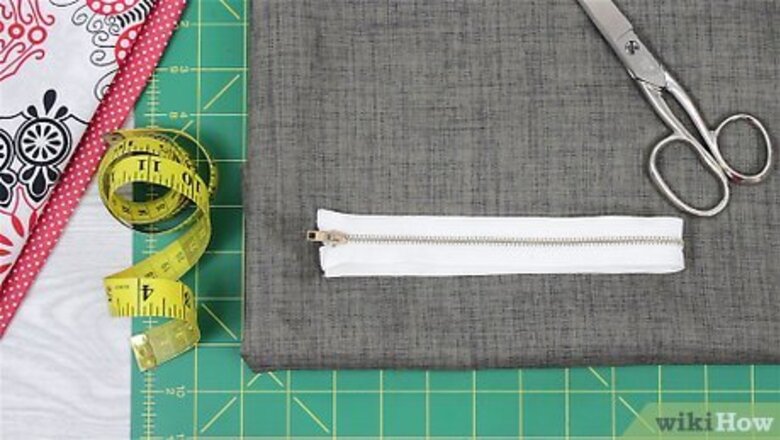
Gather your materials. Making a pleated skirt requires some basic sewing tools and a lot of fabric. You need more fabric to make a pleated skirt than you would to make a non-pleated skirt because of the folds. To make your pleated skirt, you will need: Fabric in the color and type of your choice. Cotton and wool make good pleats, while lighter fabrics like silk and satin do not. Keep in mind that you will need a piece of fabric that is long enough to fit around your waist three times, so you may want to measure the fabric while you are in the store. This amount will provide plenty of room to make the pleats for your skirt. Chalk Scissors Measuring tape Sewing machine Thread A 7” (18 cm) zipper.
Measure your waist and skirt length. Use the measuring tape to get your waist measurement and skirt length measurement. Measure around your natural waist or wherever you plan to wear the skirt on your waist. Then, measure from your natural waist (or where you plan to wear the skirt) down to the spot where you want the skirt to end. Make sure that you write down these measurements so you don't forget them!
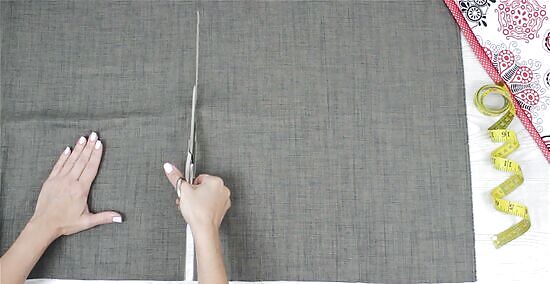
Cut the fabric to your measurements. After you have your measurements, cut the fabric so that it is 3 times the size of your waist. It should also be 2” (5 cm) longer than you want the finished skirt to be. For example, if your waist measurement was 30” (76 cm) and you want the skirt to be 35” (89 cm) long, then you would need your fabric to be 90” (229 cm) wide and 37” (94 cm) long. Make sure to cut the fabric in a straight line.
Decide on the size of your pleats. Next, you will need to decide how wide you want your pleats to be. You can choose any width you like, such as ¾” (1.9 cm), 1 ½” (3.8 cm), or 2 ¼” (5.7 cm). However, it is important for all of your pleats to be the same size, so decide on a width before you begin folding. Keep in mind that the wider your pleats are, the fewer pleats you will have. If you want a lot of pleats in your skirt, then opt for a smaller width.
Mark your fabric. When you have decided how wide to make your pleats, begin marking the fabric on the wrong side. Use twice the measurement that you want each of your pleats to be. This will ensure that when you fold the fabric over, your pleats will be the desired width. For example, if you want your pleats to be 2 ¼” (5.7 cm) wide, then you would need to mark your fabric every 4 ½” (11.4 cm).
Creating the Pleats
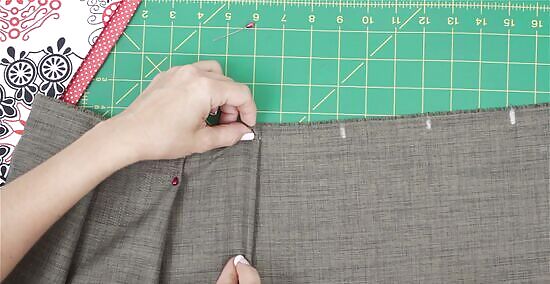
Fold and pin the pleats. After you have finished marking your fabric, begin folding the pleats. To fold your pleats, bring the fabric together at your markings and then lay the folded fabric out to one side. Make sure to fold all of the fabric in the same direction or the pleats may look sloppy. Pin the pleats in place as you go.
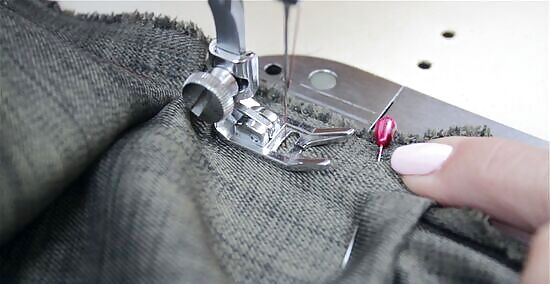
Sew a baste stitch across the top. When you have pinned all of your pleats into place, you can sew across the top of the fabric to secure them. Start by just sewing a baste stitch so that it will be easy to undo if you are unhappy with how the pleats look after sewing them.
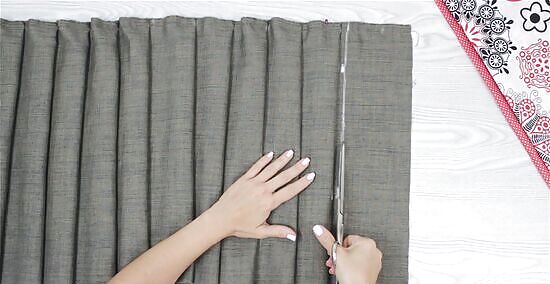
Check the measurement of the top part of your skirt. After securing the pleats, use your tape measure to see how long the top edge of the skirt is. This measurement should be able the same as your waist measurement. However, if it is more than a couple of inches wider, then you will need to cut off some of the fabric to adjust the measurement. If you used triple your waist measurement for the fabric, then it is highly unlikely that the measurement will be too small. However, if it is too small, then you will either need to start over or sew a panel onto the edge of the skirt to make up for the missing length.
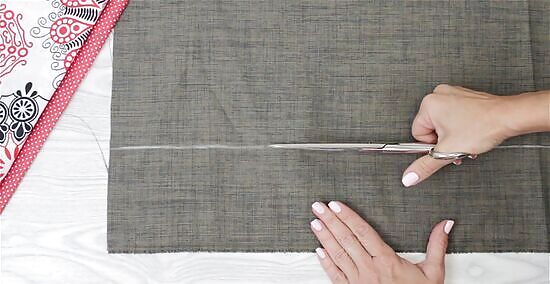
Create the waistband. Next, you will need to cut a strip of fabric for your waistband. Measure the distance across your pleats, and then measure and cut out a strip of fabric that is the same length and about 4” (10 cm) wide. You will then need to fold this piece in half lengthwise with the wrong sides aligned.
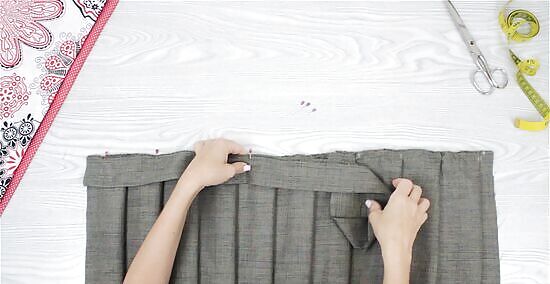
Sew the waistband to the top of the skirt. Next, line up the raw edges of the top part of your pleated fabric and the folded waistband piece. Lay the waistband piece on the right side of the fabric. Then, sew a straight stitch about ½” (1.3 cm) from the raw edges of the waistband and pleated fabric. This will secure the waistband piece to the pleated fabric and secure the pleats. Snip any excess threads after sewing the waistband into place. Don’t worry about the raw edges on the short ends of your waistband. These will be hidden after you add the zipper.
Finishing the Skirt
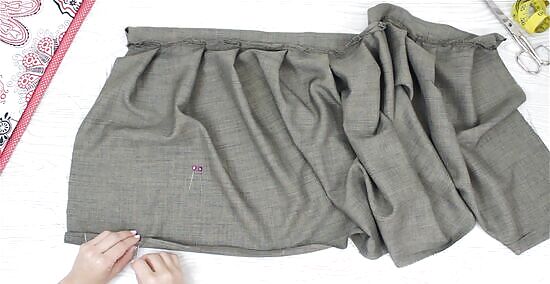
Hem the bottom of your skirt. Fold the fabric under by about ½” (1.3 cm) and pin the hem in place. Then, sew a straight stitch near the raw edge of your fabric to secure the hem. Remove the pins as you go. Make sure to tug gently to flatten out the fabric as you sew the hem. Do not sew the pleats into place. Snip any excess threads after you finish sewing.
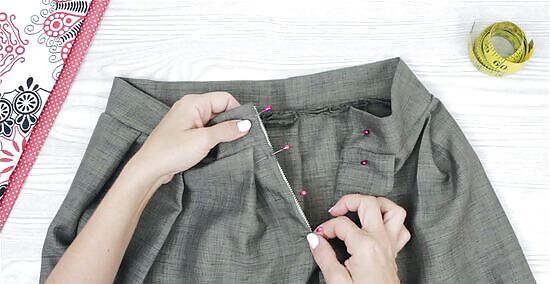
Pin the zipper into place. When you are ready to add the zipper, locate the area of your skirt that will serve as the back. Then, start pinning the edges of the zipper to the right sides of the fabric that will form the back of the skirt. Begin pinning right at the top of the waistband and move downwards.
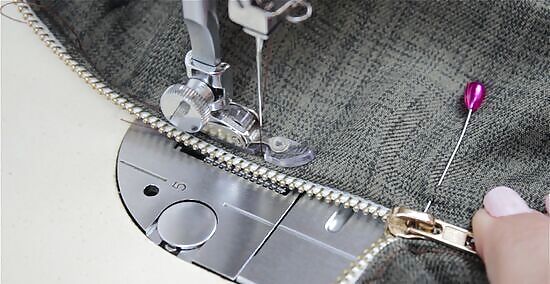
Sew the zipper into place. When you are happy with the placement of your zipper and you have it all pinned, begin sewing along the pinned edges to secure it. Sew about ¼” (0.6 cm) from the edge of the fabric and zipper. Remove the pins as you go. Snip the excess threads after you finish sewing.
Close the back seam of your skirt. To complete your skirt, you will need to close up the back seam of your skirt. To do this, line up the remaining open edges of your fabric so that they are even and so that the right sides are facing each other. This will ensure that the back seam will be hidden. Then, sew a straight stitch about ½” from the edges of the fabric. Sew all the way from the bottom of the zipper to the bottom of the skirt. Snip the excess threads after you finish sewing. After you finish sewing your zipper into place, your pleated skirt is complete!
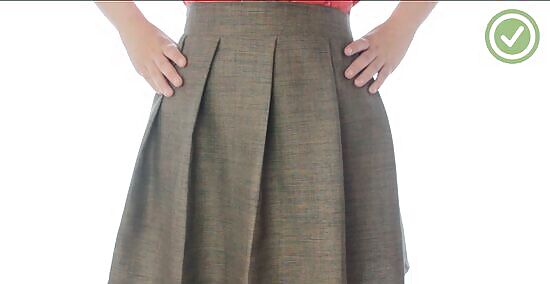
Iron your pleats. If you want to have crisp, obvious pleats in your skirt, then you may consider ironing them down flat after finishing your skirt. Iron each of the pleats individually starting from the top of your skirt and moving downwards. However, keep in mind that this is optional.


Comments
0 comment