views
Folding a Simple Origami Frame
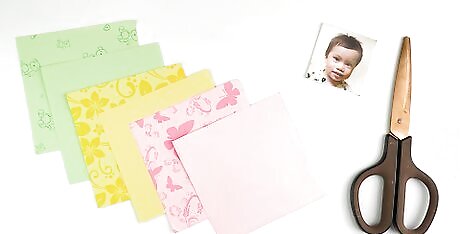
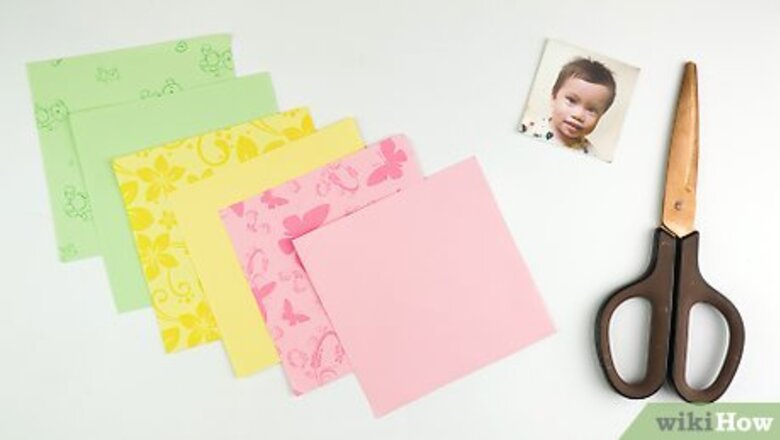
Get a square sheet of paper that's twice the size you want the frame to be. The finished frame will be suitable for a square photo that's 1 in (2.5 cm) smaller than your desired frame. If your photo is not square, then you'll have to cut it into a square first. For example, your photo is 3 in (7.6 cm), you'll need a 4 in (10 cm) frame. Your paper will have to be 8 in (20 cm). This method assumes that your paper is patterned on one side and blank on the other. If your paper is blank on both sides, just pick a side to be the front.
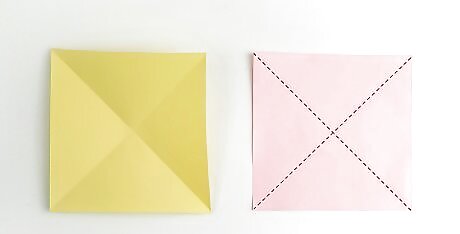
Mark the center on the front of the paper. You can do this by measuring the paper with a ruler or by folding it diagonally both ways to create an X-shaped crease. Creasing the paper won't affect the appearance of the final frame. If you choose to mark the paper, make sure that you do it on the front, patterned side. If you choose to fold the paper, be sure to flatten it back out so that it looks like a square again. If your paper is blank on both sides, just pick a side to be the front.
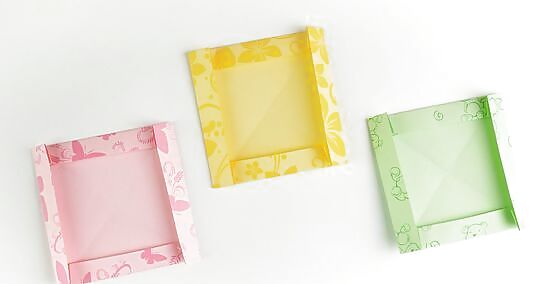
Fold all 4 edges of the paper down by 1 in (2.5 cm). Turn the paper so that the back is facing you. Fold the top, bottom, and side edges down by 1 in (2.5 cm). Run your fingernail along the creases to make them nice and sharp. If your paper is patterned, the back is the blank side. If your paper is blank on both sides, pick a side to be the back. Your paper should already start looking like a frame: a white square surrounded by a patterned border.
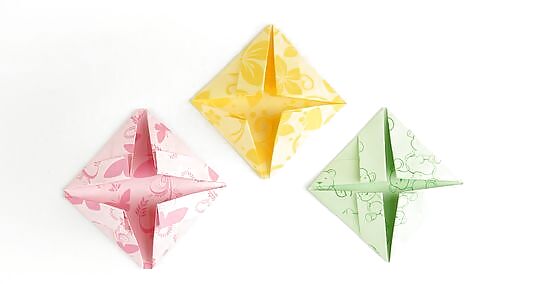
Flip the paper over and fold 3 of the corners to the center. Turn the paper over so that the front, patterned side is facing you. It should look like solid square, and not a white square with a patterned frame. Using your mark or crease as a guide, fold 3 of the corners down to the middle. Run your fingernail along the folded edges to make them nice and sharp. Leave the fourth corner alone for now. You'll either turn it into a stand or use it to hang the frame.
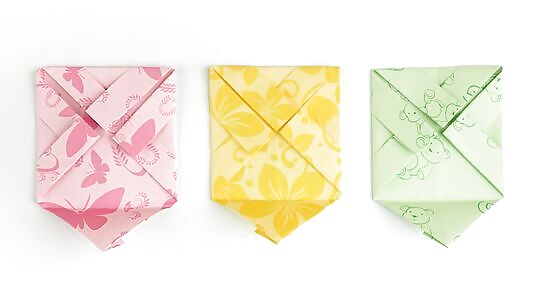
Tape or glue the corners down in the middle. Lift the corners up, place a drop of glue in the middle of the paper, then press them back down again. Don't tape or glue the fourth corner down yet. A glue stick will work just fine for this. You can also use white school glue or a strip of double-sided tape. If you used glue, wait for it to dry before moving on. This can take up to 15 to 20 minutes.
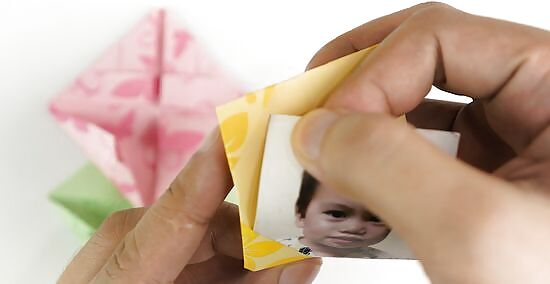
Slide the corners of your photo behind the corner flaps on the frame. Turn the frame so that the front is visible. You should see a white square with patterned corners. Take your photo, and slide each corner behind the colored patterned on your frame.

Bend the fourth corner to make a stand. Bring the fourth corner towards the middle, then run your fingernail along the edge to make a crease. Unfold the corner by about 45 to 90 degrees, then use it to prop the frame up. The entire corner/flap should be flat against the table. If you prefer to hang the frame, leave the corner unfolded. Instead, pin the corner to the wall so that the frame looks like a house.
Creating a Standing Origami Frame
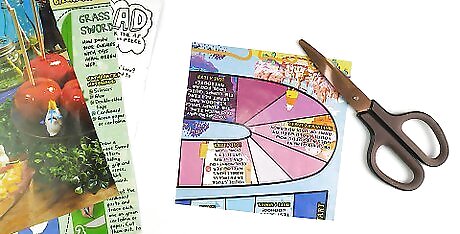
Cut a7 in (18 cm) square sheet of patterned paper. Patterned scrapbooking paper, wrapping paper, and magazine pages are all great choices here. This will fit 3 ⁄2 in (8.9 cm) photos. Re-size and cut your photo as needed.
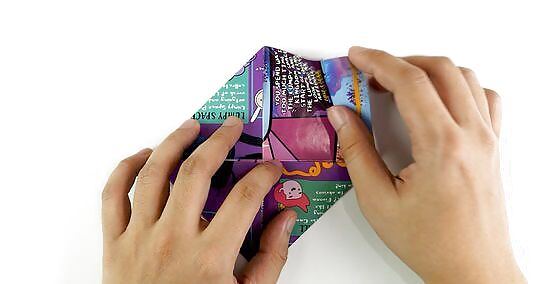
Bring the corners to the middle, crease them, then unfold them. Find the center of your paper. Next, fold all 4 corners towards the center. Run your fingernail along the folded edges, then unfold the corners. You should see a diamond shape in the middle of your paper. These creases are your guidelines. Find the center by measuring it and marking it with a pencil, or by folding the paper diagonally 2 times to make an X-shaped crease.
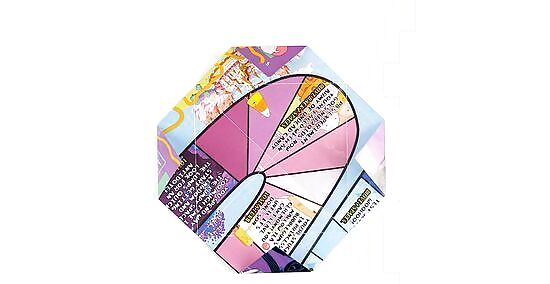
Flip the paper over, then fold the corners to the creases you just made. Turn your paper over so that the back/blank side is facing you. Next, turn it so that it looks like a diamond with a square-shaped crease in the middle. Fold each of the corners to the lines that make up the square. Run your fingernail along the creases to sharpen them. Do not fold the corners past the creases making up. You still need to use them as guides.
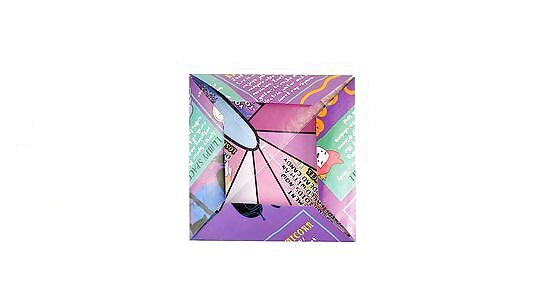
Fold the corners again using the squares creases as a folding guide. Your corners are flattened because you folded the points. Do not fold these flattened corners to the middle of the paper. Instead, fold them along the square-shaped crease you made earlier. The flattened corners will not reach the middle of the paper. Instead, they will create a frame.
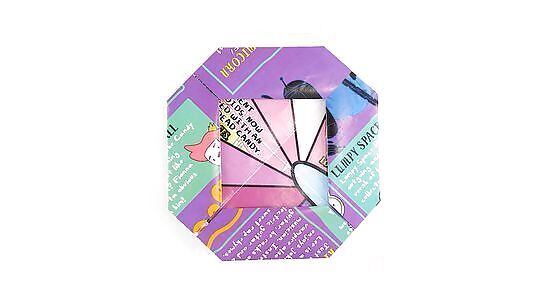
Turn the paper over and fold the corners down by 1 in (2.5 cm). Flip the paper over so that it looks like a square and not a frame with a blank square in the middle. Take each of the 4 corners and fold them by 1 in (2.5 cm). You'll end up with something that looks like an octagon. This completes the base of your frame. Sharpen the corners with your fingernail, then unfold them so that they are sticking out at 90-degree angles. These corners will make the slots for the stand.
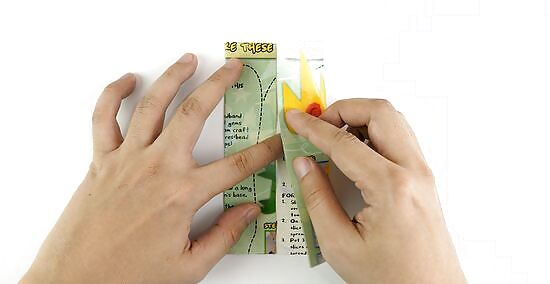
Take a second square sheet of paper and fold the side edges to the middle. Cut another square sheet of 7 in (18 cm) paper. Find the center, then fold the left and right edges down. Run your nail along the edges to sharpen the creases. This will eventually make the stand. If your paper is patterned, you can work on the front or back. It all depends on which side you want to be visible! Find the center by folding the paper in half, then unfolding it. You can also do it by measuring it with a ruler.
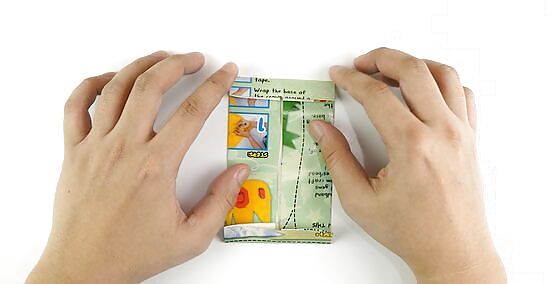
Bend the top and bottom edges down by ⁄2 in (1.3 cm). Do not unfold, rotate, or flip the paper. Instead, take the narrow top and bottom edges of your rectangle, and fold them down by ⁄2 in (1.3 cm). Run your nail along the creases a few times to make them nice and sharp. These will eventually make the tabs for your stand so that you can secure it to the back of the frame.
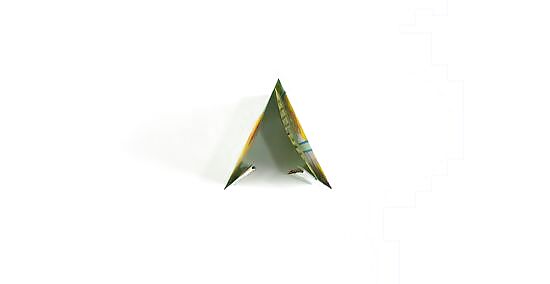
Create a crease in the middle of the rectangle, then unfold it to make a V. Fold the rectangle in half widthwise by bringing the narrow edges together and flattening the crease. Run your nail across the crease a few times, then allow the paper to unfold naturally to a V-shape. When you fold the paper, make sure that the folded ⁄2 in (1.3 cm) tabs are on the inside. This completes your stand. Now, you just have to secure it onto the back of the frame.
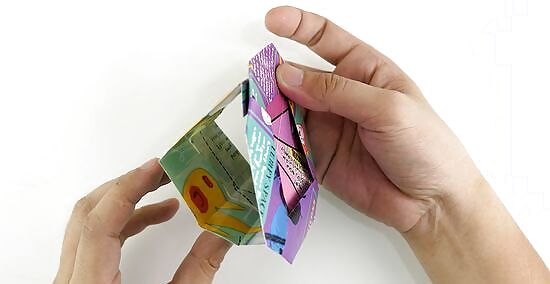
Glue the tabs on the stand to the corner flaps on the back of the frame. Turn your frame over so that the back with the folded corners is facing you. Glue the top-left and top-right corners to the top tab on your stand. Next, glue the bottom-left and bottom-right corners to the bottom tab on your stand. Alternatively: your frame's corners have little slots in them. You can slide the corners of the stand's tabs into these slots.
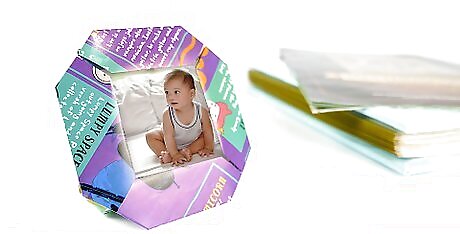
Slide your photo into the frame. The easiest way to do this would be to slide one corner at a time into the corners on the front of your frame. If the frame loosens a bit, simple fold it back into place.
Making a Realistic Frame
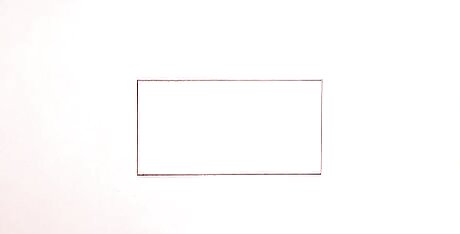
Sketch a 11 by 6 cm (4.3 by 2.4 in) rectangle on a sheet of paper. Use a ruler and pencil to draw the rectangle in the middle of your paper; this way, you'll have room to add the rest of the frame. If your paper has a patterned front and solid back, make sure that you're drawing on the solid back. Patterned scrapbooking paper works great for this, but you can also use wrapping paper, cardstock, construction paper, or even printer paper! This will eventually be folded in to create a clean, inside edge. If you want an even simpler frame, just sketch a 13 by 8 cm (5.1 by 3.1 in) rectangle, then click here to continue.
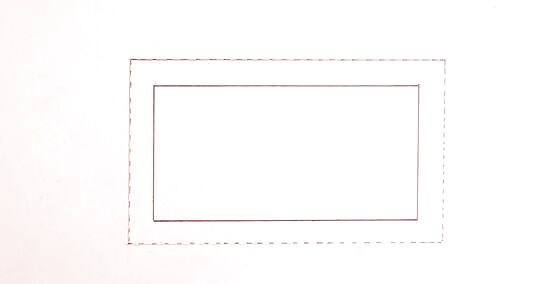
Draw a 1 cm (0.39 in) border around your rectangle. Use a pencil and a ruler to make marks 1 centimetre (0.39 in) outside the rectangle on all 4 sides. Next, connect these marks with your pencil and ruler. When you're done, you should have a 13 by 8 cm (5.1 by 3.1 in) frame with a 11 by 6 cm (4.3 by 2.4 in) hole in the middle. You will eventually fold this 1 centimetre (0.39 in) frame inside the actual frame. It will give it a nicer finish.
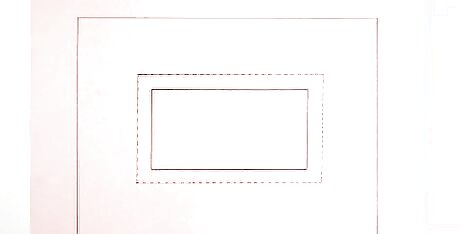
Add a 4 cm (1.6 in) wide frame around the rectangle. Make more marks 4 centimetres (1.6 in) outside the top, bottom, left, and right edges of your rectangle. Connect these marks to complete the frame. When you're done, you'll end up with a 21 by 16 cm (8.3 by 6.3 in) rectangle. You'll be folding the outside edges in, so the frame will be only 2 centimetres (0.79 in) thick. If you want a simpler frame, just draw a 2 cm (0.79 in) border around your frame.
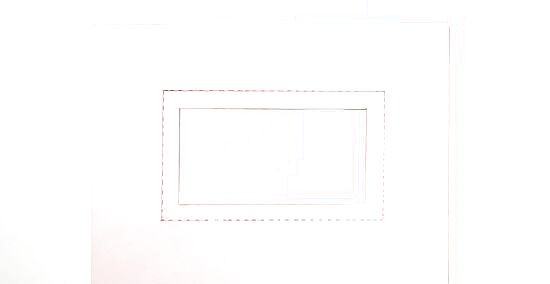
Cut the frame out, including the 11 by 6 cm (4.3 by 2.4 in) hole. Cut the 21 by 16 cm (8.3 by 6.3 in) rectangle out first. Next, cut the 11 by 6 cm (4.3 by 2.4 in) rectangle out. Leave the 1 cm (0.39 in) mini frame in the middle. You can also do this in reverse order: cut the smaller rectangle out, then the bigger rectangle. If you made a simpler frame, cut the bigger rectangle out first, then the smaller rectangle. Next, click here to continue.
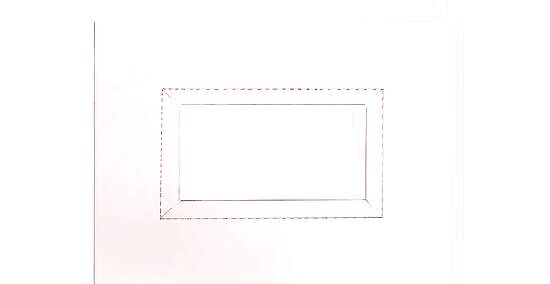
Snip the inner corners of the 1 cm (0.39 in) frame. Use a pencil to connect the top-left inner corner to the top-left outer corner of your 1 cm (0.39 in) frame. Cut along the line that you drew, then repeat the process for the remaining corners. Do not cut into the 4 cm (1.6 in) frame. Cutting these slits will allow you to fold the 1 cm (0.39 in) frame inward.
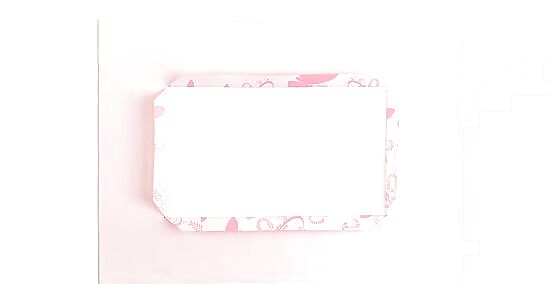
Fold the edges of the 1 cm (0.39 in) frame down. This will give the inside hold of your frame a clean, folded edge. If your paper has a distinct front and back side, make sure that you are folding the edges onto the back. Run your fingernail a few times along each fold to make it nice and sharp. These will also make flaps for you to finish gluing your frame.
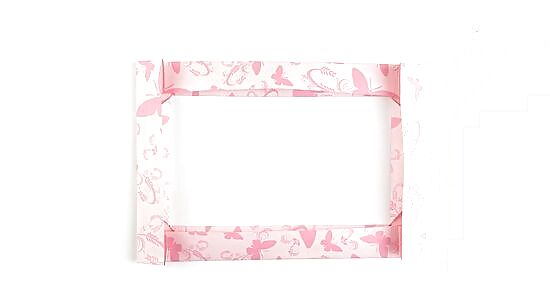
Fold the outside edges of the frame toward the inside edges. If you added a 4 cm (1.6 in) border, then you are only folding by 2 centimetres (0.79 in) on each side. If you made your frame thicker, then just fold the edges until they are flush with the inside edges of your frame.
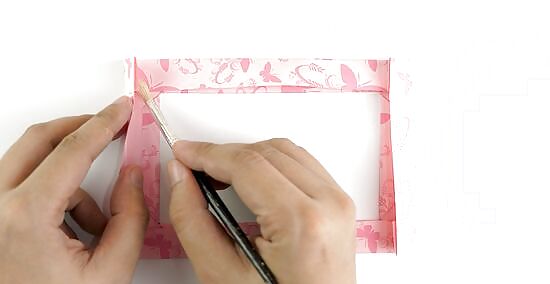
Tuck and glue the outside folded edges under the inside folded edges, if desired. You don't have to do this if you don't want to, but it will give your frame a cleaner finish. A glue stick will work just fine for this, but you can also use double-sided tape.
If you choose to use liquid glue, apply it with a paintbrush so as not to use too much. If you use too much, the paper may buckle.
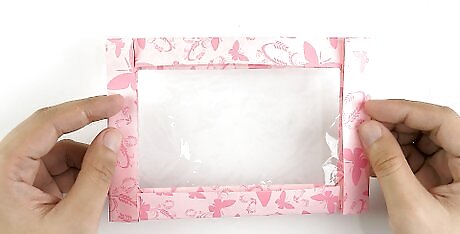
Glue a sheet of clear plastic behind the frame, if desired. Cut a sheet of plastic that's a little smaller than your frame, then glue it to the back. A sheet of plastic wrap will work in a pinch, but a piece of clear cellophane will give you a nicer finish. Alternatively, cut the plastic from a clear, plastic sandwich bag. It doesn't matter how much smaller the plastic is; as long as you can't see the edges from behind your frame, you're good.
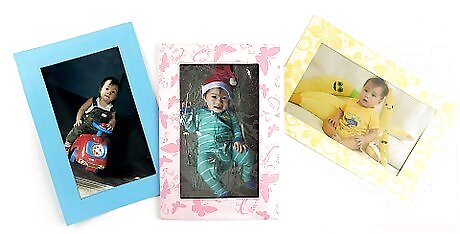
Glue a 19 by 14 cm (7.5 by 5.5 in) cardstock rectangle to the back. To make your frame reusable, glue the cardstock backing along the bottom and side edges. This will allow you to slide the photograph in and out of the frame, like a card into an envelope. For a non-reusable frame, glue your photo to the cardstock rectangle first, then glue the rectangle behind the frame.




Comments
0 comment