views
X
Research source
Today, lasers are used for purposes ranging from measurement to reading encoded data, and there are several ways to make a laser, depending on your budget and skills.
Understanding How a Laser Works
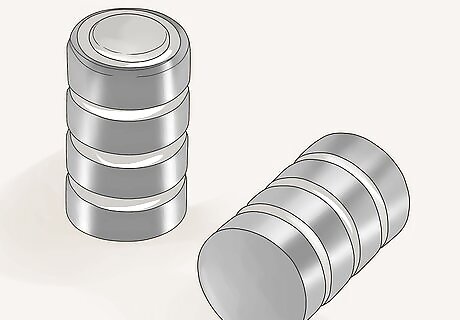
Provide a source of energy. Lasers work, or “lase,” by stimulating electrons to emit light of a particular wavelength. (This process was first proposed in 1917 by Albert Einstein.) For electrons to emit light, they must first absorb energy to boost them to a higher orbit, then discharge that energy as light when returning to their original orbit. These energy sources are known as “pumps.” Small lasers, such as those in CD and DVD players and laser pointers, use electronic circuits to provide electric current to diodes, which serves as the pump. Carbon dioxide lasers are pumped with electrical discharges to excite their electrons. Excimer lasers get their energy from chemical reactions. Lasers built around crystals or glasses use strong light sources such as arc or flash lamps.
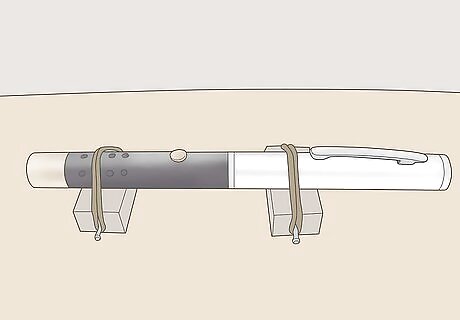
Channel the energy through a gain medium. A gain medium, or active laser medium, amplifies the power of the light given off by the stimulated electrons. Gain media can be any of the following items: Semiconductors made of materials such as gallium arsenide, aluminum gallium arsenide, or indium gallium arsenide. Crystals such as the ruby cylinder used in the Hughes Laboratories laser. Sapphire and garnet have also been used, as have fibers of optical glass. These glasses and crystals are treated with ions of rare earth elements Ceramics, which have also been treated with rare earth ions. Liquids, usually dyes, although an infrared laser was produced by using a gin and tonic as the gain medium. Gelatin dessert (Jell-O) has also been used successfully as a gain medium. Gases, such as carbon dioxide, nitrogen, mercury vapor, or a helium-neon mixture. Chemical reactions. Electron beams. Nuclear materials. A uranium laser was first produced in November, 1960, six months after the first ruby laser.
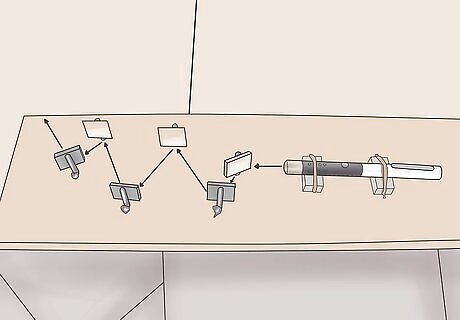
Set up mirrors to contain the light. These mirrors, or resonators, keep the light within the laser chamber until it builds up to the desired energy level for release, either through a tiny aperture in one of the mirrors or through a lens. The simplest resonator setup, the linear resonator, uses two mirrors placed at opposite sides of the laser chamber. It produces a single output beam. A more complicated setup, the ring resonator, uses three or more mirrors. It may create a single beam, with the help of an optical isolator, or multiple beams.
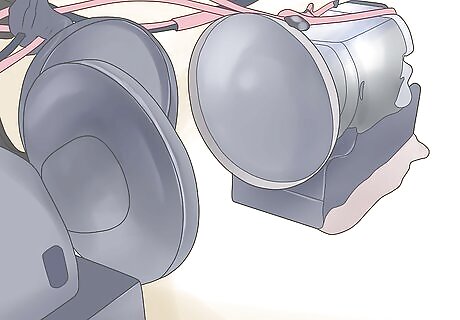
Use a focusing lens to direct the light through the gain medium. Along with the mirrors, the lens helps concentrate and direct the light so that the gain medium receives as much as possible.
Building a Laser
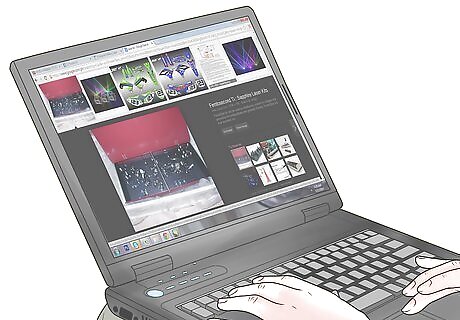
Find a retailer. You can go to an electronics store or search online for “laser kit,” “laser module,” or “laser diode.” Your laser kit should include the following: A driver circuit. (This is sometimes sold separately from the other components.) Look for a driver circuit that lets you adjust the current. A laser diode. An adjustable lens of either glass or plastic. Typically, the diode and lens are packaged together in a small tube. (These components are sometimes sold separately from the driver circuit.)
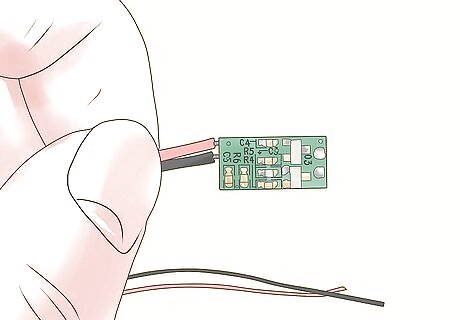
Assemble the driver circuit. Many laser kits require you to assemble the driver circuit. These kits include a circuit board and related parts and require you to solder it together, following the enclosed schematic. Other kits may have the circuit already assembled. You can also design your own driver circuit, if you have the electronics skills to do so. The LM317 driver circuit provides a good template for designing your own. Be sure to use a resistor-capacitor (RC) circuit to protect the power output from spikes. Once you have assembled the driver circuit, you can test it by connecting it to a light-emitting diode (LED). If the LED doesn't light up right away, adjust the potentiometer. If that doesn't fix the problem, recheck the circuit to see that everything is correctly connected.
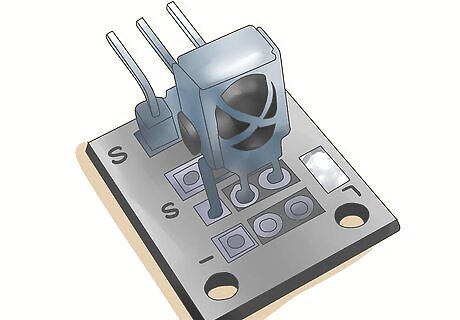
Connect the driver circuit to the diode. If you have a digital multimeter, you can wire it to the circuit to monitor the current the diode is receiving. Most diodes can accommodate a range of 30 to 250 milliamperes (mA), while a range of 100 to 150 mA will produce a sufficiently powerful beam. While a more powerful beam from the diode will produce a more powerful beam, the additional current needed to generate that beam will burn the diode out faster.
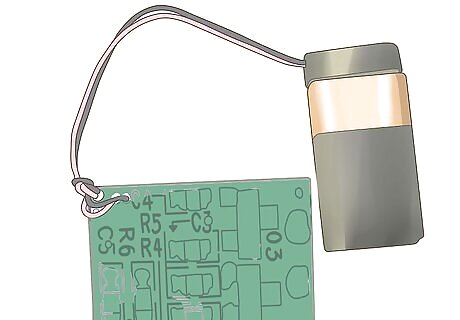
Connect the power source (battery) to the driver circuit. The diode should now glow brightly.
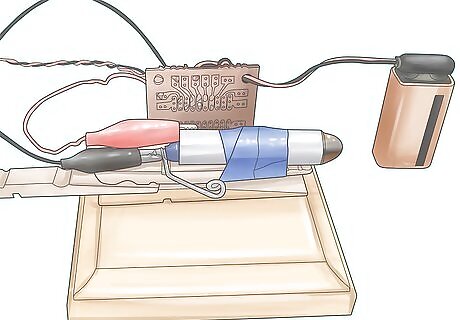
Adjust the lens to focus the laser beam. If you're aiming at a wall, adjust until a nice, bright dot appears. Once you've adjusted the lens this far, place a match in line with the beam and adjust the lens until you see the match head start to smoke. You can also try to pop balloons or burn holes in paper.
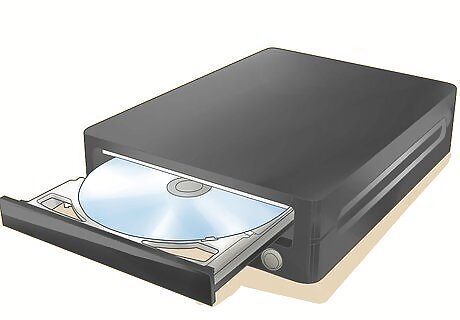
Obtain an old DVD or Blu-Ray writer. Look for a unit with a writing speed of 16x or faster. These units have diodes with a power output of 150 milliwatts (mW) or better. A DVD writer has a red diode with a wavelength of 650 nanometers (nm). A Blu-Ray writer has a blue diode with a wavelength of 405 nm. The DVD writer needs to be functional enough to write discs, although not necessarily successfully. (In other words, its diode needs to be functional.) Do not substitute a DVD reader, CD writer, or CD reader for the DVD writer. A DVD reader has a red diode, but not as powerful as a DVD writer. The CD writer's diode is powerful enough, but emits light in the infrared range, tempting you to look for a beam you can't see.
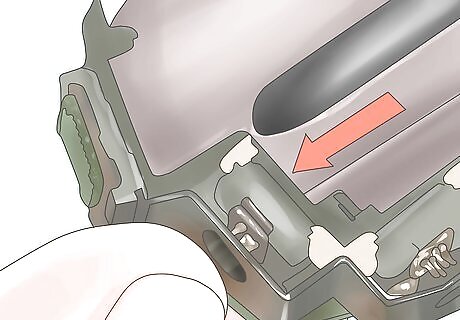
Remove the diode from it. Turn the drive over. You'll see four or more screws that you'll have to unscrew before you can separate the drive and harvest the diode. Once you've separated the drive, you'll see a pair of metal rails held in place with screws. These support the laser assembly. When you unscrew the rails, you can remove them and take out the laser assembly. The diode will be smaller than a penny. It has three metal pins and may be encased in a metal jacket, with or without a protective transparent window, or it may be exposed. You'll have to pry the diode out of the laser assembly. You may find it easier to remove the heat sink from the assembly before trying to extract the diode. If you have an anti-static wrist band, use it while removing the diode. Handle the diode with care, more so if it is an exposed diode. You may want to have an anti-static container to put the diode in until you can assemble your laser.
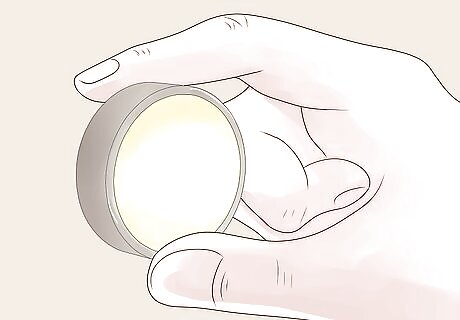
Obtain a focusing lens. You will have to pass the diode's beam through a focusing lens to use it as a laser. You can do this one of two ways: Use a magnifying glass as a focuser. You'll have to move the glass around to find the right spot to produce a laser beam, and you'll have to do this each time you use your laser. Get a low-powered laser diode, such as 5 mW, lens tube assembly and substitute your DVD writer diode for the assembly's diode.
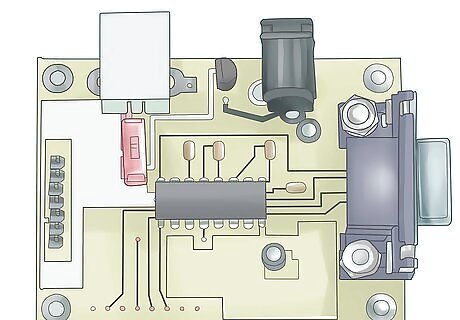
Obtain or assemble a driver circuit.
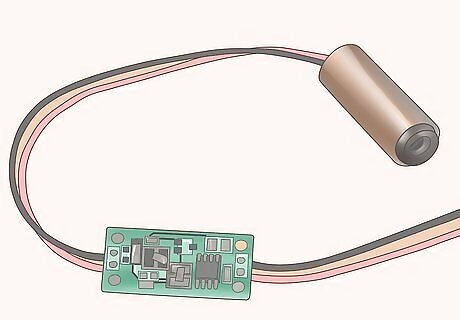
Connect the diode to the driver circuit. You connect the positive pin to the positive lead from the driver circuit and the negative pin to the negative lead. The pin location differs according to whether you are working with a red DVD writer diode or a blue Blu-Ray writer diode. Hold the diode with the pins pointing toward you, rotated so the pinheads make a triangle that points to the right. On both diodes, the pin at the top is the positive pin. On the red DVD writer diode, the centermost pin, which forms the apex of the triangle, is the negative pin. On the blue Blu-Ray writer diode, the bottom pin is the negative pin.
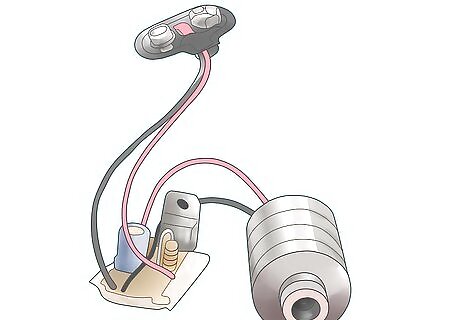
Connect the power source to the driver circuit.
Adjust the lens to focus the laser beam.


Comments
0 comment