
- Soak your sand dollars in water then clean them with a 1:1 mixture of bleach and water. Let the sand dollars dry completely.
- Mix together equal parts white glue and water. Use a clean sponge or paintbrush to thinly cover the entire surface of each one.
- Place the sand dollars on wax paper or a baking rack to dry until they’re no longer wet or sticky to the touch. Then, use them for displays or crafting.
Cleaning and Bleaching Sand Dollars
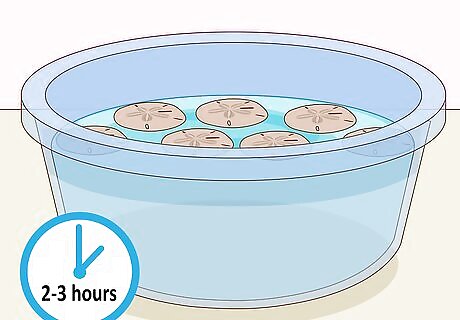
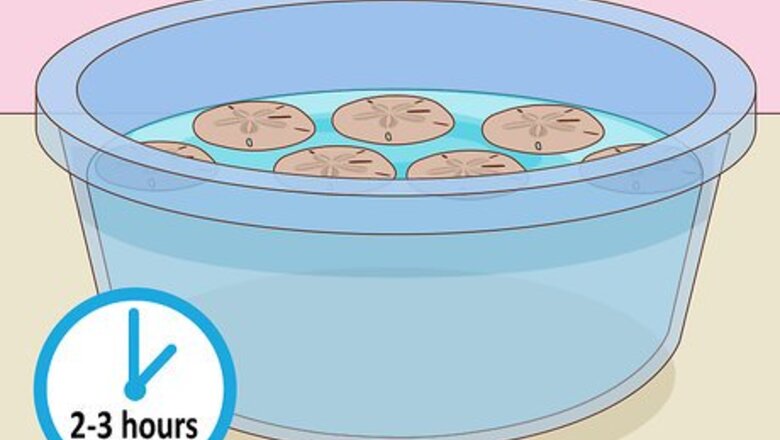
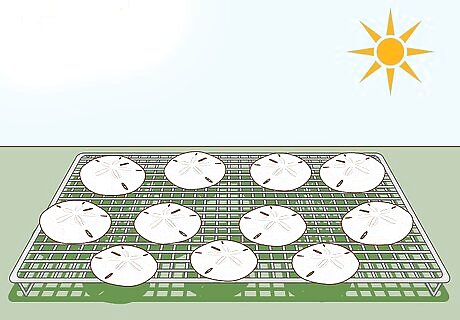
Soak the sand dollars in fresh water for 2-3 hours or overnight. When the water looks discolored and dirty from the sand and grime leaving the sand dollars, dump it out and refill the container with fresh, cool water. Repeat this process until the water stays clear. Place the cleaned sand dollars on a tray and set them in the sun to fully dry.
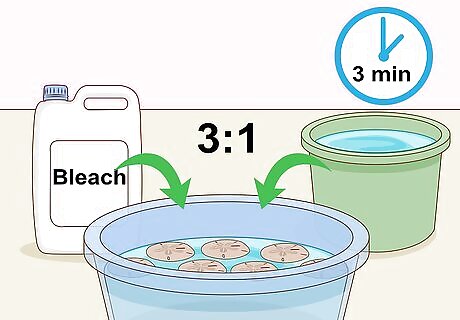
Submerge each sand dollar in equal parts bleach and water for 2 minutes. Prepare a mixture of equal parts bleach and water in a bucket or dish. Soak each sand dollar individually for 2 minutes. Sand dollars get bleached naturally by the sun when they wash up on shore. Skip this step if you’re satisfied with the color of your sand dollars.
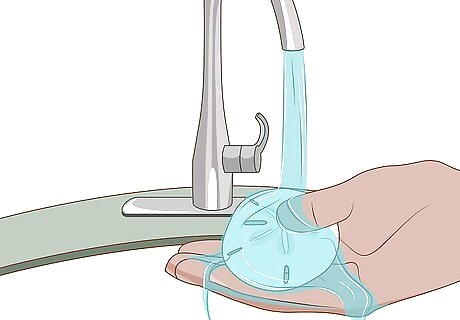
Scrub each sand dollar with a clean toothbrush to remove the bleach. Take the sand dollars out of the water and bleach solution and rinse them with fresh water. Gently scrub each sand dollar with a clean toothbrush. If you don’t successfully rinse off all the bleach, your sand dollars may end up with a yellowish tint. If your sand dollars are still discolored or dirty, soak them in the bleach mixture again for 1 minute and repeat until you’re happy with how they look.
Let the sand dollars air dry completely. Lay them out in a single layer on a wax sheet or a baking rack. Check back in an hour to see if they’re dry, or let them sit overnight. Place the sand dollars outside in the sun to help them dry faster.
Hardening Sand Dollars with Glue

Mix equal parts water and white school glue in a bowl. Mix the glue and water together until thoroughly blended. Stop mixing when you have a runny mixture with no clumps.
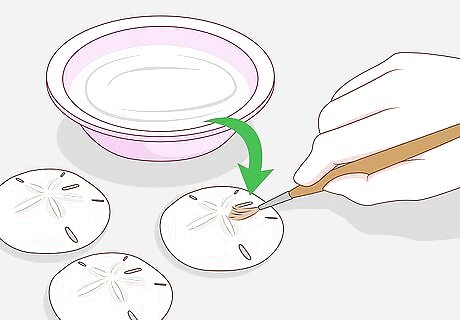
Dip a clean brush in the water-glue mixture and brush it on the sand dollar. Thinly cover the entire surface of each sand dollar with the mixture. Make sure to cover the edges of the sand dollar, in addition to both sides.
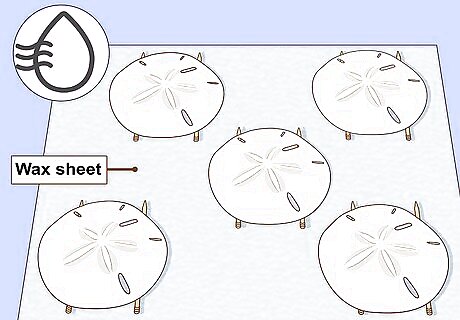
Place the sand dollars on a wax sheet to dry. Lay down chopsticks, toothpicks, pencils, or inverted thumbtacks on the wax sheet to slightly elevate the sand dollars so the bottoms dry faster. Let the sand dollars sit until they are no longer shiny, tacky, or wet to the touch.
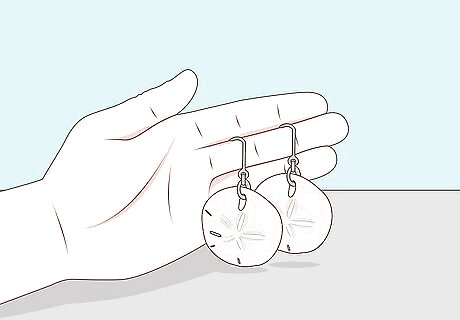
Use the hardened sand dollars to make crafts and decorations. Fill up jars with the sand dollars or use them to make necklaces, earrings, or ornaments. You can also paint an ocean scene onto a preserved sand dollar and display it on a tiny easel. Before painting a sand dollar, apply a coat or two of white acrylic paint as a base. String a ribbon through your sand dollars to make a sweet and beachy garland.


Comments
0 comment