
views
please note the images are shown on OSX, but the menu buttons and GIMP buttons are identical on Windows, they will simply have a different skin/appearance.
Opening an Image
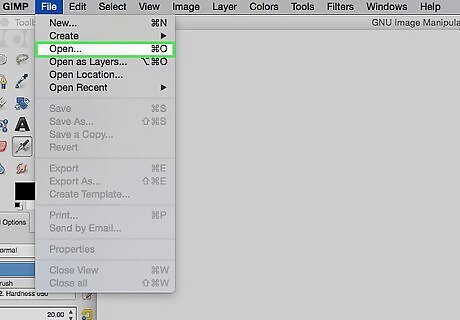
Click “File”, then “Open” to open the file navigator.

Select your file by clicking on it (it will be highlighted blue when selected). Click “Open”.
Adding an Alpha Channel
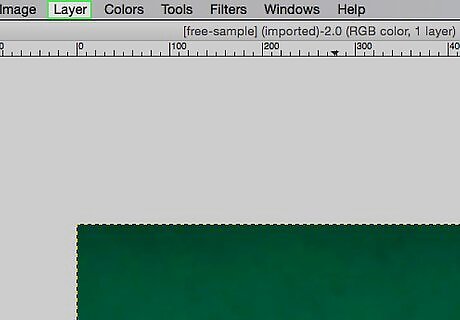
Click “Layer”.
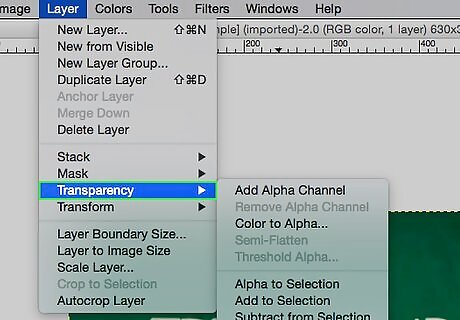
Hover over “Transparency”.
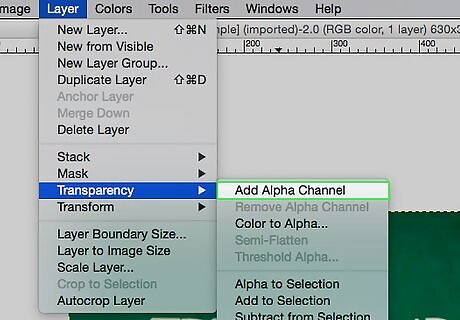
Click “Add Alpha Channel”. Adding an alpha channel adds the ability to become transparent to your image.
Adding a Layer Mask
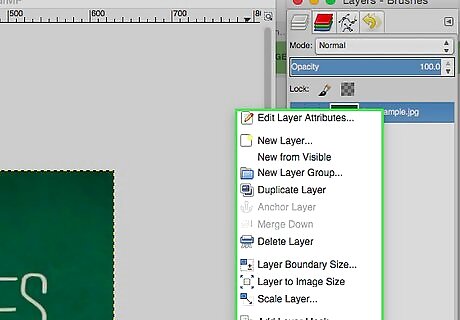
In the layers toolbox, hover over your image and right click.
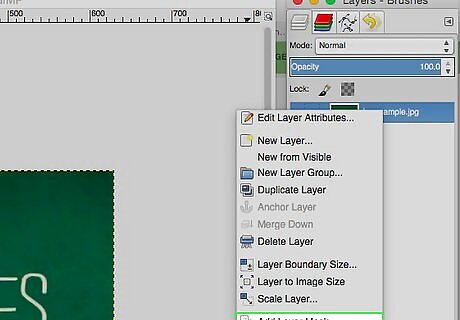
Click “Add Layer Mask”.
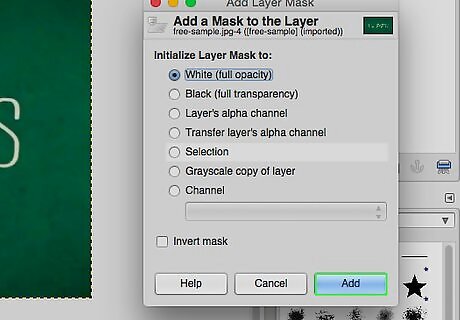
Click “Add.” White (full opacity) should be selected.
Feathering the Edge
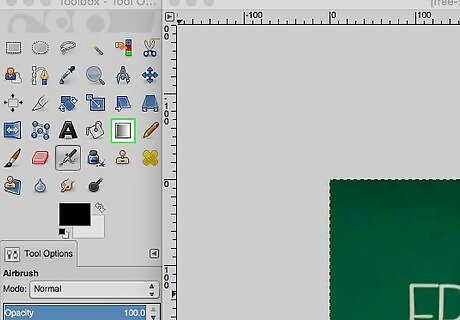
Select “Blend Tool” in your toolbox.

Click and drag from where you want your fade to end, to where you want your fade to begin. Don’t like how you fade looks? Simply hit Ctrl+z (on OSX) or Ctrl+z (on Windows) to undo your last step and try again! The fade you establish will run along the length of the page, perpendicular to the line you drag. Hold ⌘ Cmd (on OSX) or Ctrl (on Windows) while dragging to make your line automatically stick to set angles, making a perfectly vertical or horizontal line easier.
Exporting the Image
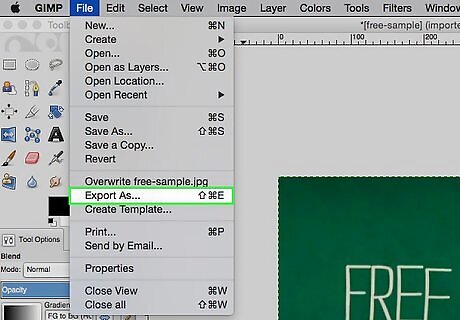
Click “File”, then “Export as”.
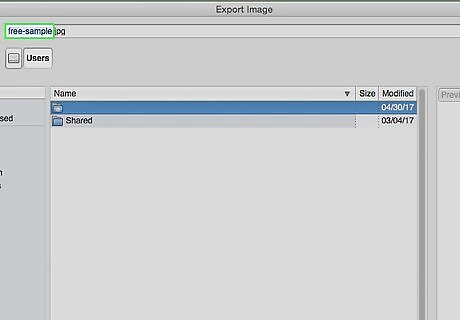
Name your new faded image, and add the .png extension in place of any other extension.
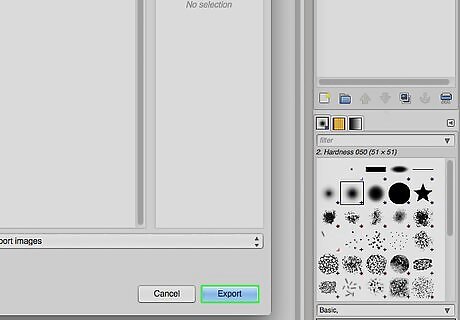
Click “Export”, or simply hit the ↵ Enter key.


Comments
0 comment