views
Using Copy and Paste
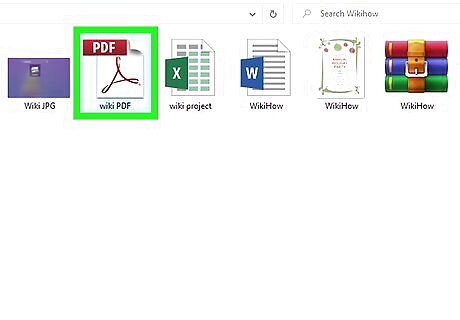
Open the PDF in your PDF reader. Double-clicking the PDF file will automatically open it in your default PDF reader, such as Preview for macOS or Edge for Windows.

Select the data you would like to extract from a PDF. You can select the data by clicking and dragging from the top left of a section to the bottom right. The section should now be highlighted.

Copy the data to your clipboard. Right-click the highlighted section and select Copy. Alternatively, you can copy the data by pressing Command + C on Mac or Control + C on Windows.
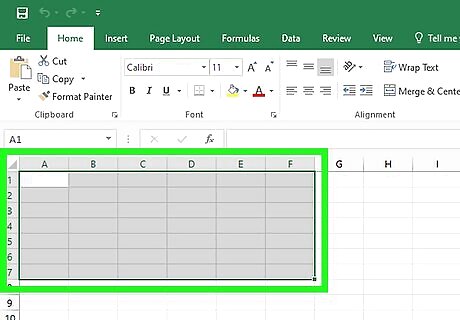
Open an Excel document and select a number of cells. As before, to quickly select multiple cells, click and drag your mouse from the upper-leftmost cell to the lower-rightmost cell. Be sure to select enough cells to fit your data. Otherwise, you will only be able to paste part of the data.
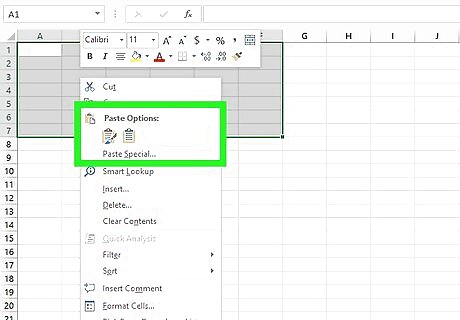
Paste the data into the Excel document. Right-click one of the highlighted cells and select Paste. While you will likely have to do some reformatting, you should have data from your PDF in an Excel file! If it does not paste effectively as a group, try copying and pasting it line by line into the desired cell(s). You can also paste your data by pressing Command + V on Mac or Control + V on Windows.
Using Docparser
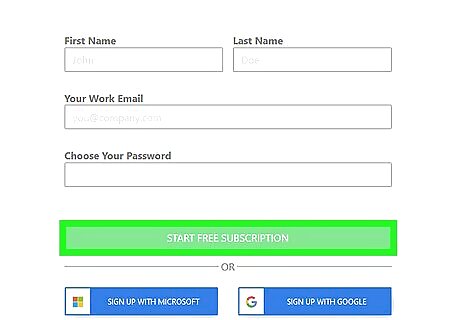
Sign up for an account at https://app.docparser.com/account/signup. Docparser has a variety of plans, including a free plan that allows you to parse 30 documents per month. You can choose to sign up with an existing Google or Microsoft account or create a new Docparser-specific account.
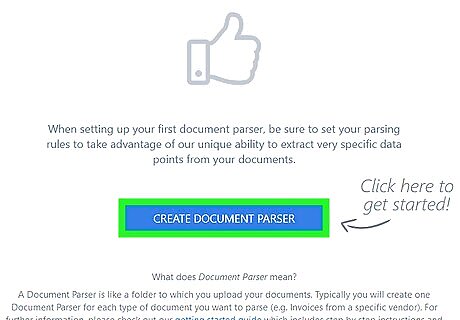
Click Create Document Parser. This blue button is located in the bottom middle of your screen.
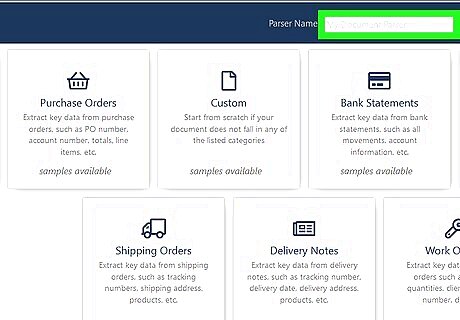
Type in a name and select a template. If the document you would like to parse does not fit one of the presets, select the Custom option in the middle of the top row. Docparser’s templates will all come with a set of premade rules tailored to that document type, while creating a custom template requires you to set your own rules.
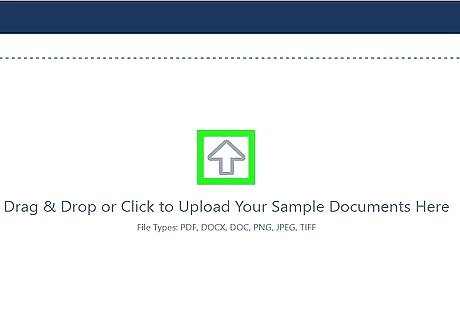
Upload a PDF and click Continue. You can choose to either drag and drop a PDF file into the site or click the upload box, then select a file on your computer. Once you have uploaded your PDF(s), click the green button at the top right of the screen. If you would like to convert multiple PDFs with the same rules, continue uploading more files.
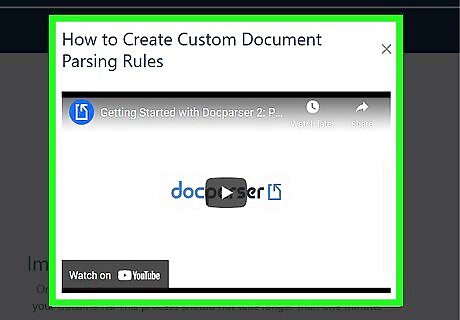
Watch or skip the parsing rules video. Parsing rules allow you to choose how Docparser reads and converts your PDF. If you would rather not watch the tutorial video, click the “X” at the top right of the pop-up window. The video is barely over a minute and a half in length, so consider watching it to get a better sense of how you can customize the parsing of your PDFs.
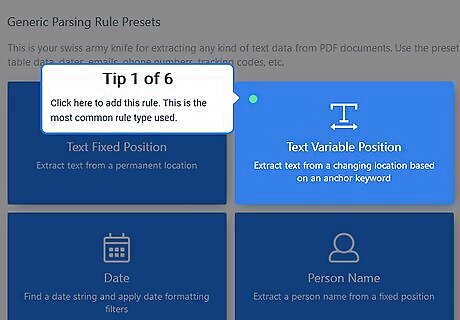
Follow the tips as they appear on screen. Docparser will start by having you pick the Text Variable Position rule preset, then naming your rule. It will then explain the data that was parsed, where to add filters and narrow that data down, and how to see a preview of your filtered data.
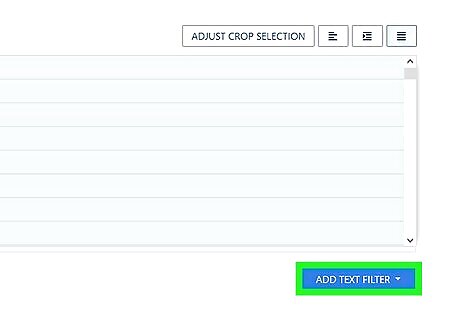
Add text filters and adjust each using the “Filtered Result” boxes below. Each box includes a dropdown menu for revising its corresponding filter as well as a preview of your data. To select a specific piece of data, click Add Text Filter, then hover over Crop From Start & End and set a start and end point for the parsing of your document.
Click Save Parsing Rule. This green button is in the bottom right of the screen and has a small white check mark icon.
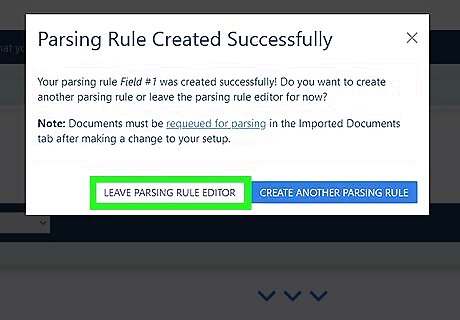
Make another parsing rule or leave the editor. If you are done creating rules, click the gray Leave Parsing Editor button. Otherwise, click the blue Create Another Parsing Rule button and continue making rules, then leave the editor and move to the next step.
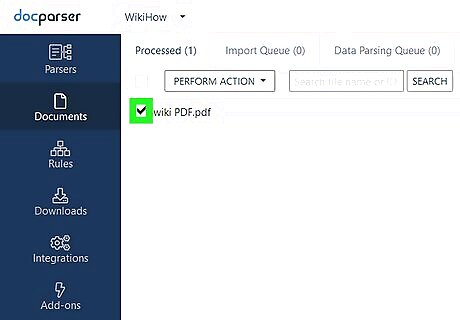
Click the checkbox next to your document’s name. A black check mark should appear.
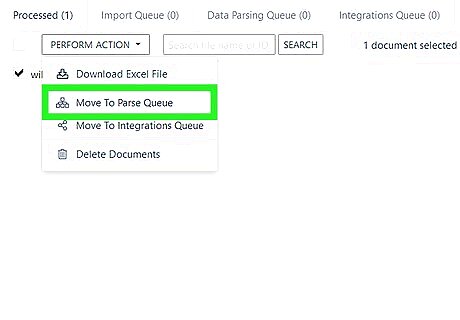
Select Move To Parse Queue from the Perform Action dropdown menu. The dropdown menu can be found at the top left of your screen, directly above the name of your document.
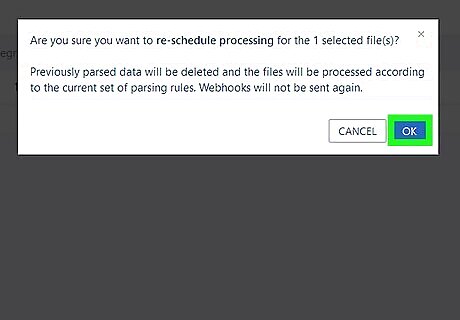
Click Ok, wait a minute, and refresh the page. If you do not see your document, it is likely still parsing. Try waiting another minute and switching between tabs in the document parser.
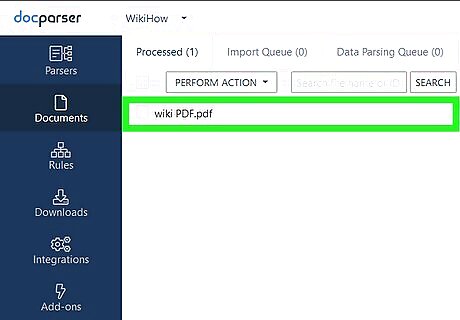
Press the file name. This button is on the left side of the page and has an arrow pointing down into technology as its icon.
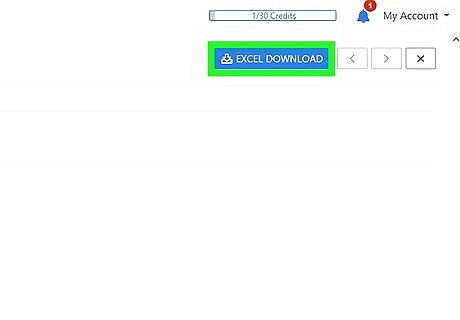
Click Excel Download. You should now have an Excel document containing the selected data from your PDF! You may have to allow downloads on the site before your file begins downloading.
Using Adobe Acrobat Pro DC
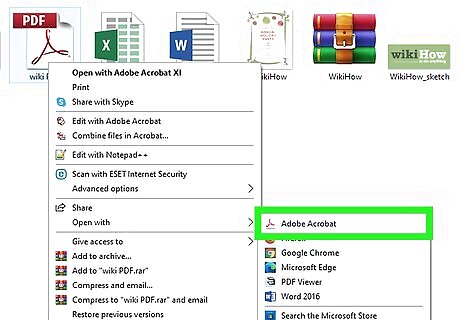
Open the desired PDF with Acrobat. If Acrobat is not your default PDF reader, you can use it by right-clicking the file, then selecting Acrobat from the Open With menu. You may have to search for Acrobat in the Open With menu by clicking Other… for Mac or Choose another app for Windows.

Select the data you would like to extract. You can select the data by clicking and dragging from the top left of a section to the bottom right. The section should now be highlighted.
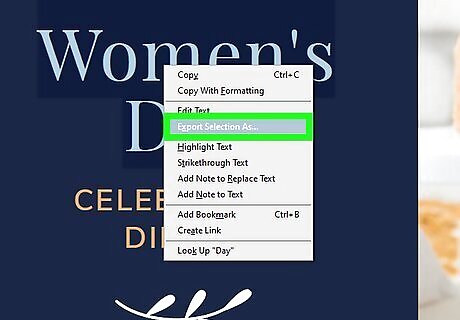
Right-click your selection and choose Export Selection As…. A new window should appear with a variety of options for exporting the chosen portion of your PDF.
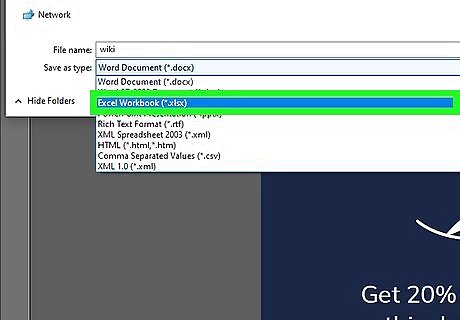
Select the XLSX format from the Save As Type list and click Save. You should now have an Excel spreadsheet with specific data from your PDF!
Using PanaForma
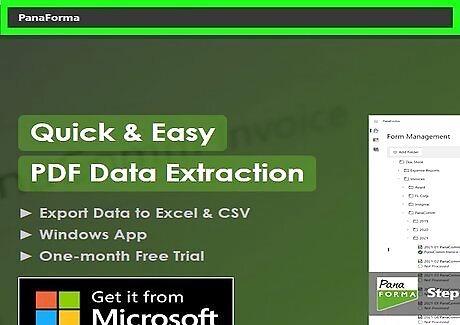
Download and install the PanaForma app (Windows only) - PanaForma has a one-month free trial, and there's no obligation to continue with a paid plan.
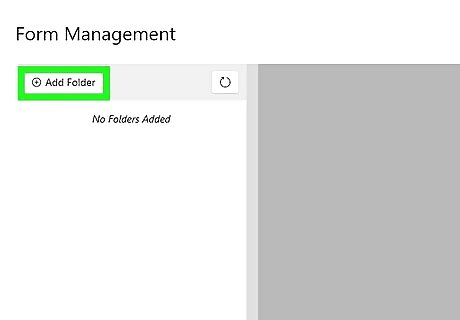
Open the PanaForma app, and click Add Folder. This button is located in the top left corner of the app window. In the folder picker, choose the folder on your computer where your PDF files are stored.
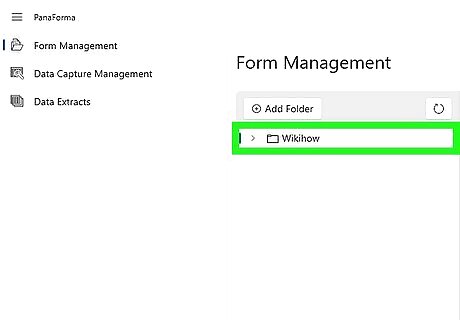
With the folder added, expand the folder tree to locate the first PDF file you will extract data from. Click the file name in the tree to open the file. You will use this file to create a Template that you will apply to extract data from all the PDFs that share the same format.
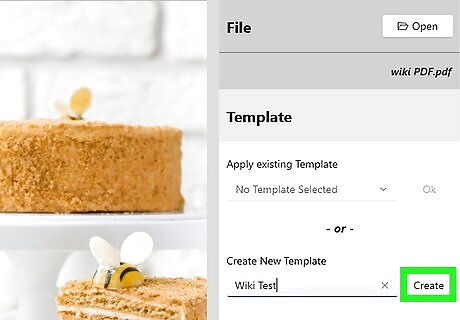
In the right-hand panel of the app, give your new Template a name, and click Create.

Using the mouse, drag a selection box around each data field on the page that you want to extract. In this example, five data fields have been selected.
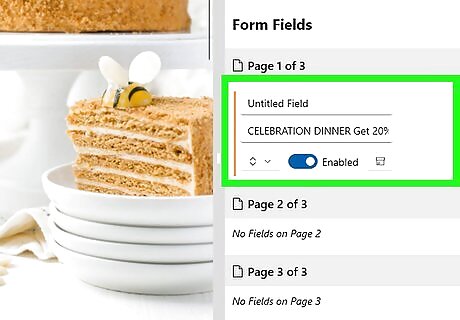
Once you've selected all the data fields in your Template, give each field a distinctive name in the right-hand panel.
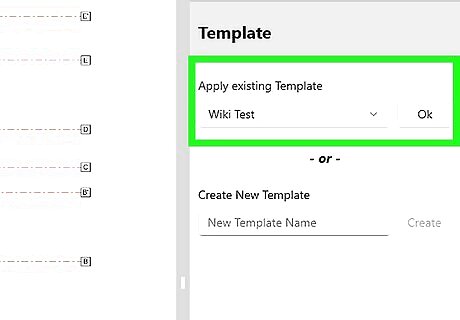
Now apply you Template to all the required PDFs. To do this, select each PDF in the left-hand panel file tree, then select your Template in the "Apply existing Template" drop-down on the right-hand panel, and click Ok. After applying the Template, you can move or resize each field on the page if required, or make manual edits to the extracted data values in the right-hand panel.
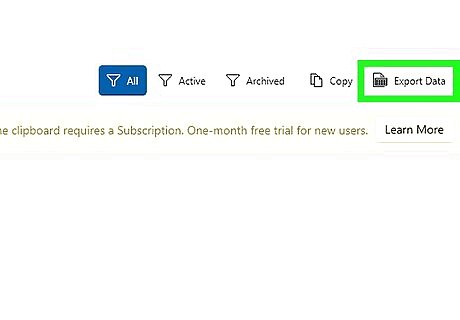
When you've applied your Template to all required PDFs, go to the "Data Extracts" screen using the navigation button on the left side of the app. Click Export Data in the top-left tool bar. If you don't have a subscription yet, you will need to begin a free trial. The trial lasts one month, and if you cancel during the trial period you will not proceed to a paid plan when the trial ends. In the export dialog, there are a number of options to control the rows/columns exported, and the file format. Choose the options you need, and click Export. In the file dialog, choose a location to save the output file. Open the file in Excel to review the extracted data.




Comments
0 comment