
Personalizing Your Stockings
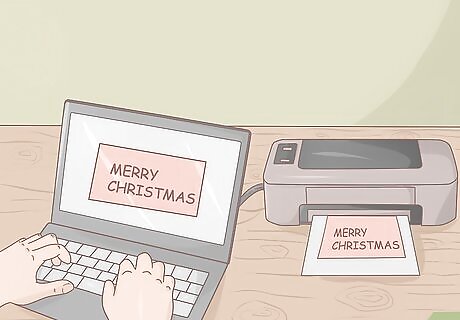
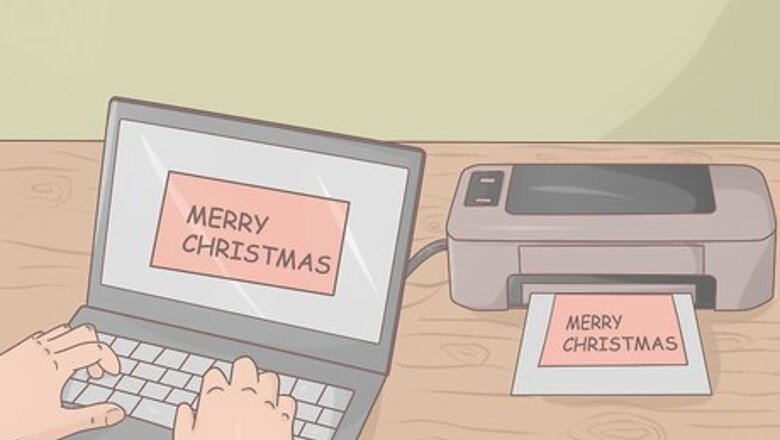
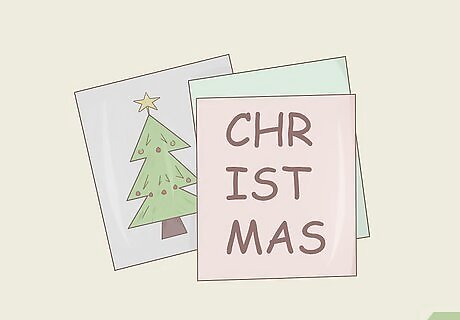
Use your computer to create and print a letter template. Use word processing software on your computer to create a template for the letters or shapes you want to use on your stocking. Play around with different types of fonts and font sizes until you get your perfect design. Print the template onto regular printer paper and then cut out each letter or shape to make a pattern. Attach the patterns to the fabric you’re using and cut out the fabric pieces. You may need to print the template a couple of times until you get the letters and shapes the exact size you need for your stocking. Attach the patterns for the letters and shapes to the fabric with straight pins. Use regular sewing scissors to cut out the letters and shapes such that they have a straight edge. Or use craft scissors with different cutting patterns to create edges with different shapes (like a zig-zag pattern).
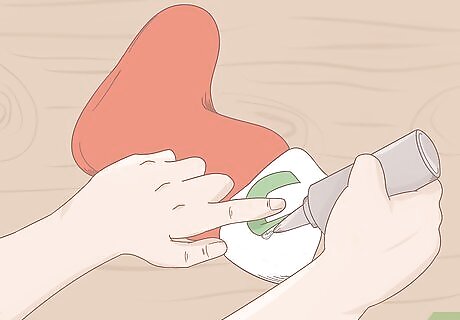
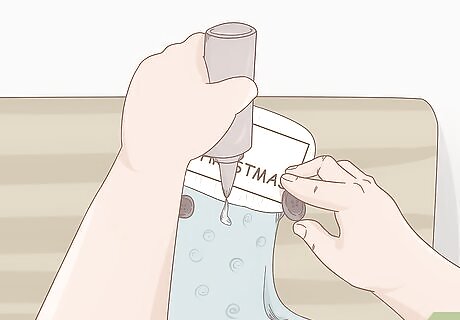
Use fabric glue to add letters or shapes to the cuff of a stocking. Fabric glue is a great substitute for sewing; make sure you read the manufacturer’s instructions before you start. Use the glue to attach each letter of the name or initials, one at a time, to the cuff of the stocking. Allow the glue to dry as per the instructions before doing anything else with the stocking. Make sure the fabric glue covers each letter and shape to the very edge. Use fabric glue to also add other shapes and designs to the main part of your stockings.
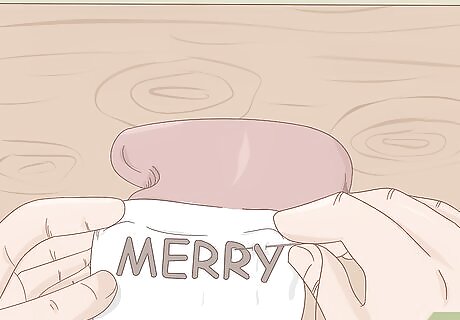
Sew the letters onto the stocking with a needle and thread. Use a needle and thread to sew each fabric letter or shape onto the cuff of your stockings. If you want to add an additional design to the letters, select a thread colour that stands out from the fabric you’re using. For example, use bright green thread with black letters. Alternatively, if you’d like the thread to blend into the letters, select a thread that’s the same colour as the letters. Alternatively you can use a sewing machine to attach the fabric letters and shapes to your stocking. This option may work best if you’re sewing the whole stocking as well, that way you can sew the letters onto the cuff before you sew the back and front pieces of the stocking together.
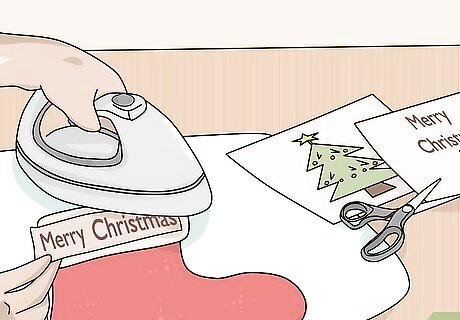
Use heat transfer paper to iron on letters and shapes. Print your letters and shapes directly onto heat transfer paper using your computer and printer. Cut each letter and shape out, leaving a small border around each item. Place the letters and shapes onto the stocking, then iron the paper to transfer the colour to the stocking. Peel the backing off the paper to finish the process. Heat transfer paper can be purchased at a craft or fabric store. Make sure to follow the manufacturer’s instructions. Use the instructions that come with the heat transfer paper to determine the exact temperature your iron should be set to and how long to heat up the paper before peeling away the backing.
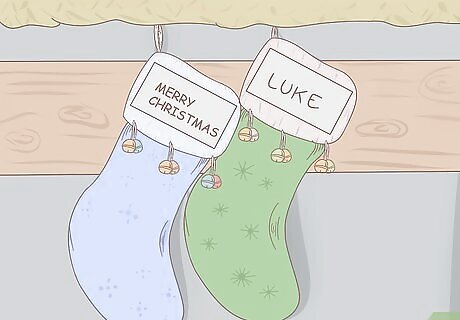
Iron on letters and shapes to your stockings to make things super easy. Iron-on letters and shapes are available from craft and fabric stores. They come in a variety of sizes, colours, and designs. Arrange the iron-on letters and shapes onto the stocking, then use your iron to heat up the patch and melt the glue to the stocking’s fabric. Follow the instructions that come with the iron-on letters and shapes for the exact settings to use on your iron. Place a clean piece of fabric between your iron and the iron-on patch, to protect the patch during the process.
Adding Simple Embellishments
Attach bells to your stockings to add some jingle. Jingle bells can be found at craft stores and dollar stores. They come in a wide variety of colours and sizes. You can also get them in the shape of an actual bell, if you prefer. The bells all come with a small metal loop that can be used to attach them to your stockings with a thread and needle. Attach the bells anywhere on your stockings, including to the top of the stocking toe or along the edge of the cuff. Paint the jingle bells using spray paint if you want different colours.
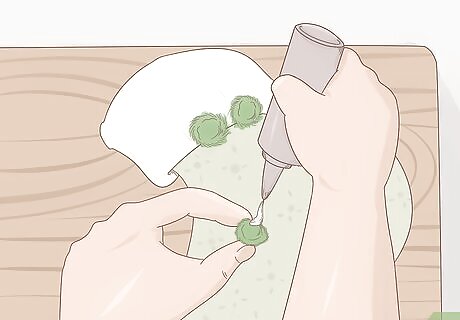
Glue pom-poms onto your stockings for some cuteness. Pom-poms come in the individual variety or attached to a fabric trim. Individual pom-poms can be found at any craft or dollar store, sometimes in variety packs so you get multiple sizes and colours together. Pom-pom trim can be found at sewing or fabric stores. Attach individual or trim pom-poms anywhere on your stockings using a hot glue gun. You can also make your own pom-poms using yarn if you want to control the size, shape, and colour.
Use pine cones to decorate your stockings to add natural elements. Pine cones make great Christmas decorations. Leave them as-is or spray paint them different colours, including gold and silver. Tie a piece of yarn, thread, or ribbon to a medium to large-sized pine cone so you can hang it from your stockings, or use a hot glue gun to attach a tiny or small pine cone directly to your stockings. If you’re lucky enough to live where you can find pine cones on the ground in the fall, collect the pine cones you want to use for Christmas crafts before they’re covered in snow. You can purchase pine cones at craft or dollar stores, or even garden centres if they’re open in the fall/winter where you live.
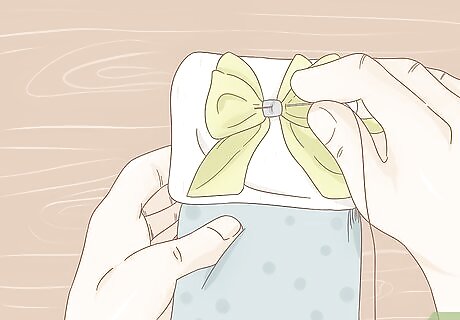
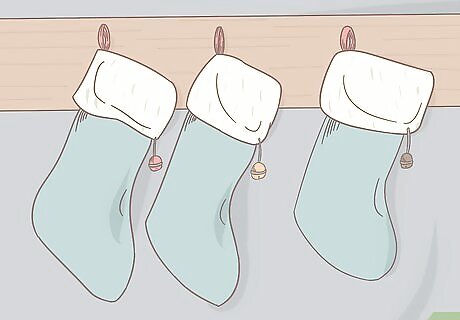
Add ribbon to your stocking for useful and decorative purposes. Sew or glue a ribbon to the top, back portion of your stocking and use the ribbon to hang the stocking on a mantle or railing. You can also use ribbon as a decorative aspect to your stocking in a variety of ways. Tie a ribbon into a bow and glue it to the cuff of your stocking. Use ribbon to hang other items from your stocking, such as wooden shapes, Christmas ornaments, or name tags. If you anticipate the stockings may end up being quite heavy, you’ll want to sew the ribbon to the stocking to give it added strength.
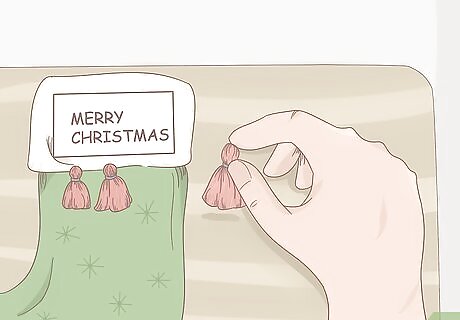
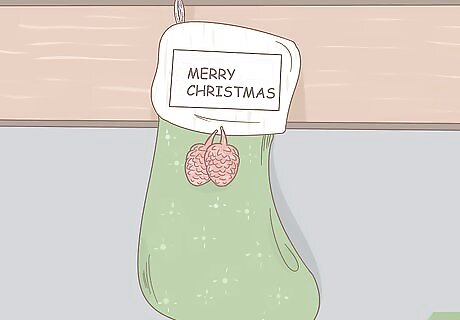
Put colourful tassels onto your stockings. Individual tassels can be purchased at a craft or fabric store. You can also purchase tassel trim from a fabric store, where multiple tassels are hung from a piece of material you can use to trim an item, like the cuff of a stocking. Use a hot glue gun to attach tassel trim to your stockings, or use a needle and thread to sew individual tassels to your stockings. You can also use thread to tie your tassels directly to your stocking or another decorative item on your stocking. For example, use thread to tie your tassel to a ribbon or pine cone, then use a hot glue gun to attach the ribbon or pine cone to the stockings.
Sew or glue buttons or sequins to your stockings. Select a variety of buttons and/or sequins to attach to your stockings. You can opt for a selection of buttons and/or sequins that match, or you can mix and match buttons and sequins of different colours and sizes for a more whimsical look. You can also layer buttons and sequins for a three-dimensional look. Use a hot glue gun to attach the buttons or sequins to your stockings. New buttons and sequins can be purchased a craft or fabric store. Used buttons can be purchased at vintage clothing shops or antique stores. You may even be able to find used buttons at a garage sale or estate auction. You can also purchase a piece of sequined clothing from a vintage clothing shop and cut the sequins off to use for your crafts.
Selecting a Decorating Theme
Opt for a colour-based stocking theme. If you’re someone who prefers all their Christmas decorations to match, such as only using silver and gold, continue that theme to your stockings. If you don’t need your stockings to match the rest of your Christmas decorations, you could select a colour theme to use only for your stockings. Decorate each stocking using the colours in your theme. Colour themes are flexible. For example, if your colour theme is silver and gold, white would also be a matching colour that would still follow that theme. Use the typical red stockings with white fur trim, regardless of your colour theme. Or purchase or make stockings that follow your colour theme.
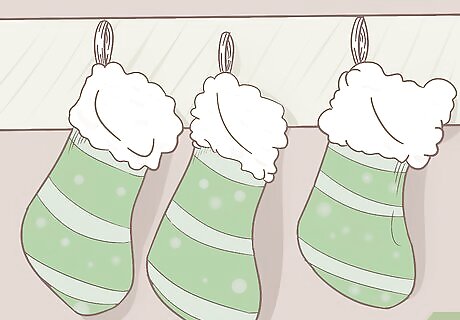
Choose a stocking theme based on a pattern or texture. Stockings do not need to only be made of or decorated with solid colours and patterns. Instead of a solid colour or pattern, select a theme based on a specific pattern or texture. For example, decorate your stockings with an argyle pattern or with stripes. Another example, decorate your stockings with faux fur of different colours to make your stockings look fluffy. Mix and match colours but keep the pattern the same. For example, decorate one stocking with green polka dots, another with yellow polka dots, and another with blue polka dots. Alternatively, decorate each stocking with a combination of green, yellow, and blue polka dots.
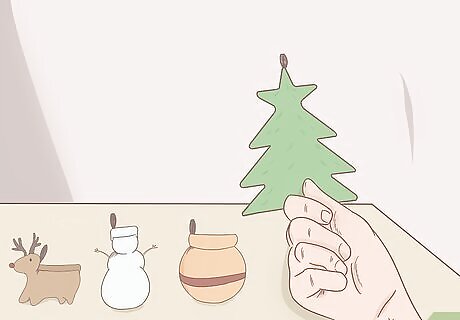
Use Christmas shapes as your stocking theme. There are so many Christmas shapes and objects to choose from. For example, snowflakes, jingle bells, reindeer, snowmen, Christmas trees, just to name a few. Choose a theme for your stockings based on a specific Christmas shape that you love. Select all embellishments for your stocking based on that shape. Allow each member of the family to select a shape they prefer and decorate their stocking with their personally selected shape.


Comments
0 comment