views
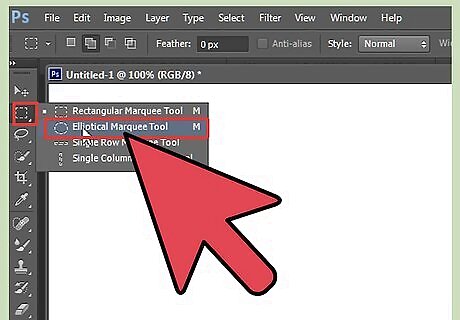
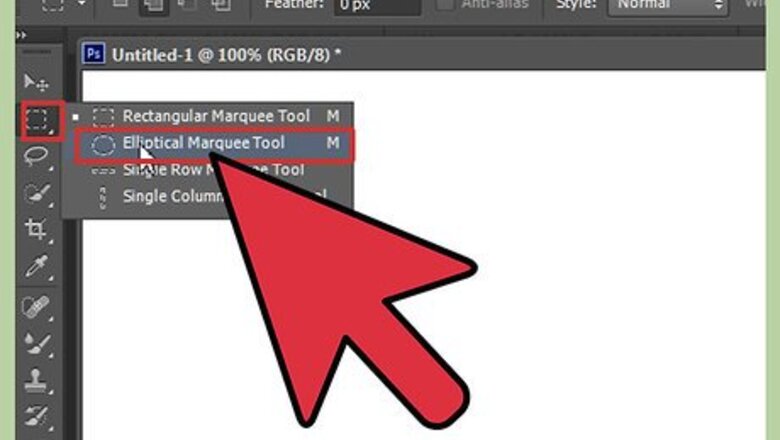
Click on the selection tool. Right click on it and choose the Elliptical Marquee Tool.
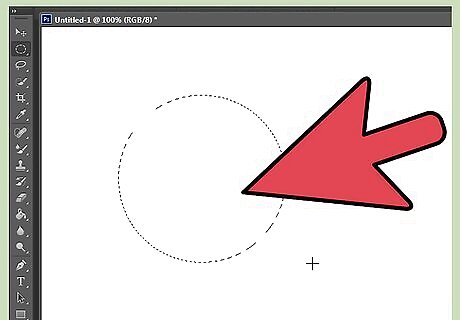
Hold down the ⇧ Shift key and then select where you want the circle to start. Drag the cursor until it is the proper size.
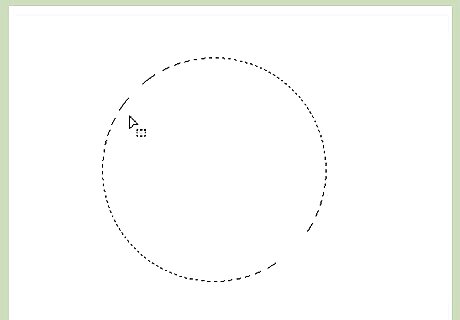
Release the mouse before you release the ⇧ Shift key. The shift key will keep it perfectly round.
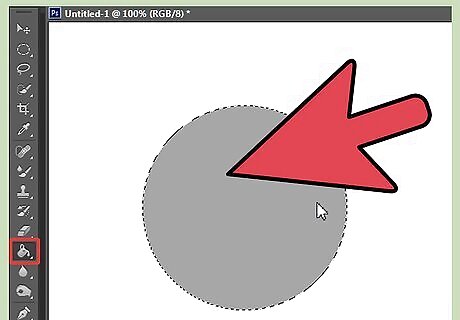
Fill the foreground with a middle gray color using the bucket tool.
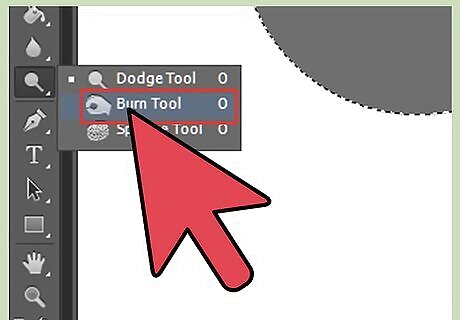
Select the Burn tool.
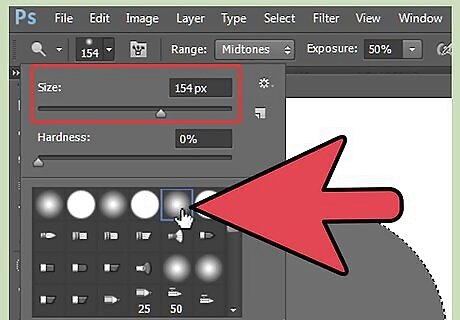
Choose a soft edged brush, approximately half of the radius of your gray circle you have created.
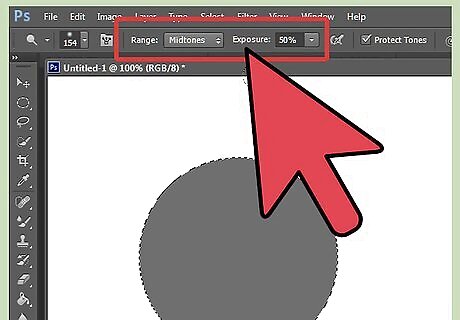
Set the Range to Midtones and the Exposure to 50% (unless you are using a pressure sensitive tablet).
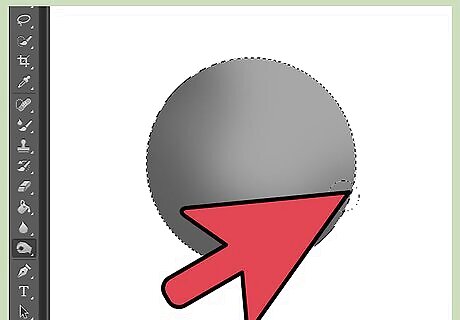
Draw around the sides of the sphere, as seen in the screenshot. Do this a few times, until you get a nice strong shade.
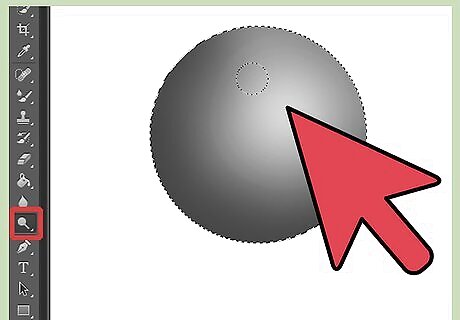
Switch to the Dodge tool to add a highlight to the sphere.
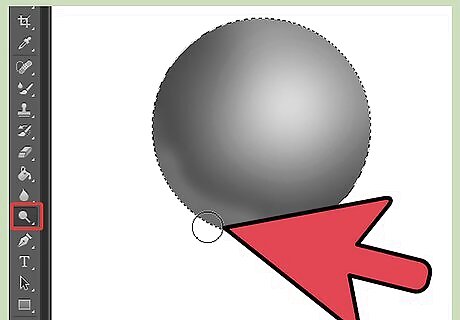
Also, lighten the bottom, as seen in the screenshot. This will help with the illusion of 3D.
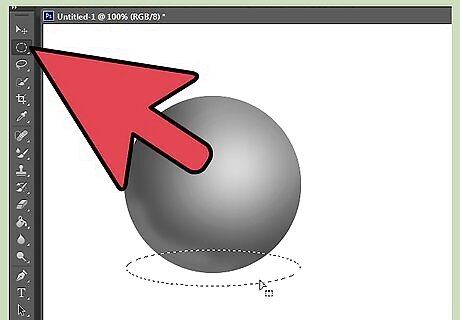
Click on the Elliptical Marquee Tool again, but this time, don't make it perfectly round. Put it under the sphere.
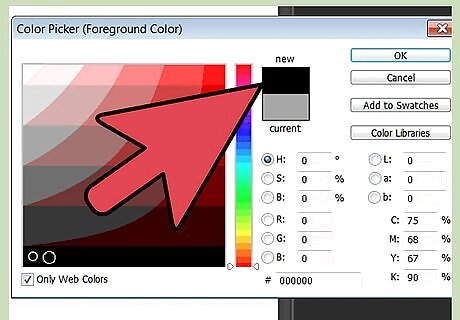
Change the foreground to black.
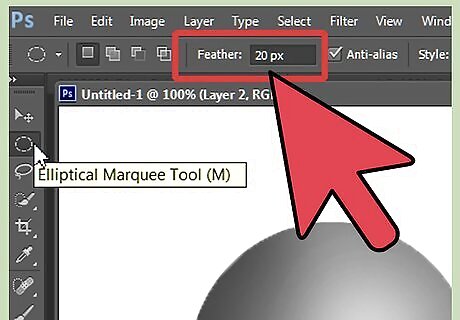
Go to Selection >> Modify >> Feather. Change the feather to about 20 or so. It will depend upon how big your primary circle is.
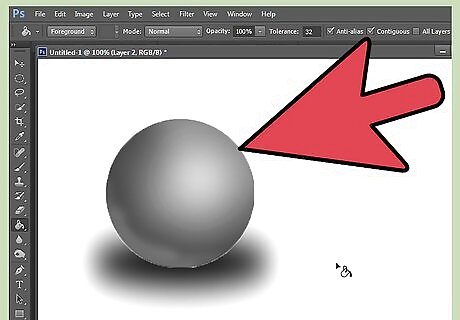
Go to the layer with the sphere, and in the part of the circle selection under the sphere, fill in the selection with black. If you think 20 is too much, you can go back (Ctrl+Z) and then change it to a smaller number.


Comments
0 comment