views
Deleting Unused Files and Applications
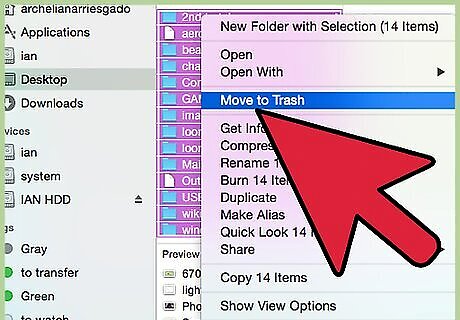
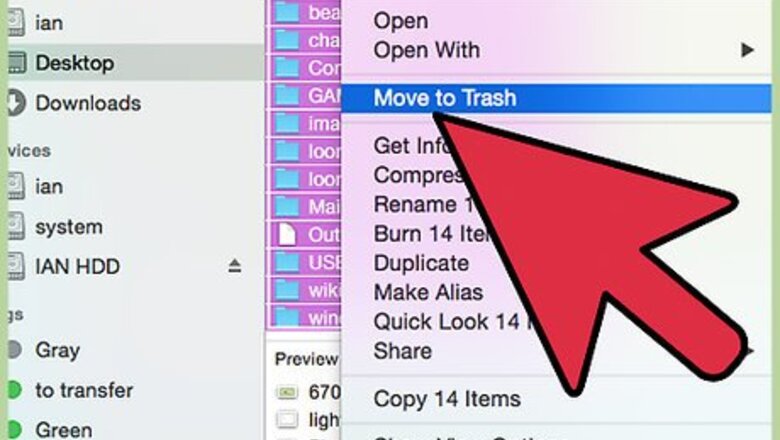
Delete old files. Old files that you no longer use or need will take up space that can really slow your computer down and clog up the memory in your hard drive. First locate your Downloads and Documents folders. This is where a lot of your computer’s memory is dedicated. Locate files in each folder that you no longer need and move them into your trash. An easy way to go about this is to click the “Date modified” column and sort your files based on the last date a file was opened starting from earliest to most recent. Delete the files you haven’t used in a long time, or transfer them to an external hard drive if you need to save them.
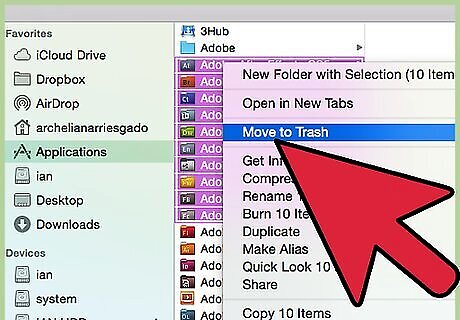
Delete any applications that you don’t need. Like with your downloads and documents, we tend to install a fair amount of applications that we don’t end up using very often, if ever. These applications don’t just take up memory from being installed, but they also take up data that can affect your computer’s speed and memory. If you are on a Mac, you can find your Applications folder from your Finder. Click Go > Applications. Then, just like you did with your documents and downloads, sort them by Date Modified and locate the ones you haven’t used in a while first. Delete all the applications you can live without. If you are on a PC, click your Start button > Control Panel > Programs > Programs and Features. Select a program you don’t need and click “Uninstall”.
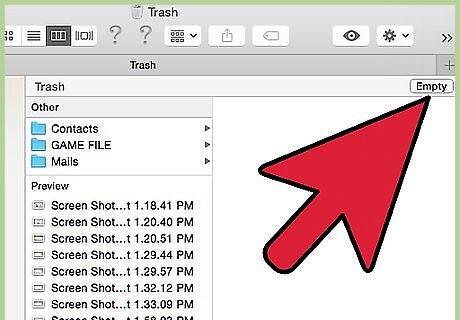
Delete everything in your trash, as the files in trash still take up space on your computer. On a Mac, just emptying your trash doesn’t completely delete all the information of your files, it just removes them from your file directory. To completely delete your files from your computer, click Finder > Secure Empty Trash. On Windows in order to truly delete files you have to use a third party program to rid your hard drive of any leftover files after you’ve emptied your recycle bin. Popular programs are Eraser, CCleaner, or SDelete, which is a tool from Microsoft which allows you to empty files through a command line prompt. Make absolutely sure you have appropriately deleted what you don't need or want (but be sure you don't delete something you do need, or your computer will not work). If you didn’t create the file, or are unsure of what it is, don’t delete it.
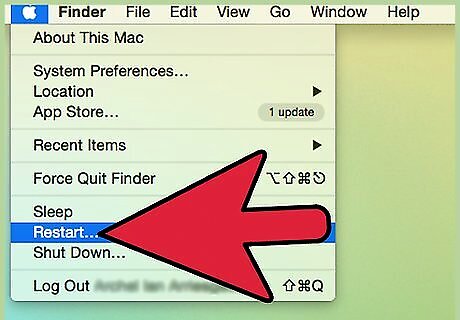
Restart your computer so the hard drive will refresh and cleanse itself to your saved actions.
Cleaning Up Files and Applications you Use
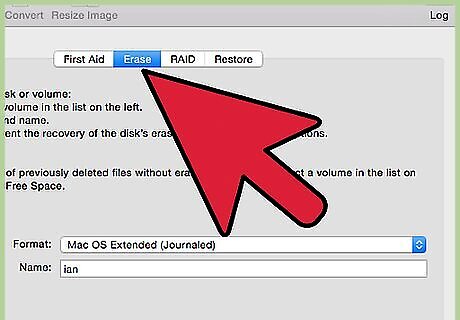
Defragment Your Hard Drive. If you are on a Windows computer you can defragment your hard drive to put fragmented data back together and help your computer run more smoothly. Click the Start button and then in the search bar type Disk Defragmenter, and click the “Disk Defragmenter” result. Once open, click Defragment disk to begin. This might take some time. A Mac doesn’t doesn’t work the same way as a Windows and defragging the hard drive doesn’t do the same thing it does on a Windows; and if you’re on an SSD hard drive it can be dangerous. Instead Repair Disk Permissions with Disk Utility. Launch Disk Utilities from Applications > Utilities > Disk Utilities. Select your hard drive, click “Erase” and then “Erase Free Space”. You can pick which option you want, but the “Zero out deleted files” should be sufficient for most people.
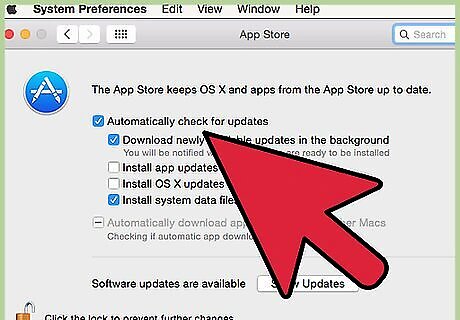
Check for viruses. Viruses can slow down your computer and take up precious space on your hard drive. Another way to clear memory on your hard drive is to remove viruses. On windows you can use the Microsoft Security Essentials program to scan and clean your computer, or download a virus scanner application like McAfee. While Macs are a little better at preventing viruses, they can still get them. The best way to prevent them is to ensure that you don’t download or open any program that could contain malware. To make sure that you’re always up to date on security, open your System Preferences > App Store Preference pane > and check the “Automatically check for updates” and “Install system data files and security” boxes.
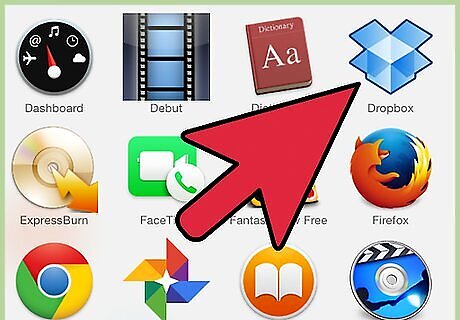
Upload documents to a cloud drive. Using a cloud drive is another viable option to clear memory on your computer hard drive. If you don’t have a lot of memory on your hard drive, but want to keep quick access to certain files, you can use online cloud drives like Google Docs, Dropbox, Box, and iCloud Drive.
Freeing up RAM
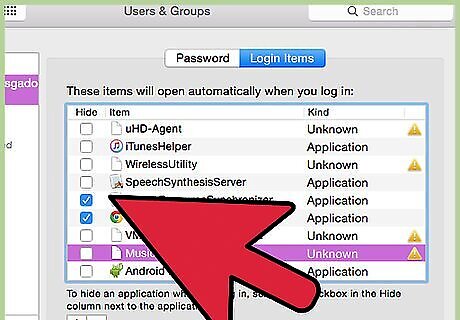
Free up inactive memory to create more RAM. Random Access Memory, or RAM, is how your computer stores information. If it is too full, it can clog up your computer. The first step in freeing up RAM is to close any applications that you aren’t using. Another way to free up RAM is to limit the amount of programs your computer automatically opens upon startup. In Windows right-click on an application and open “Preferences”. In the “Misc.” Section there is a box that you can check to ensure that it doesn’t open on startup. You can stop applications from opening on a Mac by going to System Preferences > Accounts > Login Items, and unchecking the boxes next to apps you don’t want opening at startup.
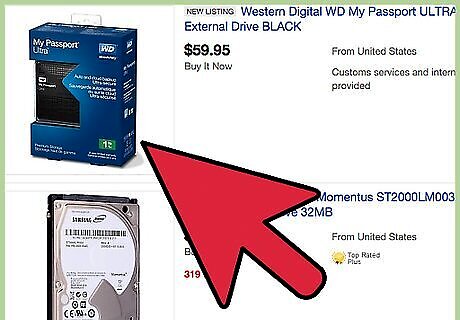
Use an external Hard Drive. Clear memory on your computer and free up RAM by storing files you don’t need everyday on an external hard drive. RAM is sort of like short-term memory while your Hard Drive is like long-term memory. By using an external hard drive you can free up both on your computer and reduce how hard your computer is using.
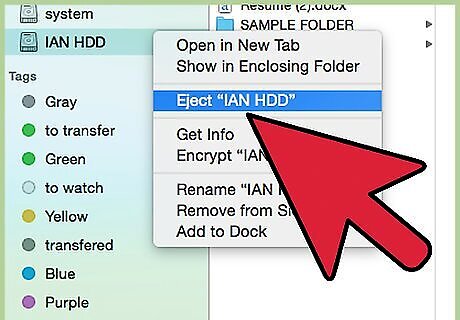
Remove unused disk images. You can clear memory by ejecting disk images from applications or other files you have downloaded. This is more for Macs than it is Windows. When you have a removable disk in your computer, even if you aren’t using it, it takes up RAM and can slow your computer down. This also goes for any external hard drives you have plugged in. When you’re not using them, eject them properly.
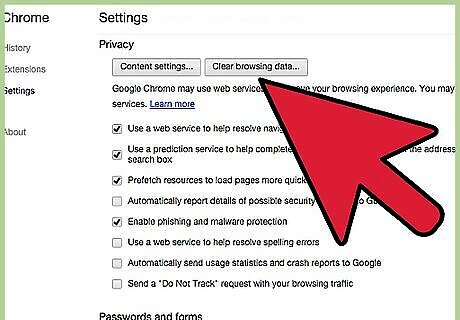
Clear up browser history and cache. No matter what browser you use, it will typically store browser history and pull a cache. By deleting your browser history and cache, you can free up RAM and help your computer to work faster. Having several browser tabs open at once also makes your RAM work harder, so it’s best to close out any tabs that you don’t need as soon as you’re done with them.




Comments
0 comment