views
- Put on gloves and goggles, then submerge your shells in a diluted bleach solution. Soak them in the solution for 24 hours.[1]
- Wedge a screwdriver or pick under any barnacles to pry them off. Then, use a scrub brush to remove stubborn dirt.
- Let the shells air dry, then rub them with cotton balls soaked in mineral oil. Allow the shell to dry for 12 hours, then add another coat.
Soaking Your Shells in Bleach
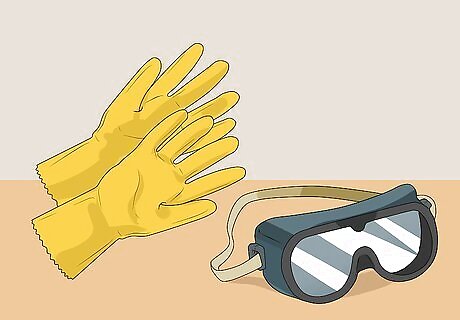
Put on protective gear. When working with bleach, it's vital to wear protective gear for your safety. Put on thick gloves and goggles before mixing your solution. Also, be sure to mix bleach in a well ventilated area such as outdoors or in a garage.
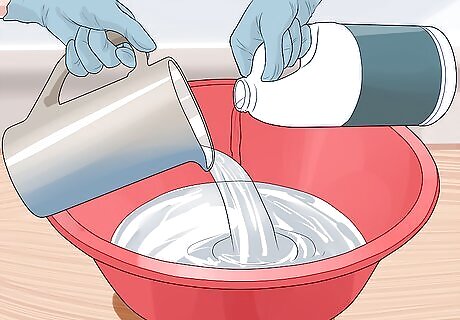
Prepare your bleach solution. To soak a conch, mix a solution using half bleach and half water. The precise amounts you need of each depends on how many conches you're soaking. You need enough bleach and water to fully submerge your conches.
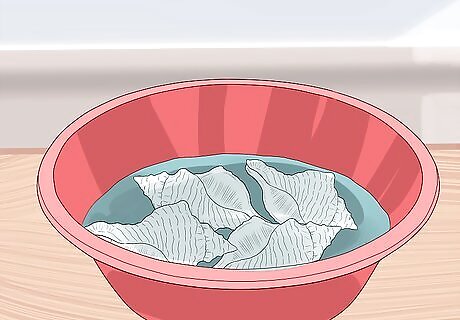
Soak your shells for 24 hours. Once you've mixed the bleach and water, add your conches to the solution. In about 24 hours, you can remove them from the solution. Some of the dirt will have come off, and any stuck on barnacles will be easier to remove. Make sure to wear gloves when putting your conches in the solution, as well as when you remove them.
Removing Barnacles
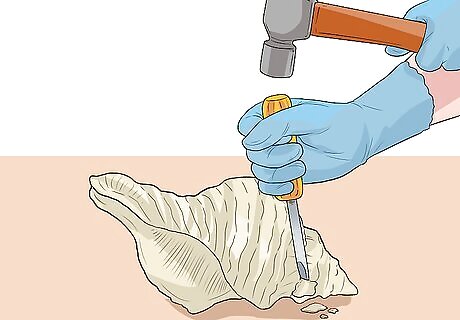
Pick off any barnacles. A dental tool, flathead screw driver, or strong pick is used to pick off barnacles. Wedge the pick or tool under the barnacle and gently pry it off. This should be fairly easy, as the bleach should have loosened the barnacles. If barnacles are being stubborn, chisel them off using a hammer and screwdriver. Angle the screwdriver under the barnacle and gently tap on the end with the hammer. This should dislodge the barnacle.
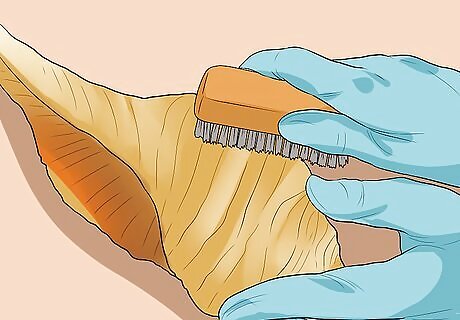
Scrub down your shell. After removing barnacles, take a scrub brush and wipe down your conches. Use light, scrubbing motions to remove any remaining dirt and debris form the shell. If some dirt or stains are not coming off, use your thumbnail to gently scratch them out of the shell.
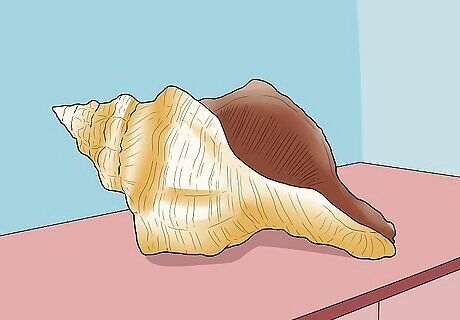
Let the shells air dry. It's important that your conch shells air dry. Set them in a dry place where they will not be disturbed, such as a cupboard or cabinet. Do not attempt to polish your shells until they are completely dry to the touch. It can sometimes take conch shells awhile to completely dry, especially if you live in a cooler region. It is not unusual for shells to take a couple of days to dry completely.
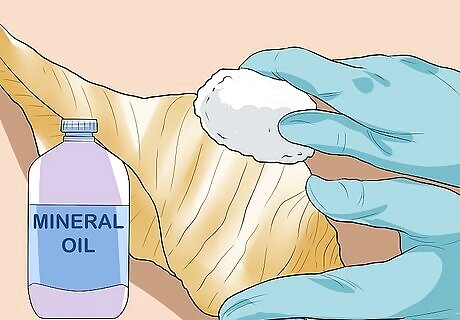
Cover your shell in oil. Once your shells are dry, they may look a little dull from the cleaning process. To brighten them up, dab some mineral oil onto a cotton pad or cotton ball. Rub the cotton on the shell and cover it completely with oil. If the shells is not as shiny as you want after one layer, add another. If you do multiple coats, let the shell dry for 12 hours between each coat.
Avoiding Common Mistakes
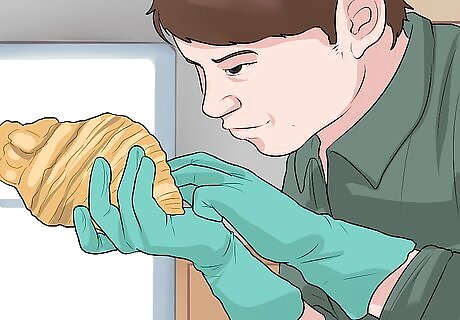
Examine your shells before taking them from the beach. Make sure the shells you take from the beach do not house aquatic life. Tap the shell gently after picking it up to make sure it is empty. If you hear any scuttling, or see an animal in the shell, put it back where you found it.
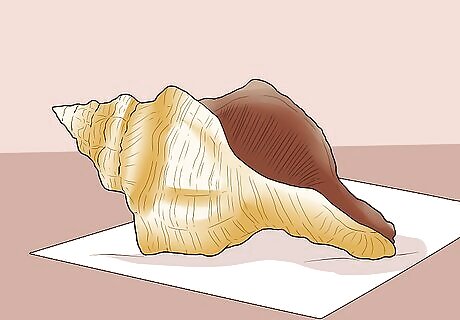
Do not leave shells out in the sun too long. To dry your shells faster, you can place them out in the sun. However, do not leave them in the sun for more than a few hours. If shells are left in the sun for too long, they will start to lose color.
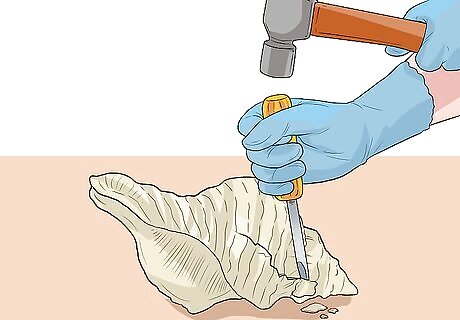
Be careful not to crack the shell when removing barnacles. Be extra cautious when removing barnacles. Only use the chiseling method if it's absolutely necessary. You do not want to crack or damage your shell while removing barnacles.







Comments
0 comment