views
Choosing a Card
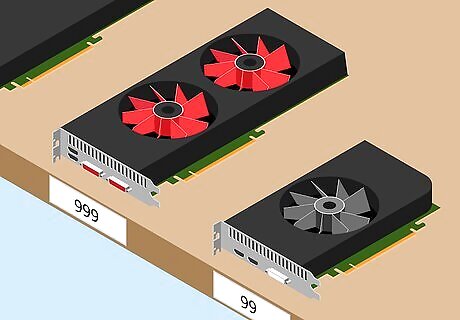
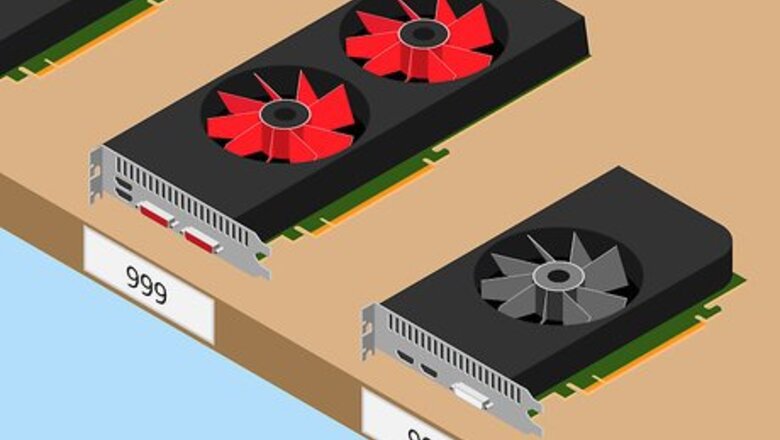
Balance budget against power. Graphics cards can easily become the most expensive component in your computer, but they don't have to be. Many of the budget and midrange cards can still provide great performance, depending on your needs. If you are a gaming enthusiast that has to play the newest games at the highest possible settings, you'll want to look for the more powerful and expensive cards. If you only game occasionally, aren't worried about the newest releases, or don't mind sacrificing a few graphics settings, you can get much more bang for your buck by looking at midrange cards. If you just want to watch HD video or play a few 2D games, most budget cards should do the trick. Do your research before putting your money down. Sites like Tom's Hardware (tomshardware.com) and PCWorld (pcworld.com) regularly test and provide comparisons for many of the most popular new and upcoming graphics cards. These test results can help you quickly see how all of the available options stack up against each other. Don't worry about the amount of memory (RAM) the graphics card has. Inflated amounts of memory are often used to make poor cards look more appealing. What is important, however, is the memory bandwidth. This is the speed that the memory can send and receive data from the computer. GDDR6 is the current leader in this category, and will significantly outperform twice the amount of the older GDDR5 memory. If you have a midrange CPU, you're likely not going to get the most out of a high-end graphics card. The graphics card is an important factor for performance, but games rely on all of the components in your computer in differing capacities, including the CPU, the system RAM, and even the hard drive read and write speed. 4K gaming is becoming more and more of a reality, but it will require a top-of-the-line graphics card in order to get satisfactory performance out of your games at that resolution. Keep this in mind if you're in the market for a 4K monitor as well.
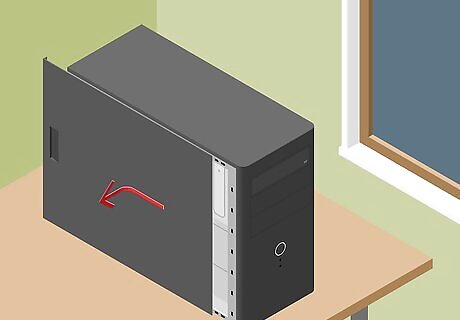
Open your computer case. Before purchasing your new graphics card, you'll want to check a few things inside your case or in your computer's documentation. Remove the side panel from your computer by loosening the thumbscrews or regular Phillips screws along the back. Typically, you'll be removing the panel opposite of the motherboard's Input/Output panel on the back of the computer. Except in very rare circumstances, it is not possible to upgrade the graphics card on a laptop. Refer to your laptop's documentation to determine how to upgrade its graphics card if possible. When opening your case and working inside your computer, make sure that you are properly grounded. This will help prevent electrostatic discharge that can damage your computer components. You can ground yourself by using an electrostatic wriststrap, or by touching a running water tap before working in the computer.
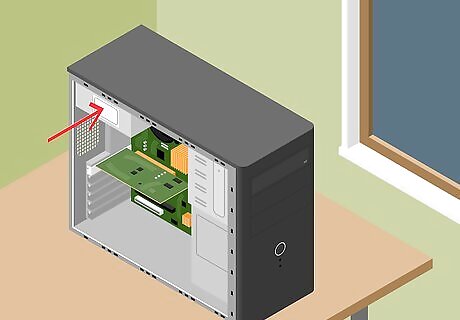
Examine your power supply. Graphics cards are one of the biggest draws on your power supply, so you'll want to ensure that your power supply can handle the power requirements of the new card. Different cards draw different amounts of power, so check the specs on the card you want to buy, as well as the specs on your computer's power supply. There are a variety of power supply calculators online that you can use to enter in all of your components and see the minimum recommended wattage. You'll want a little more than the minimum to future-proof your computer. Another general rule you can follow is that you typically will want a power supply that supplies double the wattage that your graphics card requires. There is no way to determine a power supply's wattage without physically looking at it. There is no software that can report the wattage. Nearly all power supplies have a sticker that is clearly visible on the side which will tell your the power supply's specifications. You can usually just remove the side panel from your computer and visually inspect the sticker. Many of the more powerful graphics cards require one or two 6-pin connectors (PCIe) from the power supply. Most newer power supplies should have these cables, but older power supplies will not. You can get adapters to connect to one of the other cables, but you may be better off replacing the power supply anyway if it's that old.
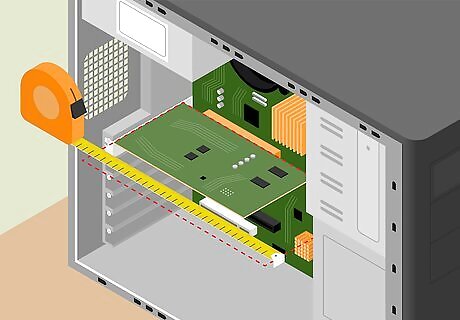
Measure the space where the graphics card will go. Graphics cards have gotten quite large, and if you have a small case with tight spaces, it may be difficult or even impossible to insert the card you want. Use a tape measure to measure the space where your graphics card will be inserted. Check this space against the specifications of the graphics cards you are looking at. Make sure to pay attention to the width as well, as many of the more powerful cards can be quite wide. A graphics card may take up the width of two PCIe bays, but it will only need to plug into one slot.
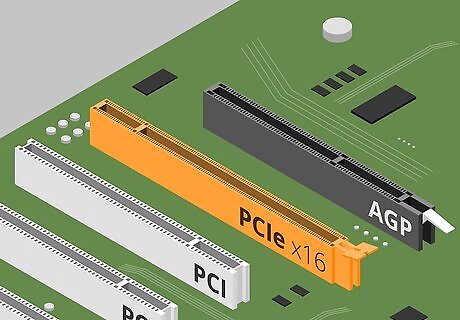
Check your motherboard's compatibility. All modern graphics cards run on the PCIe interface, which replaced the outdated AGP method. If your computer was purchased or built in the last fifteen years or so, chances are that it uses PCIe. If you're trying to upgrade the graphics card on a really old computer, you may be stuck with AGP unless you upgrade the motherboard as well. PCIe and AGP slots are colored differently on the motherboard. AGP is typically a darker color such as brown, while PCIe is usually white, yellow, or blue. There is no standard, however, so refer to your motherboard's documentation or look for labels next to the slots. PCIe slots are typically located closest to the CPU on the motherboard.
Installation
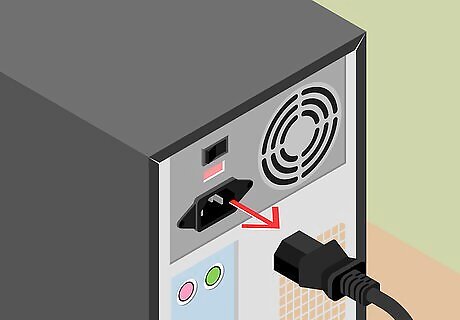
Power down your computer. Make sure that your computer is completely powered down before you work on the inside. Unplug it from the wall once it has been completely powered down.
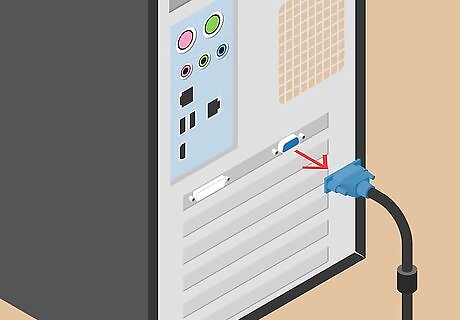
Disconnect the monitor. Your monitor is most likely connected to your old graphics card, so disconnect it from the back of your computer before removing the old card.
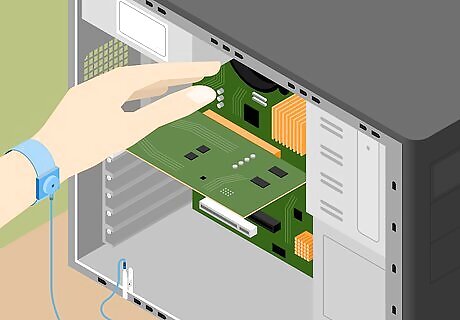
Ground yourself. Whenever you work inside of your computer, you should make sure that you're properly grounded. An electrostatic wriststrap attached to the bare metal of the case is the most convenient way to ground yourself when working in a computer. You can also ground yourself by touching a metal water tap with the water running.
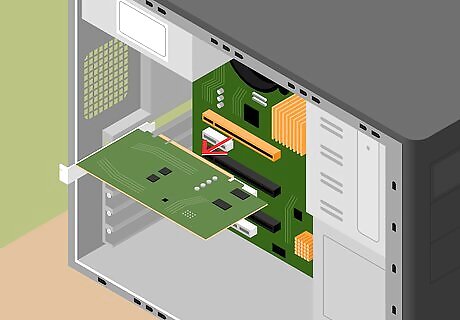
Remove your previous graphics card (if necessary). If you are upgrading, you'll need to remove your old graphics card before installing your new one. If you were using your motherboard's on-board graphics card, you may not have a card to remove. Use a Phillips-head screwdriver to remove the screw that is securing the old card to the case. Unplug any cables connected to the old graphics card. Undo the latch underneath the back end of the old graphics card (PCIe). This latch helps secure the graphics card, so make sure to unlatch it before pulling the old card out. Gently pull the old card directly out of the slot. Pull the old card straight out of the slot. You may have to be firm, but don't force it out. If you can't pull the card out, make sure that the latch has been released and the Phillips screw has been removed from the card's bracket.
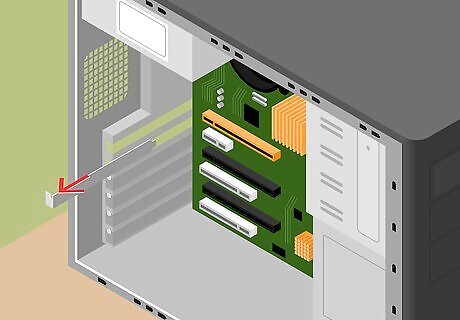
Remove any additional bay covers (if necessary). Many newer graphics cards require two bays on the back of your computer. You may need to remove the protective panel for the next bay if you haven't used it before. These panels usually pop off, though it varies depending on your computer case.
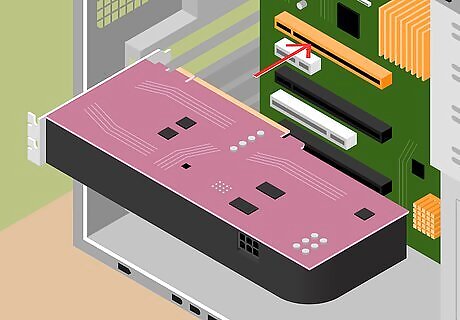
Insert your new card. Make sure that there aren't any cables obstructing the slot and that none will get stretched underneath the back of the card. Push the card firmly down straight into the PCIe slot until you hear it latch and it is evenly inserted. Secure the card to the case using Phillips-head screws (most cards will come with a couple). Make sure to secure each bracket if the card takes up multiple bays.
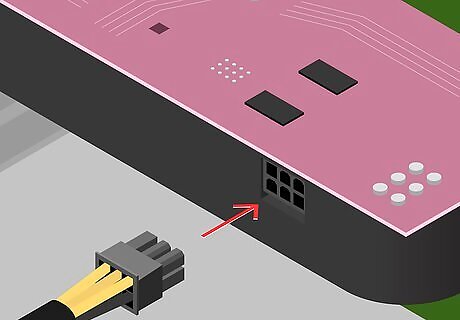
Connect the power supply. Most new graphics cards require at least one 6- or 8-pin connector from your power supply, usually along the top of the graphics card. Make absolutely sure that you connect all of these, as your computer will likely not boot if your graphics card is not properly powered. Due to the way that the pins are configured, the plug will only fit one way. Don't force the connection, but make sure that the connection is secure.
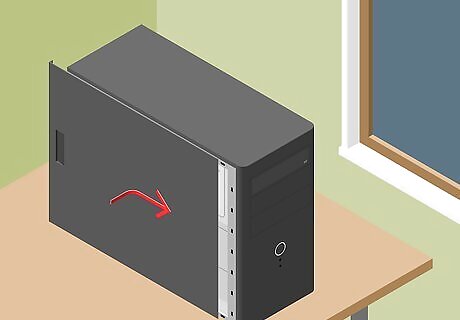
Close up the case. With the graphics card firmly seated and connected to the power supply, you can close up your case and move on to the software side of the installation.
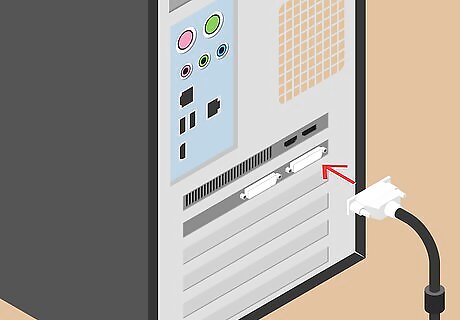
Connect your monitor to your new graphics card. When plugging your computer cables back into your computer, make sure that the monitor is now connected to one of the ports on your new card. If your monitor is very old and your graphics card is new, you may need an adapter to connect the monitor. Most graphics cards come with these adapters.
Installing Drivers

Boot into Windows. Before you do anything with drivers, make sure your computer is booting properly. If the computer is not able to start, or runs into errors immediately after starting, the graphics card may not be seated properly or may not be getting enough power from the power supply. Windows will likely boot into a low-resolution mode when starting with your new graphics card. Ignore the prompts to detect the new hardware for now.
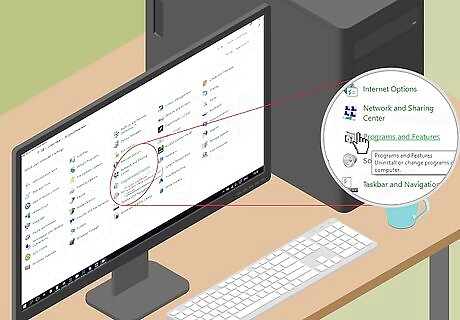
Uninstall your old drivers. If your old card was an AMD/ATI and you're moving to NVIDIA, or vice-versa, you should uninstall your old drivers first in order to avoid conflicts. If you're staying with the same manufacturer, it is still recommended that you remove your old drivers so that you can get a clean start. You can uninstall your drivers from the Control Panel. Open the Control Panel and select "Programs and Features" or "Uninstall a program". If you are using Windows XP, select "Add or Remove Programs". Find your graphics drivers in the list of installed programs. For NVIDIA, this will usually be "NVIDIA Graphics Driver XXX.XX". If you are removing AMD/ATI drivers, look for "AMD Catalyst Install Manager". Follow the prompts to uninstall the drivers. For NVIDIA, highlight the driver, click Uninstall, and then follow the prompts. For AMD, highlight "AMD Catalyst Install Manager", click Change, select "Express Uninstall ALL AMD Software" and then follow the prompts. Reboot your computer after removing the drivers. This will complete the uninstallation process.
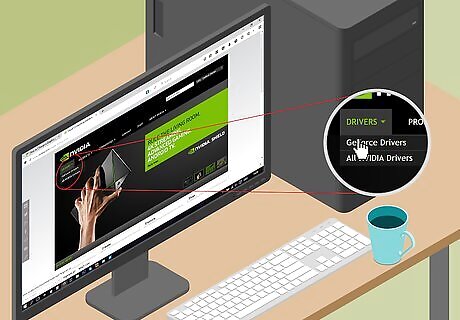
Download the latest drivers from the card manufacturer's site. Now that your old drivers are gone, you can install the drivers for your new card. Ignore the drivers that are included on the disc that came with your card, as these are already out of date. Visit the AMD or NVIDIA website, depending on which card you have, and enter your new graphics card model into the Search tool. Download the latest drivers that work for your card model. Driver files are fairly large (around 300 MB), and may take a little while to download depending on your connection.

Run the installer for your new drivers. Follow the prompts to install the drivers on your computer. Most users can select the "Express" option. During the driver installation, your display will likely flash a few times, and may change to a more suitable resolution. You will likely be asked to reboot your computer once the driver installation is complete.
Start using your new card. With the new drivers installed, you can start putting your graphics card to work. Load up your favorite game or graphic-intensive program and see what kind of performance you can get!


Comments
0 comment