views
Capture Video with Movie Maker
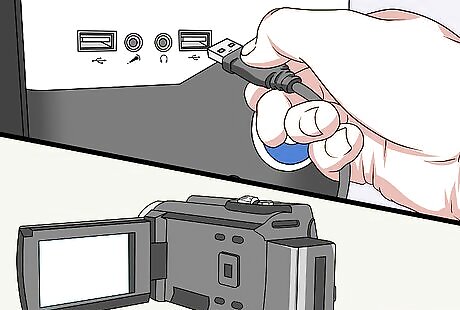
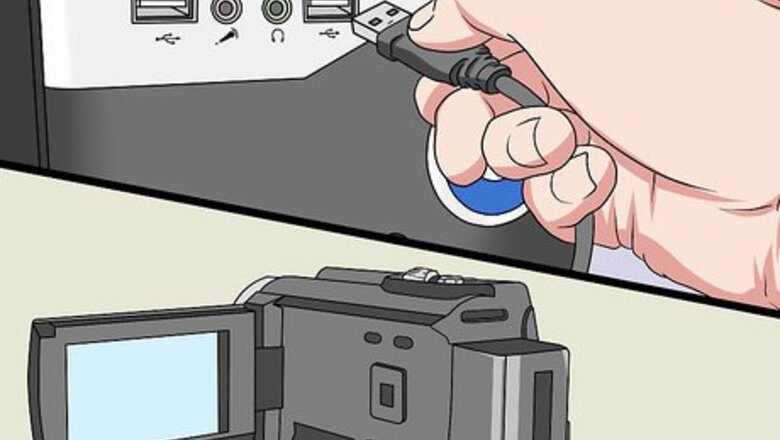
Connect the DV device to your PC. Locate the FireWire, or IEEE 1394 port, on your device and insert the FireWire cable. Connect the opposite end of the FireWire cable into a free USB port on your computer.
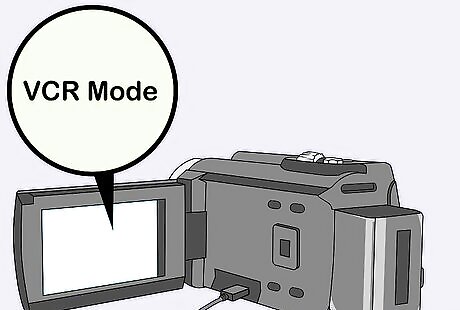
Set your device to VCR mode. Set your DV camera to VCR/VST mode. Click Import Video in the Autoplay dialog box that opens automatically when your device is connected.
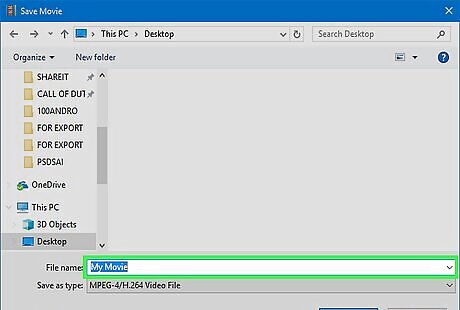
Name your video file and choose a file location. Type a name for the video file in the Name field and choose a location on your hard drive to store your video.
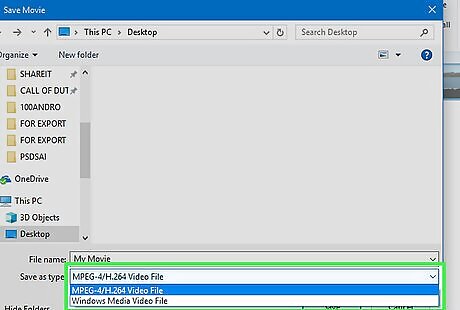
Choose a format for your video. Choose a format for your video from the list of options and click next.
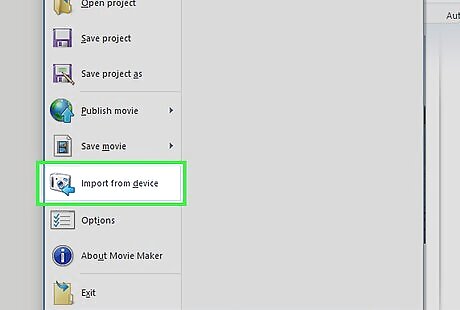
Capture the video file. Click on "Import the entire videotape to my computer," and click next. The menu will display a progress bar and will notify you once the conversion is complete. A digital copy of your analog video is saved in the specified location.
Convert Analog Video to Digital Using Movie Maker
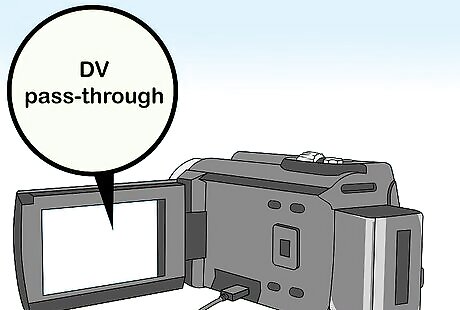
Change your DV camera settings to DV pass-through. Select the DV pass-through setting on your camera to enable the analog to digital conversion feature.
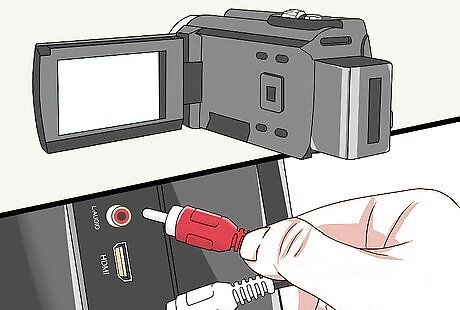
Connect your analog device to your DV camera using a composite video cable or an S-Video connection.
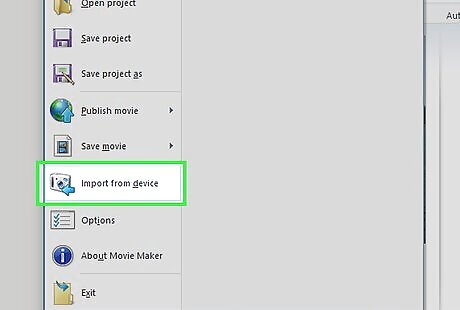
Import the analog video to your computer. The DV camera will now convert the analog video tape from the connected device into a digital video, and may be imported to your computer using the Windows Movie Maker record feature. Set your DV camera to VCR/VST mode. Click Import Video in the Autoplay dialog box. Type a name in the Name field. Choose a format for your video. Choose a location on your hard drive to store your video. Click on "Import the entire videotape to my computer," and click next. Once the conversion is complete, a digital copy of the converted analog video will be saved in the previously selected location.
Convert Analog Video to Digital Using a DV Camera and iMovie
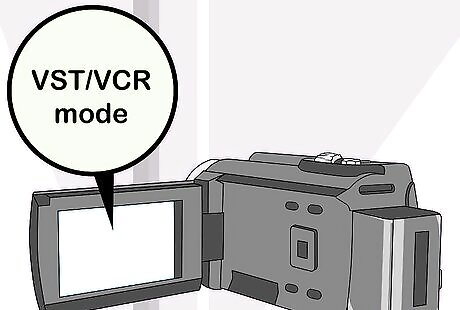
Import analog video into iMovie. Set your DV camera to VST/VCR mode and connect it to the computer using a FireWire cable. The import window will open automatically.
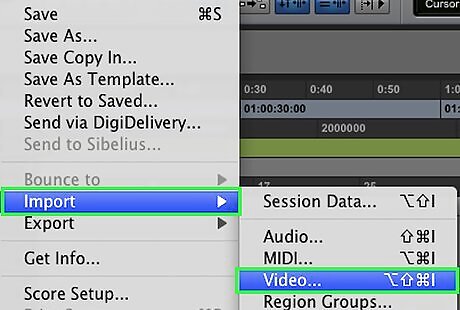
Covert the file. Click import, making sure that the switch on the left-hand side of the import window is set to Automatic. Select a location to store the project using the Save to pop-up menu. Type a name for the project in the Create new event field and click OK. The analog to digital conversion is complete.





Comments
0 comment