


What is RAM? RAM stands for Random Access Memory, and takes the form of small rectangular green circuit boards with memory chips and integrated circuits on them, each with a different value or capacity. These boards are commonly referred to as ‘sticks.’ RAM does not actually contain your data, so removing or replacing them one at a time or all at once will not make you lose your files. Think of them more as the workhorses that access and retrieve your data. The more ‘horses’ you have, the faster you’ll be able to move data around, and the faster your programs and computer in general will run.
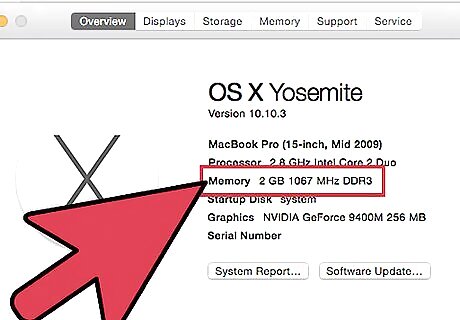
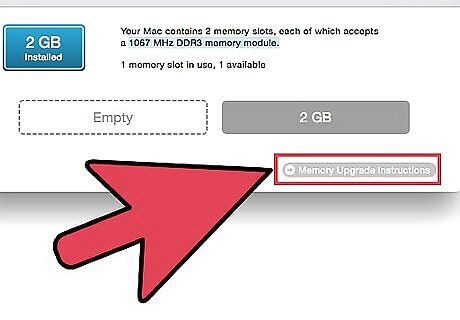
First up, find out how much RAM you currently have. To do this, go to START >> Control Panel >> System. This will bring up a window headed ‘View Basic Information About Your Computer.’ At the bottom it will show your computer’s vital specs, such as OS type, processor speed etc. Look where it says “Memory (RAM):” This will tell you how much RAM your computer currently has. On Windows, you can also just hold down the Windows key and then hit pause break. This will show you your processor and RAM info. With Apple computers, open the “About This Mac” option in the Apple menu.
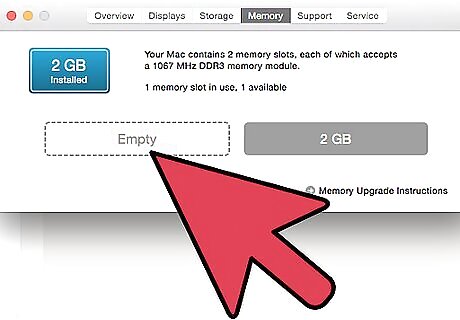
Next, see how much extra memory you can potentially add. Unplug your computer and open up the casing so you can look inside. Most computers only open up on one side. Look at the back first and look for the screws which hold the side casing on. The screws on one side may be bigger than on the other and can be unscrewed using just your fingers. If not, use a screwdriver. Once all the screws are off, test each side to see which comes off by laying your computer down on one side, and pressing inwards with the heel of your hand on the back of the panel on the other side, and pulling inwards and backwards hard. The side panel should slide off.
Look inside and locate your RAM. You may need a flashlight for this. The RAM boards are a series of green boards inserted into sockets parallel to each other. Look for empty slots. Most computers have a limit to the amount of RAM you can install. Modern PCs in 2010 can take up to 16 GB, but models from even a year or two ago usually hold less than 4GB max.
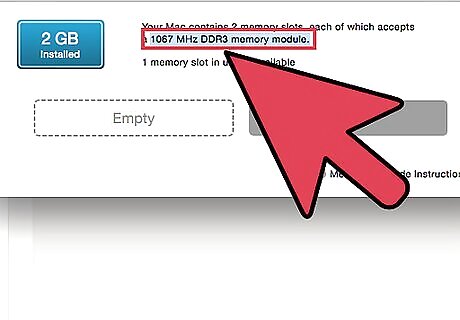
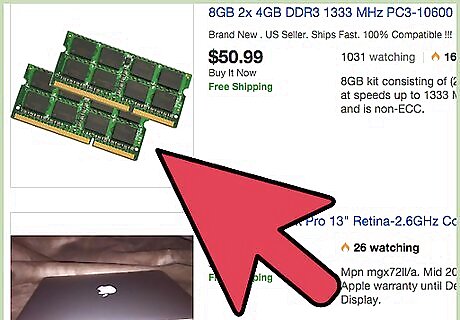
Find out what kind of RAM your computer requires. There is no such thing as ‘Off the peg’ RAM – each make and model of computer requires a different kind. To find out what kind you need, locate your computer’s model number (usually stamped on the front under the brand name, or printed on the back.) Write your brand and model number down and take it with you to the computer shop. Ask the assistant and they’ll look it up for you. You can also Google it online (Google: BRAND + MODEL NUMBER + RAM).
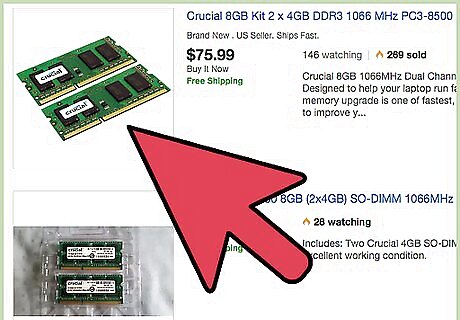
Purchase the correct type of RAM. Once you’re back home with your new RAM, unplug your computer and open it again. Make extra sure it’s completely unplugged, never open up your computer while it is plugged in as you’ll risk serious electric shock. Once its’ unplugged, lie it down on its side with the open side facing upwards. You are now ready to install your extra memory.
Do not touch the gold-plated parts of your RAM. Acid and other nasties on our skin can corrode the delicate gold plating and actually disable that ‘pin’. If you have a 1GB card and you run your fingers down half of the pins, you may lose 512MB in computing power.

Beware of static! You will have to get rid of any static electricity which all humans conduct, so in order to do so simply grab hold of a metal object which is touching the ground to discharge any static electricity you may have conducted. How to know if you’ve given your computer a static shock? As soon as you touch part of your computer without a grounding bracelet, you may feel that little ‘crack’ of electricity you get when doing laundry or walking on nylon carpet. Congratulations, you’ve just fried part of your computer. Don’t say we didn’t warn you!
Now it’s time to install your RAM. If you need to remove the old RAM, look at the ends of the RAM, where it joins with the slot. You’ll see tiny white ribbed clips. Press down on these one at a time and pull them backwards, away from the RAM. They should unfasten and pop outwards. Do this at each end, then get a firm grip on the RAM, holding it between your pinched thumb and forefinger at each end of the board (never pull it out by the middle or you could snap the board) and pull firmly upward to remove it.

Insert the replacement boards by doing this in reverse. Make sure the white clips are wide open at both ends before inserting the memory. You might find you have to push the boards in quite hard. Don’t be afraid of pushing with moderate force, but before you start pushing, make absolutely sure the boards are the right way around and that they are correctly seated in the slot. Then, push the board in by putting firm and even pressure on both opposite ends of the board with the pads of your thumbs and pressing hard downwards. Use slow and steady pressure without jerking. You’ll know the boards are fully seated when you’ll see both white clips automatically lock onto the sides with an audible ‘click.’

Clean the dust from your computer. Get a can of compressed air and blow dust out of your PC. All computers suck in dust as they have a fan at the back which keeps the graphics card or processor cool. This problem gets worse if the tower is kept on the floor. Opening up your computer and turning it on its side will redistribute the dust and let even more in. This could be bad if dust gets into moving parts or settles in places which may get hot. Never use a vacuum cleaner as the suction will be too powerful and you may suck up wires and cause serious damage to your computer.

Close your computer. Screw the side panel back on and reattach all power cords on cables. Turn your computer on. Navigate back to the Control Panel and check to see that the amount of RAM listed has gone up. Congratulations! You have successfully installed your RAM! You may now enjoy faster operation, better multi-tasking and less frequent freezes and crashes. Nice work!


Comments
0 comment