views
Planning and Preparation
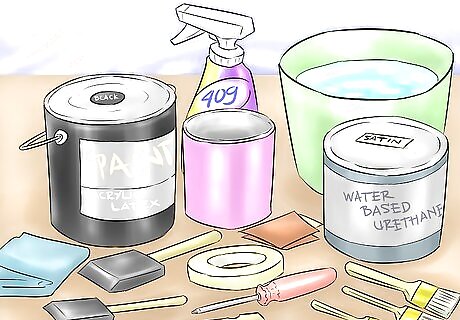
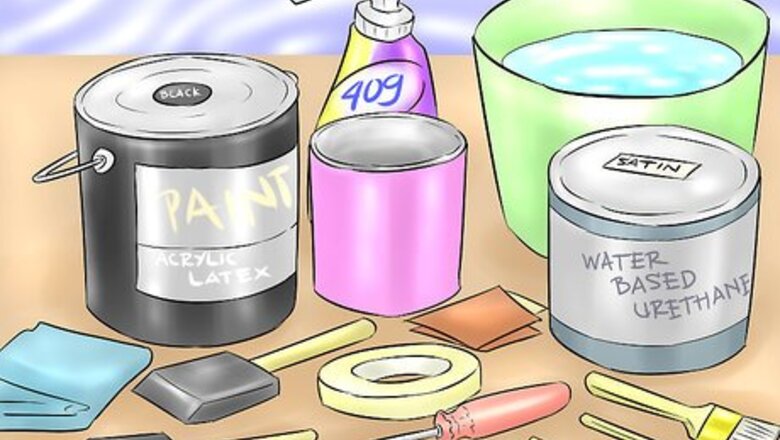
Gather the necessary tools and materials. To black wash your kitchen cabinets, you will need the following tools and materials. Black acrylic latex paint (semi-gloss or satin). Several poly-foam paint brushes (2” to 4” wide) Two or three disposable bristle paint brushes (2” to 4” wide) Clean rags (old t-shirts make the best rags for this project) Water-based satin urethane (Varathane Diamond Coat ® or Minwax Polycryilic ®) Empty paint can (for mixing) Water Phillips screwdriver Masking tape Household window cleaner or 409 ® 220 grit sandpaper or very fine (#0000) steel wool Paint mixing sticks from paint store

Consider the cost of the project. Your paint and clear finish products will account for the majority of your costs. A gallon of black paint will yield two gallons of black-wash, since the paint is cut with water. The water-based urethane is about $25 per quart. A typical kitchen can be black-washed for under $200 DIY compared to having a professional do it for around $1000 or more.
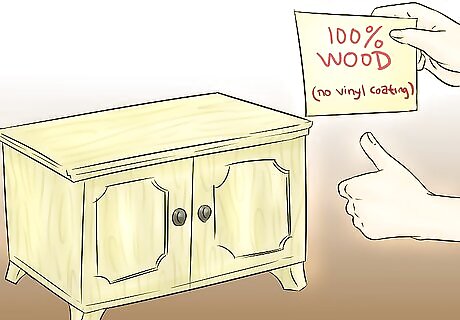
Ensure that your cabinets are not covered in a vinyl coating. Some cabinets and furniture have a wood grained “foil” or vinyl coating that looks like wood but is not. If you are unsure, take a door to your local home center and have an expert tell you if this is the case. If your cabinets do have a vinyl coating, this process will not work successfully as a black wash finish will not stick. You can successfully repaint this type of covering with paint that is made specifically for plastics.
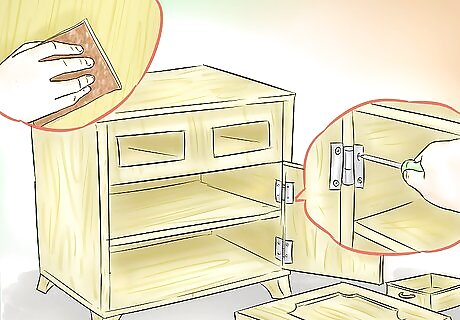
Prep the surface of the cabinets. Begin by removing the cabinet doors with a Phillips screwdriver and set the drawers aside. Then clean the cabinet surfaces with household window cleaner or 409 ® and allow to dry thoroughly. Repeat the process with the removed cabinet doors. Remove any stubborn grease or “goo” stains with cleaner and steel wool or sandpaper. Scrub just enough to get the surface clean. Wipe down the surfaces with a slightly damp rag to remove any leftover residue from the steel wool or sandpaper.
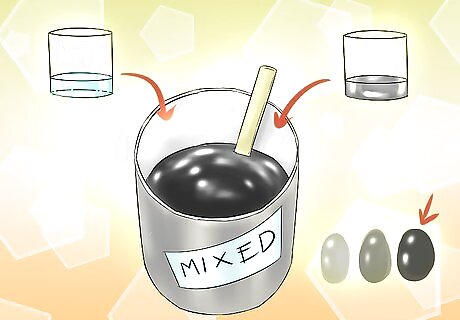
Mix the black wash. Take the empty paint mixing can and fill it one-quarter of the way with water. Slowly add an equal amount of paint. The can should be about half full after you add the paint to the water. Mix thoroughly with a paint mixing stick. The sticks from the paint store or paint department work best for determining the thickness (viscosity) of the wash. The mixed viscosity should be “soupy” compared to the unmixed paint. Unmixed paint will drip off the mixing stick in long thick “glops,” while the paint mixed with water will run off the mixing stick in a steady flow. The mixed paint should be thin, but definitely thicker than water. If you suspect that it is too thin, add a little more paint and mix thoroughly. A little thicker is better than too thin. Mask off any adjoining surfaces you want protected from paint. Once completed, stir the paint mixture again to ensure a thorough mix.
Applying the Wash
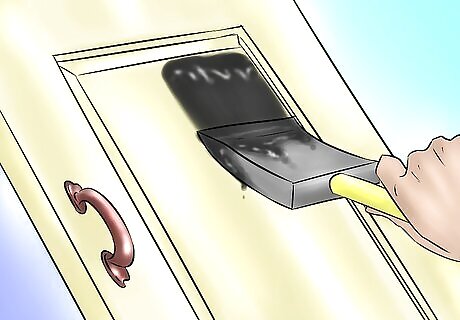
Start with the doors. They are easier to handle and wipe clean if you make a mistake. Stir the paint mixture often to keep it mixed properly. Dip the foam brush into the mixed wash and apply to a small section on the back side of the cabinet door. The thinned mixture should look like thin paint when applied, but some of the wood grain or previous paint color may show through slightly. This is normal. If you are satisfied with the coverage in the test area, then completely paint the entire surface of the door using the foam brush. No special brush stroke is needed, as you will be using a clean rag to blend the finish.
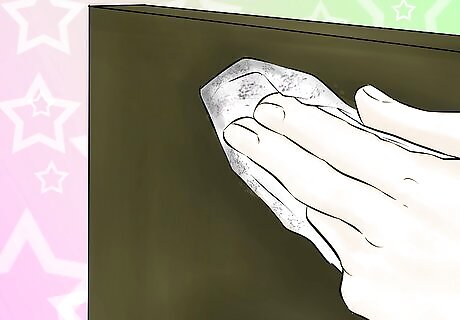
Use a damp rag to gently wipe the painted surface. After about five minutes, use a clean, very slightly dampened rag (as described in list of materials) and gently wipe or “wash” the surface you just painted. Do this in one smooth “wipe” from one edge to the other, going in the direction of the grain of the wood. Just “thin” the coat as you wipe; do not wipe off all the paint!
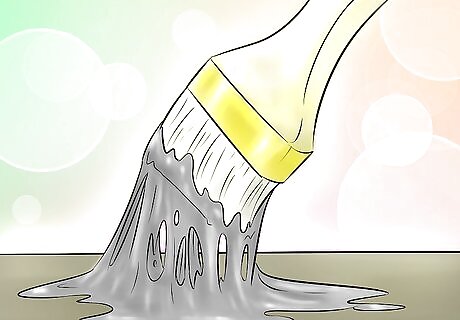
Know what to do if the paint becomes sticky. If the paint is left too long before wiping, it will become sticky and "peel” rather than “wash.” If the paint is sticky as you wipe it, dip a clean bristled paint brush in clean water enough to make it damp. Lightly brush over the painted surface with the damp brush. Do not slop water all over the paint…just a damp application! Immediately wipe with a clean rag as instructed in the step above. The dampened surface should break up the drying and allow for a smooth wiping. If it is still sticky, re-coat with another coat of the paint mixture and wipe immediately. The result will be a streaked finish with much more of the wood grain or previous finish showing through. A streaked, opaque finish is what you want.
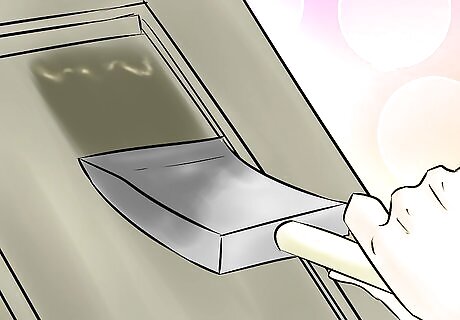
Apply additional coats as desired. If desired, apply additional coats of the black wash to hide more grain or more of the previous finish. Always allow each coat to dry completely before applying another. If the final coat makes the cabinets too dark for your taste, use a wet (but not dripping) rag to wipe off the final coat before it has a chance to dry. If you have allowed the previous coats to dry properly, the damp rag will not affect those coats. The idea is to have some of the grain or previous finish showing through for the proper effect. Repeat this process on both sides of the remaining doors, on cabinets, and on drawer faces. Be patient! If you are putting on additional coats, let the previous one dry first!
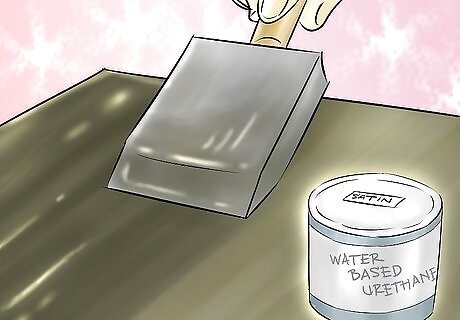
Once the paint has dried, apply a coat of clear urethane. Let your black wash dry overnight before applying the clear urethane. If you skip this step, chances are your black wash will slowly disappear a little each time you clean your cabinet. Thoroughly stir your water-based urethane finish to mix it. Do not mix by shaking. Shaking creates lots of foamy bubbles that set into the finish, preventing the surface from being smooth. Dip a polyfoam brush into the urethane and apply over the black wash finish. One medium coat should be enough for the cabinets, but two coats will give added protection to doors and drawer faces that are frequently opened and closed.
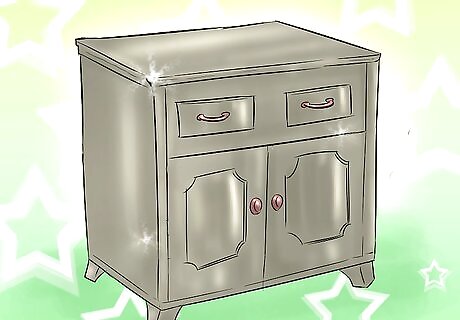
Reattach the cabinet doors and clean up. Reattach the hinges to the doors and carefully mount the doors onto the cabinets. Stand back and admire your work! Clean up your supplies with soap and water. Tightly seal the cans of thinned and non-thinned paint for future use and touch-up as needed.




Comments
0 comment