views
Applying to Dash
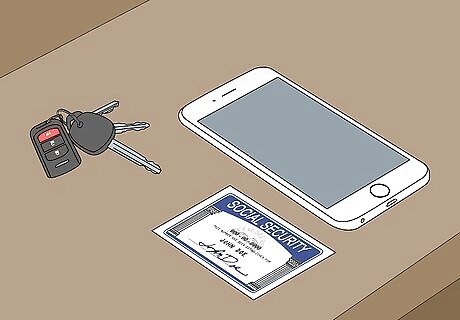
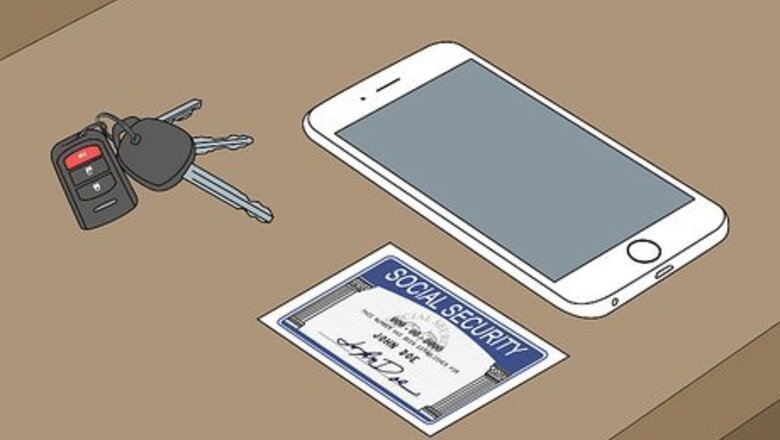
Meet the mandatory requirements. Before signing up to drive, make sure you meet all of DoorDash’s requirements: Live in or near an area that has DoorDash service. Be 18 or older. Have an iPhone or Android. Be able to provide a social security number for a background check. Have access to a vehicle (car, motorcycle, truck, or scooter). Some cities also allow Dashers to deliver by bicycle.
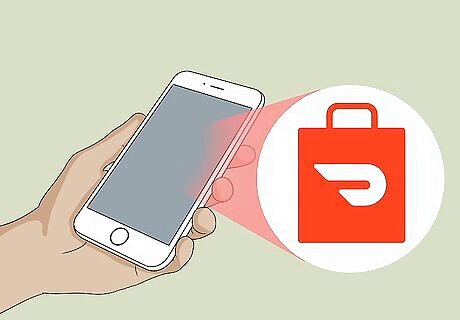
Open DoorDash on your iPhone or iPad. It’s the white icon with a red curved line (a half-oval) inside. You’ll usually find it on the home screen. If you haven’t yet signed up for DoorDash, you’ll have to create an account before you can sign up to drive.
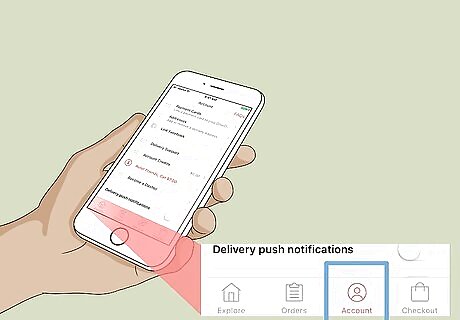
Tap Account. It’s the icon at the bottom-right corner of the screen.
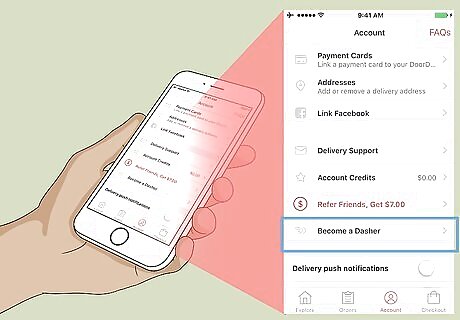
Scroll down and tap Become a Dasher. It’s under ″MORE″ header at the bottom of the menu.
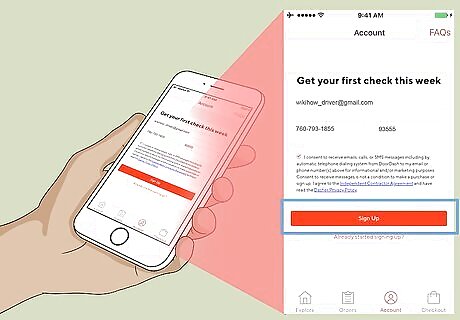
Fill out the form and tap Sign Up. Type your email address, phone number, and Zip or Postal code into the provided blanks. You’ll also need to tap the check box next to the statement of consent.
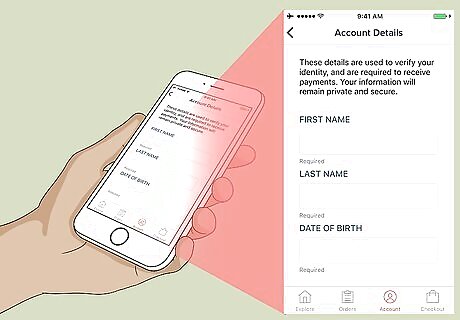
Complete the application. Follow the on-screen instructions to provide DoorDash with all the information they need to bring you on board. Once you’ve submitted the application, you’ll be redirected to a page that provides information about your mandatory orientation.
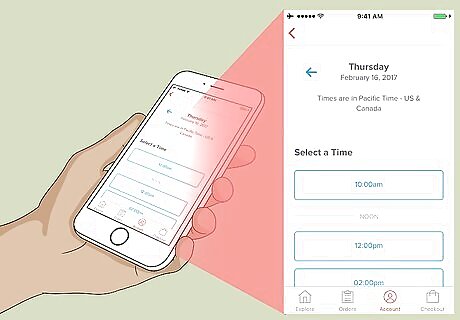
Schedule an orientation. Depending on your region, you’ll have the option to sign up for an in-person or online orientation. Follow the on-screen instructions to choose a time and location that works best for you.
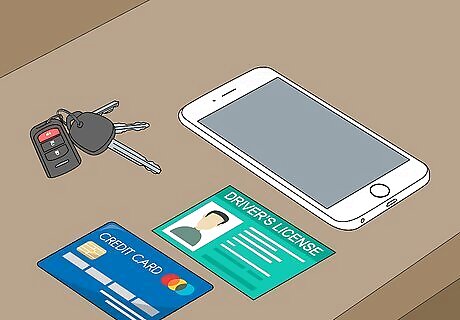
Attend the orientation. The orientation teaches you all you’ll need to get started as a Dasher, including how to Dash (make deliveries), and how you’ll get paid. After completing the orientation, you’ll receive an activation kit that contains your Red Card, which is the card you’ll use to pay for your customers’ orders. Make sure to have the following items available for your orientation: Your iPhone, a credit or debit card, and a valid driver’s license (or state ID if using a bicycle). You will have to fill out any tax forms required by your locale before you can start Dashing.
Setting Up Dasher
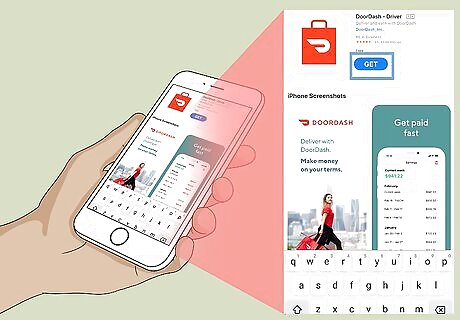
Download the Dasher app. After completing the orientation, you can download the Dasher app and set it up. This app is not available from the App Store, so you’ll have to use a web browser. Here’s how to install the app: Open Safari or your preferred web browser. Navigate to https://www.doordash.com/dasher/app. Tap Download App. Tap Install and then follow the on-screen instructions to complete the installation.
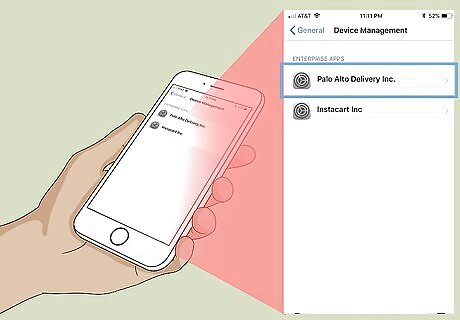
Add Dasher to your iPhone’s trusted apps. Here’s how: Open your iPhone’s Settings iPhone Settings App Icon. Tap General. Scroll down and tap Device Management. Tap Palo Alto Delivery Inc. Tap Trust ″Palo Alto Delivery Inc.″. Tap Trust to confirm.
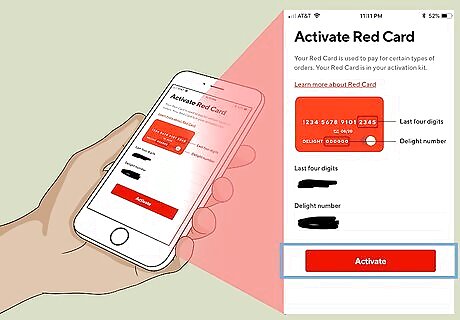
Activate your Red Card. Once you receive your Red Card, you can activate it in the Dasher app by following these instructions: Open Dasher. It’s the red shopping bag icon with a curved white line inside. You should find it on the home screen. Tap Account. Tap Did DoorDash give you a payment card? It’s near the top of the page. Follow the on-screen instructions to fill out the form.
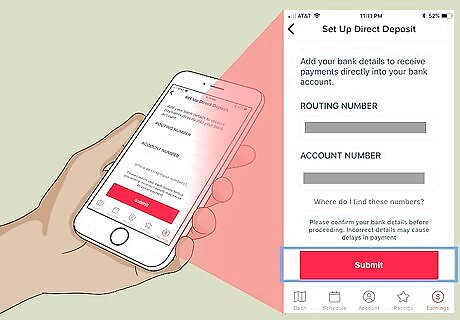
Set up direct deposit. Before you start dashing, make sure you’re ready to get paid. Here’s how to add your bank account to the Dasher app so your direct deposits go through: Open Dasher and tap Account. Tap Earnings. Tap the red icon at the top-right corner of the screen. Fill out the form using information from your checking account. Tap Submit Bank Details.
Delivering Orders
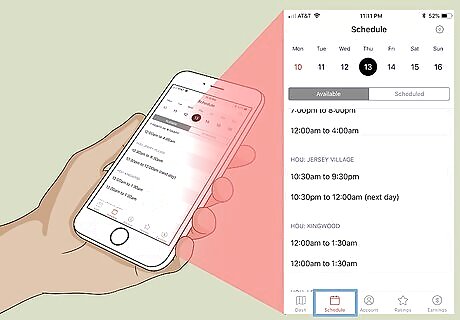
Create a schedule. Once you’re all set up, you can start delivering orders. You have the options of choosing Dasher shifts in advance, but it’s not required. Here’s how to select shifts in Dasher: Open Dasher and tap Schedule. Tap the Available tab to see available shifts in your area. Select a date you want to work from the calendar at the top of the screen. Scroll down and tap a shift you’d like to work. You can then adjust the start or end time as you wish. Tap Sign Up to reserve that shift. Add additional shifts as desired. Tap the Scheduled tab to see your upcoming shifts.
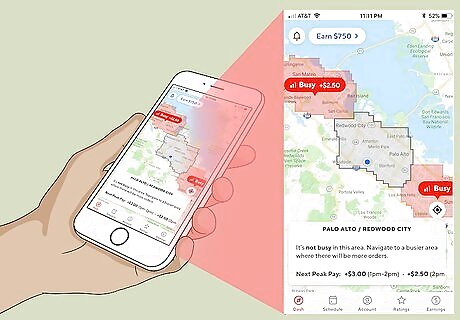
Head to a busy area during your shift (or at your desired time). For tips on choosing a busy area, see this spreadsheet created by DoorDash.
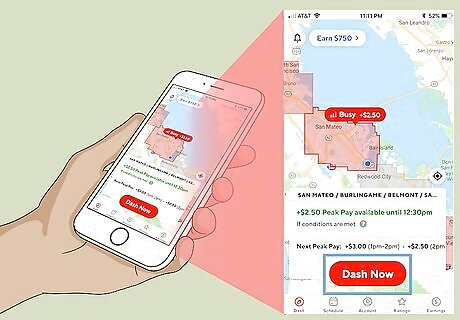
Tap Dash Now. It’s at the top of the screen. If you aren’t scheduled, follow the on-screen instructions to enter your end time.
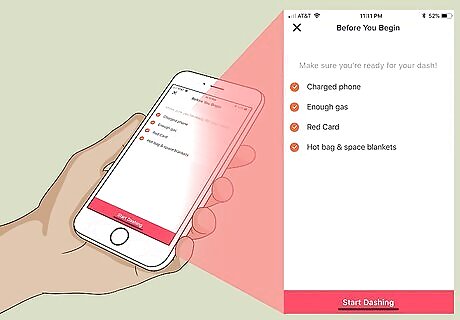
Complete the check list. Check each item to ensure you’re ready to start dashing. This includes having your Red Card, a charged phone, a hot bag, and enough gas to work.
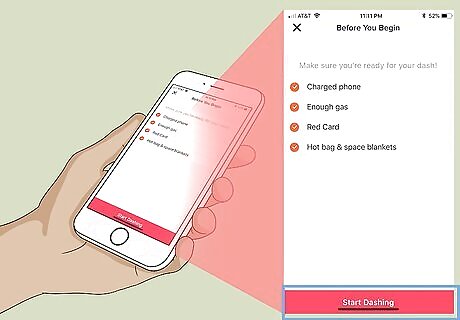
Tap Start Dashing. You are now ready to accept your first order.





Comments
0 comment