
Setting a Time Limit on an App Category
Open Settings iPhone Settings App Icon. It's the icon that resembles two silver gears. Tap the icon on your home screen to open the app.

Scroll down and tap Screen Time. It's next to a purple icon that resembles an hourglass. Tap the toggle switch next to Share Across Devices to apply your Screen Time settings to all devices signed in to your iCloud account. This allows you to apply your Screen Time settings to all your families devices as well as your own. In the previous iOS version, it used to say "Battery". However, the name has now been replaced by "Screen Time" in iOS 12 and later.
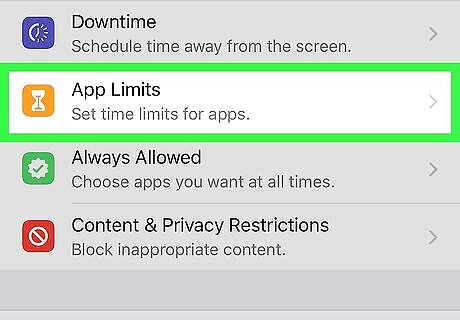
Tap App Limits. It's next to a yellow icon that resembles an hourglass. Make sure the iPhone or iPad you want to apply app limits to is displayed at the top of the screen.
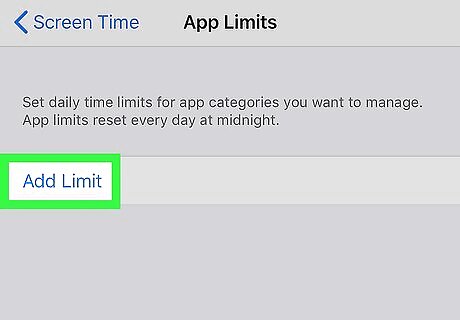
Tap Add Limit. It's the first option in the "App Limit" menu. This allows you to create a new app limit.
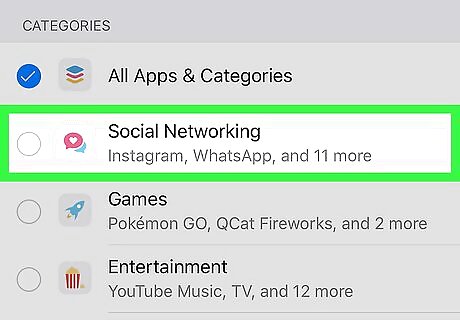
Choose an appropriate category and tap Next. Categories include, "Social Networking", "Games", "Entertainment", "Creativity", and more. The Next button is in the upper-right corner of the window. An example would be the "Social Networking" category, which you can set an app limit on so that you don't waste so much time on social media apps. Select All Apps & Categories to set a limit for all apps on your device.
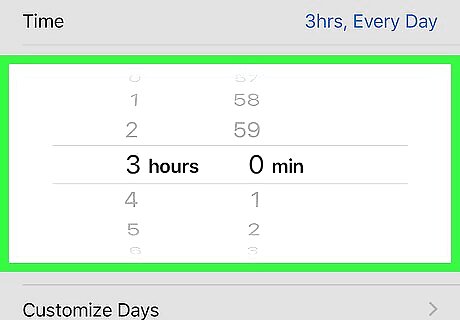
Set a time limit for the app category. Swipe up and down on the numbers to adjust the time. You can set hours and minutes. Choose a sufficient amount of time for usage of the app. Don't worry if you don't like the amount of time for the app you chose. You can always change it later.

Tap Add. It's in the upper-right corner of the window. This confirms the time limit you set. If you decide you want to delete an app limit, just return to the "App Limit" menu screen, tap the app limit you want to delete and tap Delete Limit at the bottom of the screen. Then tap Delete in the confirmation window.
Adding a Scheduled Downtime to your iPhone and iPad

Open Settings iPhone Settings App Icon. It's the icon that resembles two silver gears. Tap the icon on your home screen to open the app.

Scroll down and tap Screen Time. It's next to a purple icon that resembles an hourglass. Tap the toggle switch next to Share Across Devices to apply your Screen Time settings to all devices signed in to your iCloud account. This allows you to apply your Screen Time settings to all your families devices as well as your own. In the previous iOS version, it used to say "Battery". However, the name has now been replaced by "Screen Time" in iOS 12 and later.
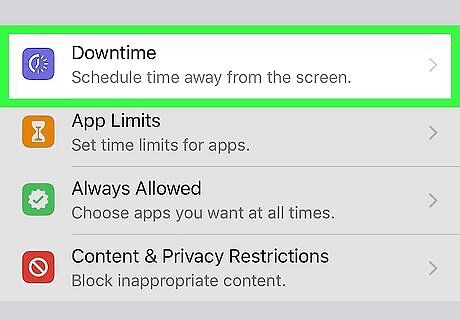
Tap Downtime. It's next to a purple icon that resembles a clock.
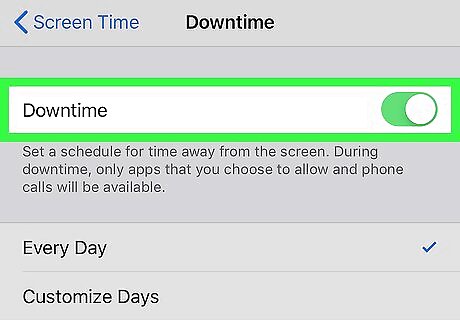
Tap the toggle switch iPhone Switch On Icon next to "Downtime". This turns on the Downtime option for your iPhone and iPad.
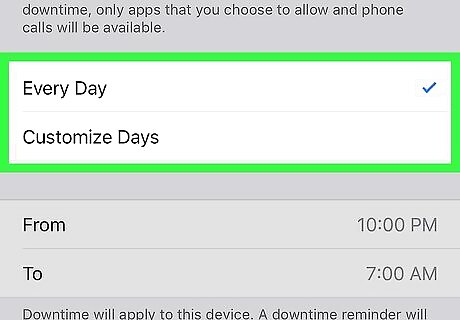
Select "Every Day" or "Customize Day". If you want to apply the same downtime hours to every day of the week, select Every Day. If you want different hours on different days of the week, select Customize Days.
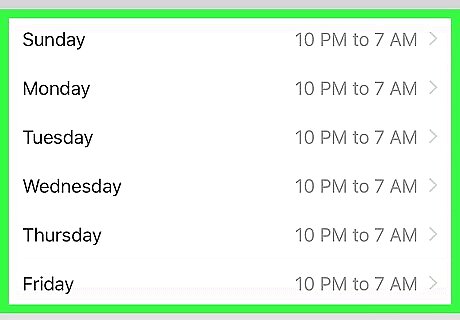
Tap a day of the week (Customize Days Only). If you want to customize your downtime hours for each day, tap a day of the week you want to schedule downtime for.
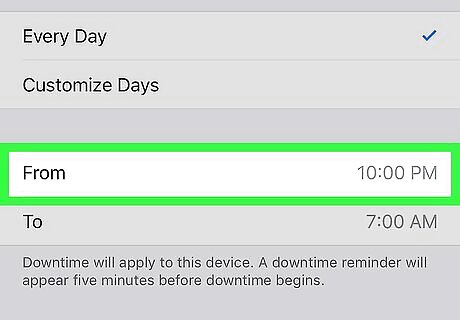
Tap From. This displays a number dial you can use to set the time you want your downtime hours to start.
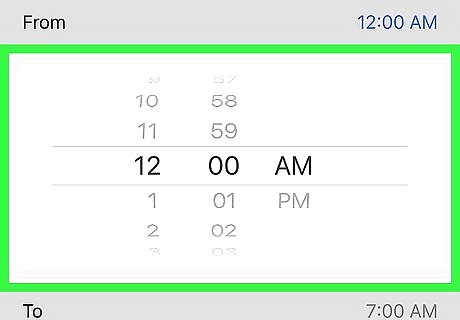
Set the time you want your downtime hours to start. Swipe up and down on the numbers to change the time. You can set the hour, minute, as well as AM or PM.
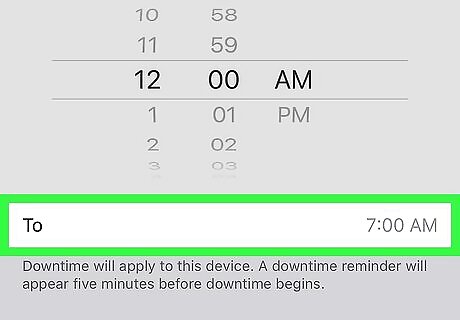
Tap To. This displays a number dial you can use to set when you want your downtime hours to end.
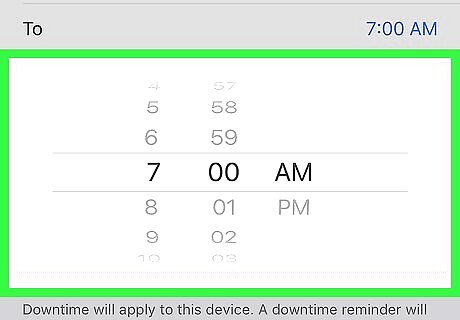
Set the time you want your downtime hours to end. Swipe up and down on the numbers to change the time. You can set the hour, minute, as well as AM or PM.
Selecting Apps That Are Always Allowed

Open Settings iPhone Settings App Icon. It's the icon that resembles two silver gears. Tap the icon on your home screen to open the app.
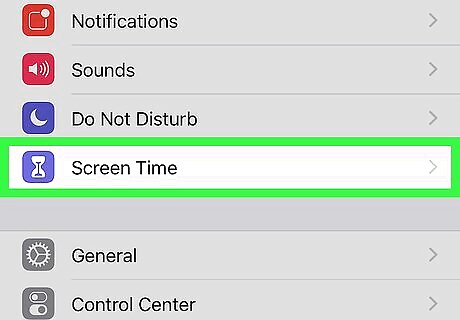
Scroll down and tap Screen Time. It's next to a purple icon that resembles an hourglass. Tap the toggle switch next to Share Across Devices to apply your Screen Time settings to all devices signed in to your iCloud account. This allows you to apply your Screen Time settings to all your families devices as well as your own. In the previous iOS version, it used to say "Battery". However, the name has now been replaced by "Screen Time" in iOS 12 and later.
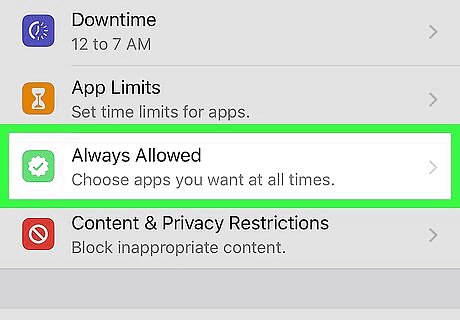
Tap Always Allowed. It's next to a green icon that resembles a clock. This is where you can select apps that are always allowed, even during scheduled downtime, and when app limits time has run out.
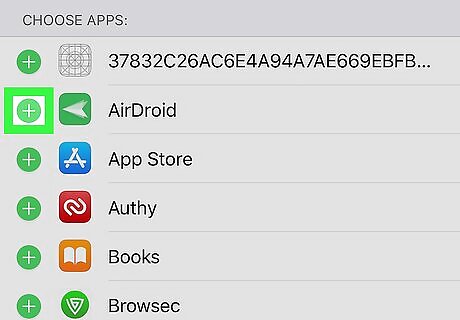
Scroll down and tap iPhone Add Widget next to an app. This adds the app to the "Allowed apps" list at the top of the page. Apps listed under "Allowed apps" are allowed at all times. Even during scheduled downtime, and after an app limit time has expired. To remove an app from the list of allowed apps, tap the icon the red icon with a minus sign (-) to the left of the app. This removes the app from the list of allowed apps.


Comments
0 comment