
Making Quick Adjustments
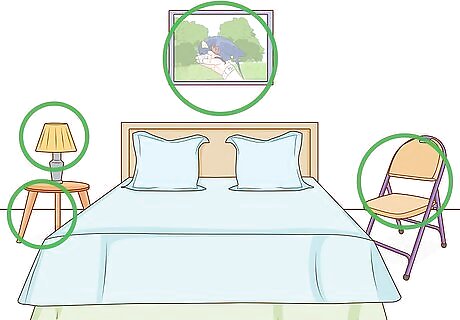
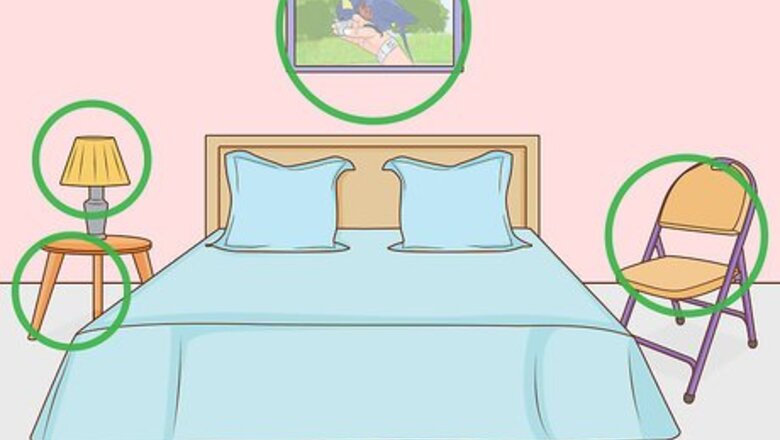
Remove hard surfaces and things that vibrate from the room. You’ll want to minimize hard surfaces and anything that vibrates, from table lamps to pictures hung on the wall. If you’re tuning your bedroom, leave the bed and other essentials. Just remove everything you can. You’ll also need space for your audio equipment, so clear out the area you’re tuning to make room.
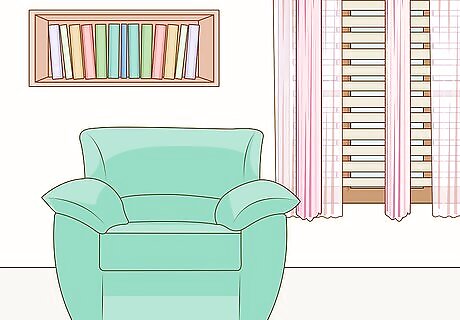
Absorb and diffuse sounds with furniture and décor. Store-bought diffusers bounce sound waves in many different directions, effectively reducing reflections. However, they’re not really worth the expense for a home studio. Furniture like a soft sofa and bookshelves will work just as well. In addition to using furniture to diffuse sound, you should cover any windows with heavy curtains to help reduce outside noise.
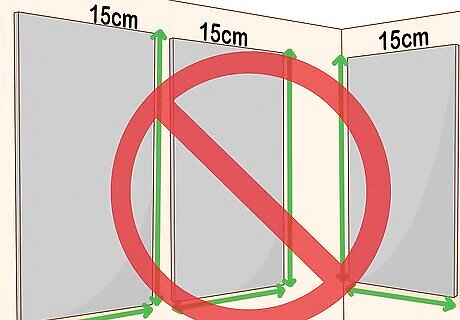
Don’t just cover all the walls with equally sized foam panels. The key to tuning a room is to provide a balance between sound absorption and diffusion. In addition, using absorbers, like foam panels and corner bass traps, with various thicknesses will absorb low, mid, and high pitched sounds. Just using one thickness will only absorb one of those pitch ranges. Covering the entire room with the same sized foam panels is actually worse than doing nothing at all. Diffusers scatter sound waves and are useful in larger spaces. For the average home studio, they’re not worth the expense. A soft sofa and bookcase work just fine as diffusers.
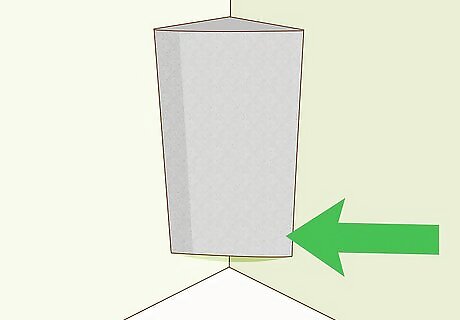
Prioritize corners over walls. Trihedral corners are the three-dimensional corners between two walls and the ceiling or floor. These should be your first priority. Dihedral corners are where two walls meet and are your second priority. The walls themselves get last priority. For instance, if you’re on a budget, start with mounting bass trap sound absorbers at the corners where the walls meet the ceiling or floor.
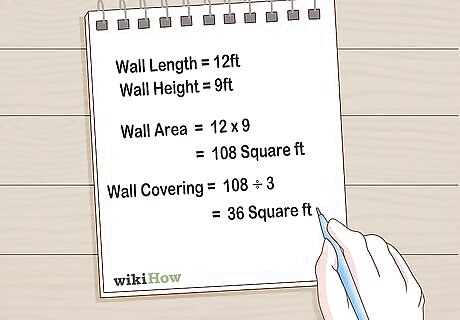
Calculate how much wall coverage you need. Most home studios will only need about 30 to 40 percent of surface coverage. To estimate how much of a wall needs to be covered, multiply its length by its height. Divide that amount, or its area, by three. For instance, if your wall is 12 feet long and 9 feet high (3.65 by 2.75 meters), its area is 108 square feet (10 square meters). You should cover it with 36 square feet (3.3 square meters) of sound absorbing material. Three 4 by 3 foot (or about 1 by 1 meter) panels should do the trick.
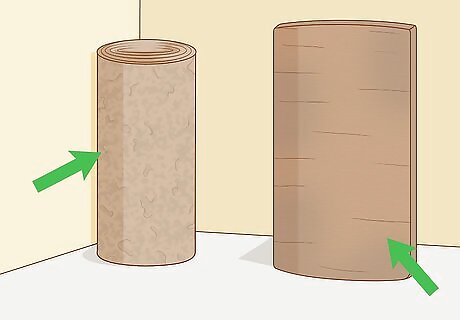
Use rolls and slabs of insulation as absorbers. If store-bought absorbers aren’t in your budget, insulation can be a more affordable option. While not as effective or aesthetically pleasing, you can place rolls of insulation in your room’s corners and mount slabs on the walls. Keep in mind corners where the walls meet the floor and ceiling are your top priority. If you can only do one thing, place rolls of insulation in the room's corners. Look for fiberglass or foam insulation online or at your local home improvement store.
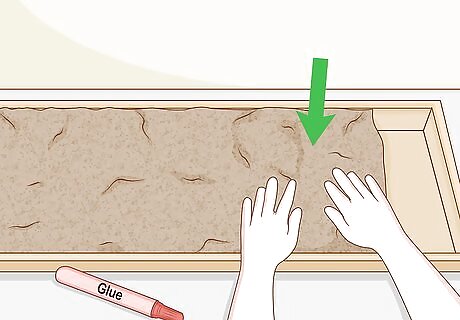
Build your own panels by framing rockwool. Creating your own panels is a little more sophisticated than just leaning slabs and rolls of insulation against the wall. Try gluing sheets of rockwool, foam, or fiberglass insulation together to create a variety of thicknesses. You can then cut wooden boards and glue them to the sides of your homemade panels to create frames. Then, glue or screw the frames onto your room’s corners and walls.
Installing Commercial Sound Absorbers

Sketch out your room and map out your panels. You won’t want to invest in absorbers, then hang them at crooked angles. Bass traps that fit into corners are easier to mount straight, but you should take the time to space out wall panels evenly. Measure your wall’s full length and add your panels’ lengths together. Then, subtract your panels’ total length from the wall length. Divide the difference by the number of panels you have. Suppose your walls are 10 feet (3 meters) long and you want to hang two 2 foot (0.6 meter) panels on each wall. You have 6 feet of space left over, so you can hang the panels 2 feet away from the wall’s corners and everything will be even. Use a pencil and level so you can hang panels on a straight line.
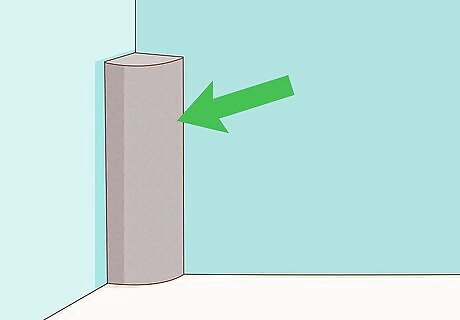
Install bass traps at the room’s corners. The corners of a room tend to amplify the effects of low frequency reverberation, which bass traps absorb best. Remember that the corners where two walls meet the ceiling and floor reflect the most sound, so these are your first priority. Store-bought absorbers usually come with heavy duty adhesive or brackets. Check your product’s instructions for specific installation information.
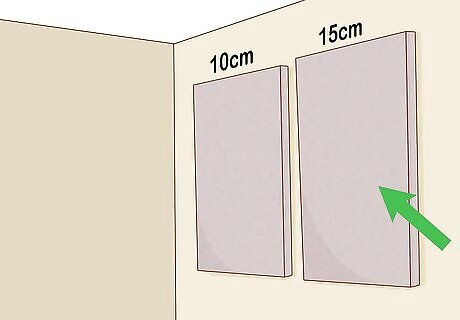
Install foam panels. Foam panels are thinner than corner bass traps, so they take care of sound waves at mid and high frequencies. If you can afford it, purchase panels with two or three different thicknesses to absorb the broadest range of frequencies. Space your panels evenly across a wall, and hang them at ear level for the best effect. If it’s affordable, mounting two or more flat foam panels on the ceiling is also effective. However, think of the ceiling as another wall, and make the corners your first priority if your budget is a concern.
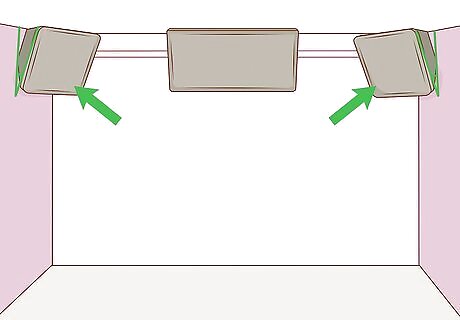
Install asymmetrical absorbers. In addition to flat panels and corner bass traps, you might also want to try panels that hang from the ceiling or attach to walls at an angle. Recall that cube-shaped rooms have poor mode distribution and cause a distorting resonant frequency. Angled, asymmetrical absorbers can help curb this effect in small rooms with regular proportions. For example, you could mount panels at an angle between a wall and the ceiling. You're trying to add asymmetry, so avoid placing angled panels between walls and ceilings directly across from each other. If they mirror each other, you won't create any new, irregular proportions. You could also install absorbers that hang from the ceiling around the listening spot in the room. This is the spot where you'll be listening to music or placing the recording equipment.
Choosing a Room to Tune

Go for a large, asymmetrical room. Larger, asymmetrical spaces allow for better sound quality. Rooms with uneven dimensions interfere less with direct sound, or the sound waves that travel directly from the source to the listener. All rooms have modes, or modes of vibration. In basic terms, modes have to do with how a room reflects and distorts sound waves. Small, cube-shaped rooms are the worst choice for a studio but, unfortunately, they’re the only available option in most homes. A small room with roughly equal height, length, and width has poor mode distribution, which leads to a greater distortion at a specific frequency, or resonant frequency. A larger room with more varied proportions has more resonant frequencies, instead of one big peak, which means a less intense distortion.
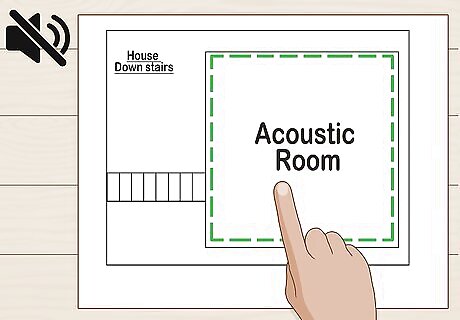
Choose a room away from outside noises. If possible, choose a room where you can’t hear cars, lawn mowers, birds, and other outside noises. Downstairs rooms are typically better than rooms upstairs. Keep in mind you’ll also be making noise that others can hear. Professional soundproofing isn’t affordable for most people, so choose the most isolated spot available.
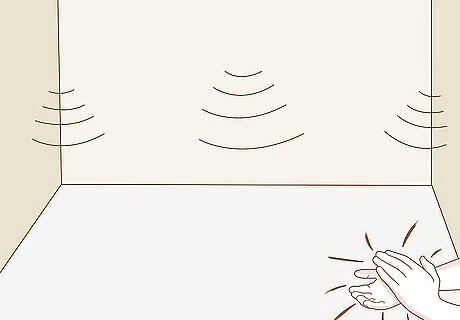
Clap your hands to check your room for reflections. Stand in several spots all around the room and clap your hands as loud as you can. Listen closely to the reflections that follow, and try to evaluate their quality. If necessary, attune your ear by doing the clap test in multiple rooms to hear a broader range of reflections. Intense flutter echoes, or a harsh, sharp ringing, are a worst-case scenario, and is probably what you’d hear in a small, cube-shaped room. The intensity of the echoes you hear will let you know how much work you have to put into tuning your room.


Comments
0 comment