
views
Adding Images as Layers
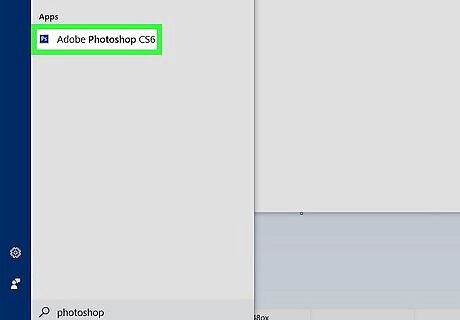
Open Photoshop. Double-click the Photoshop app icon, which resembles a blue "Ps" on a square background.
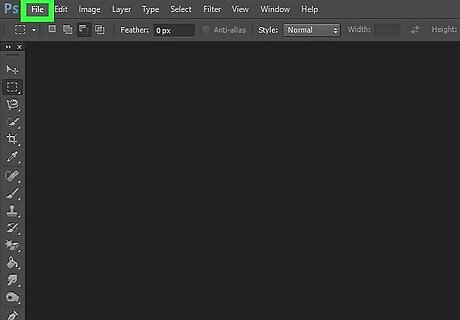
Click File. It's in the top-left corner of the Photoshop window (Windows) or the screen (Mac). A drop-down menu will appear.
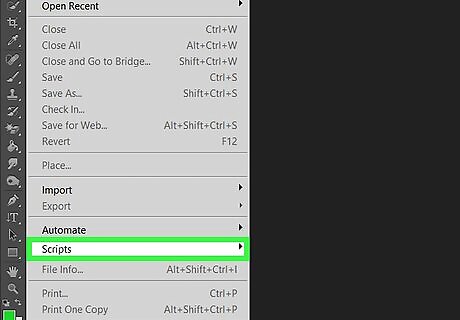
Select Scripts. This is near the bottom of the drop-down menu. Selecting it prompts a pop-out menu.
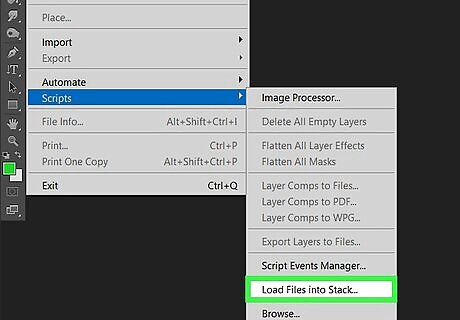
Click Load Files into Stack…. It's near the bottom of the pop-out menu. A new window will pop up.
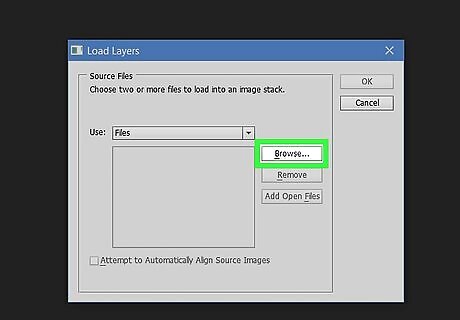
Click Browse…. You'll find this option on the right side of the window. Clicking it opens a window from which you can select the images you want to fade.

Select your two images. Hold down either Ctrl (Windows) or ⌘ Command (Mac) and click each of the two images you want to use.
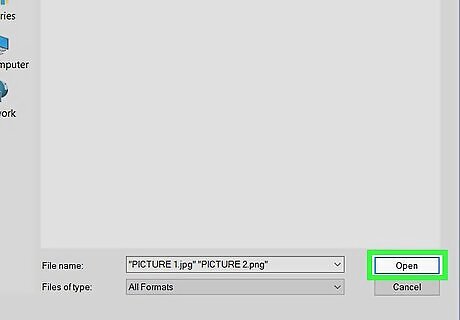
Click Open. It's in the bottom-right corner of the window. You should see the photos' names appear in the middle of the window.
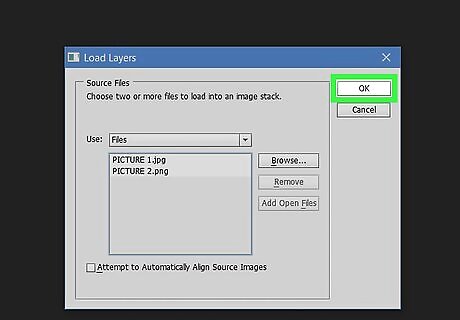
Click OK. It's in the top-right corner of the window. This will prompt Photoshop to open both images as distinct layers. Once Photoshop finishes opening the images, you can proceed with changing your image's opacity or adjusting the image's gradient.
Fading with Opacity
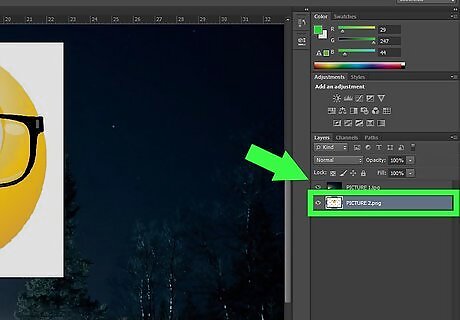
Move the image you want to fade to the top. In the "Layers" pane on the right side of the Photoshop window, click and drag the image that you want to fade up to the top of the pane.
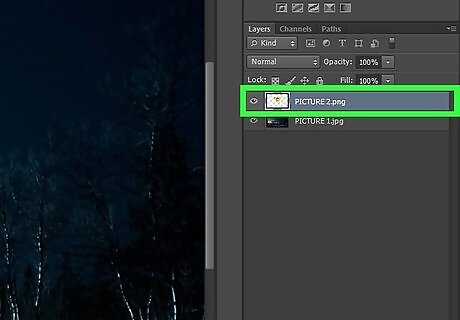
Select the image. Click the top-most image in the "Layers" window to ensure that it is selected before proceeding.
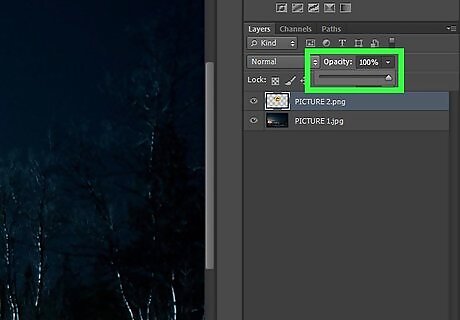
Click the "Opacity" drop-down box. You'll see this menu at the bottom of the "Layers" section. Doing so prompts a drop-down menu.
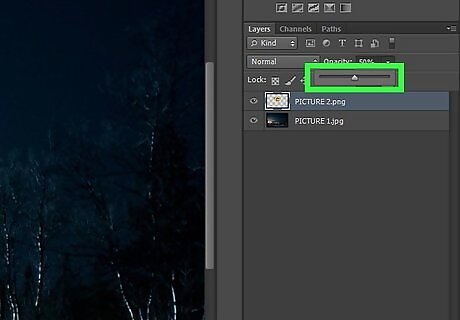
Lower the opacity. In the drop-down menu, drag the slider to the left to lower your top image's opacity. As you drag the slider, you should begin to be able to see the bottom image through the top image. You can also change the opacity's percentage value in the text box. 100% is completely opaque and 0% is completely transparent.
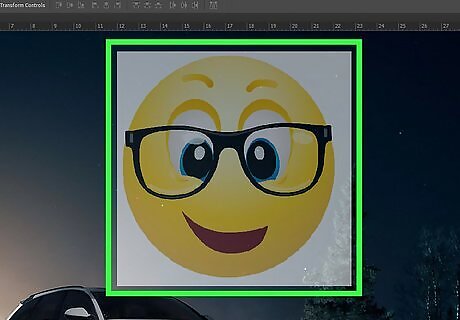
Review your image. If you've adjusted your top image's opacity to your liking, your fade is complete. You may want to adjust the opacity incrementally to see what your image looks like with a little bit more (or less) opacity before saving it.
Fading with the Gradient Tool

Move the image you want to fade to the top. In the "Layers" pane on the right side of the Photoshop window, click and drag the image that you want to fade up to the top of the pane.

Select the image. Click the top-most image in the "Layers" window to ensure that it is selected before proceeding.
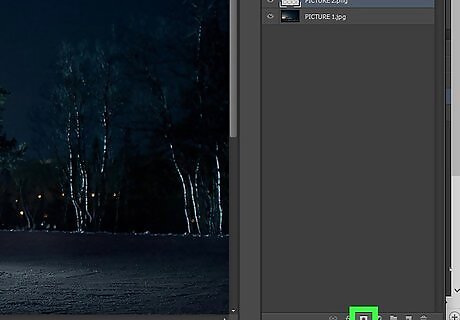
Add a layer mask. Click the "Layer Mask" icon, which resembles a rectangle with a sphere in it, at the bottom of the "Layers" section.
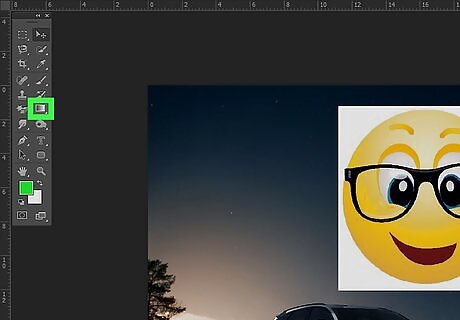
Select the Gradient Tool. Click the square "Gradient" icon in the left-hand toolbar. You can also just press the Q key.
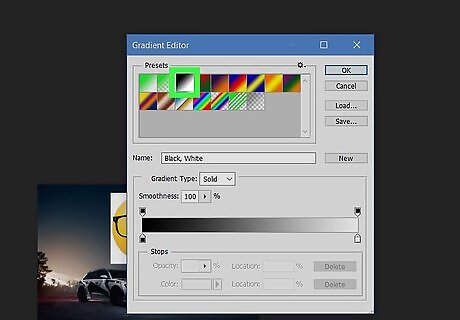
Select the "Black to Transparent" gradient icon. In the "Presets" window, click the black-and white (black in the upper-left corner, white in the lower-right) rectangle to select it as your gradient style.
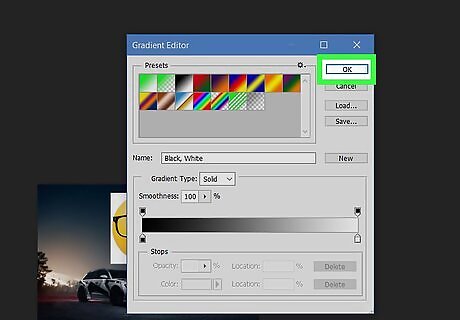
Click OK. It's in the upper-right corner of the Gradient window.
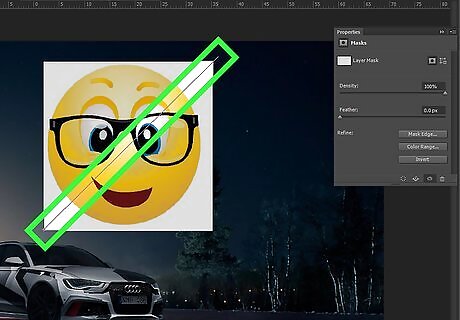
Apply the gradient to your top image. Double-check that the layer mask is selected before applying the gradient, then do the following: Click and drag from the point on the image where you want the fade effect to start. Press and hold ⇧ Shift to force your cursor to move in a straight line. Release the cursor where you want the fade effect to end. Repeat this process for unfaded parts of the image if need be.

Review the fade effect. Upon releasing your mouse button, your fade effect will display on the image. If you want to undo your gradient and try again, press Ctrl+Z (Windows) or ⌘ Cmd+Z (Mac).


Comments
0 comment