
- Turning off S Mode is permanent. Once you turn it off, you can't turn it back on.
- To turn off S Mode, go to Settings > System > Activation. Under "Switch to Windows 11 Pro," click Go to the Store, then click "Get."
- If you don't have a Microsoft Account, the only way to get rid of S mode is to disable Secure Boot in the UEFI (BIOS).
Using Your Microsoft Account
Open your computer's Settings. Click the Windows menu and select the Settings icon, which looks like a gear. You can also press Windows key + i to quickly launch the Settings panel. This method assumes you have a Microsoft Account, as you'll need it to access the Microsoft Store. If you don't want to use a Microsoft account with Windows, you can turn off S Mode by making a registry change. You will need to be connected to the internet to switch out of S Mode.
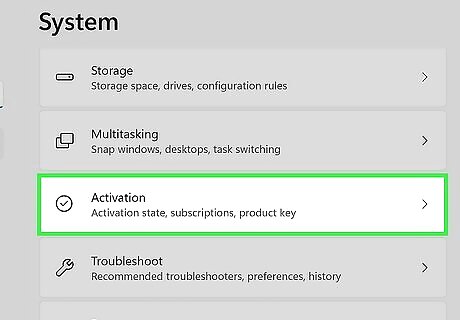
Select Activation option. When you open Settings, it defaults to the System panel. You'll find the Activation option toward the bottom of the right panel. If you don't see Activation, click System at the top-left corner of the menu first. There should be a large image of the Windows logo followed by the version of your OS. The text should read something like Windows 11 Home in S Mode. If there's no "S Mode," your computer isn't in S Mode and you're good to go!
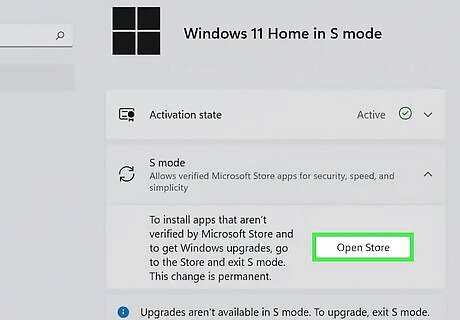
Click Go to the Store under "Switch to Windows 11 Pro." Make sure you're clicking the Go to the Store option below "Switch to Windows 11 Pro." There's another "Go to the Store" option under "Upgrade your edition of Windows," and you do not want to click that option.
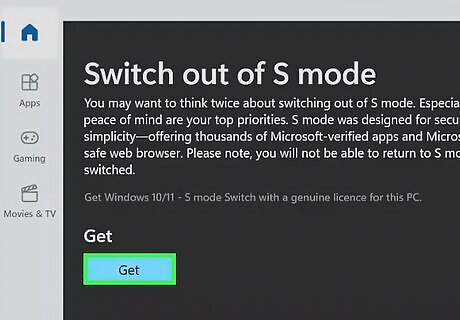
Click Get on the "Switch out of S Mode" banner. You'll see this banner at the top of the page. After you click the button, you'll get a pop-up in anywhere between a few seconds to a couple minutes letting you know your computer is no longer in S Mode.
Without a Microsoft Account
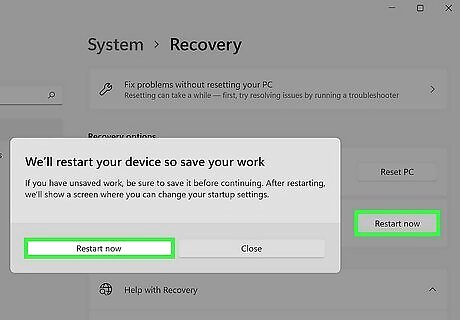
Boot your PC into Advanced Startup Mode. If you purchased a Windows 11 PC with S Mode enabled and don't have or want a Microsoft account, the only way to disable S mode is to turn off Secure Boot in the UEFI (BIOS). Disabling Secure Boot also disables features like Windows Hello and Bitlocker, although you should be able to reenable Secure Boot without reenabling S Mode after booting into the normal version of Windows 11 at least once. Start by booting into Advanced Startup: Click the Start menu and select Settings. Click System. Click Recovery. Click Restart Now next to "Advanced startup." Click Restart Now to confirm. Your PC will now reboot to a blue screen with several options.
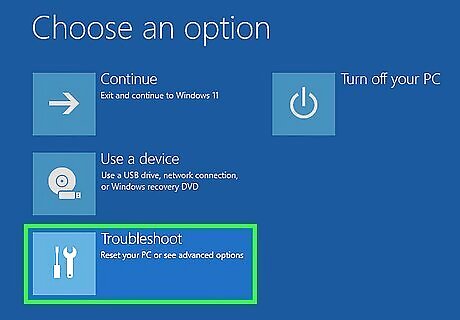
Click Troubleshoot. Once Windows boots to the "Choose an option" screen, you'll see this option on the left side.
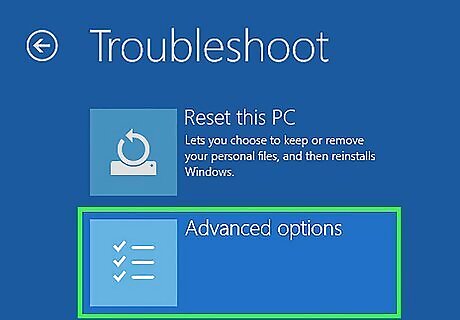
Click Advanced Options. It's the second option.
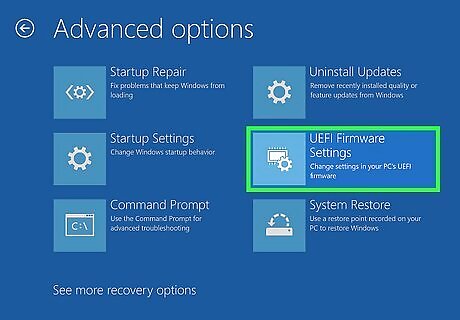
Click UEFI Firmware Settings. This reboots your PC into the UEFI.
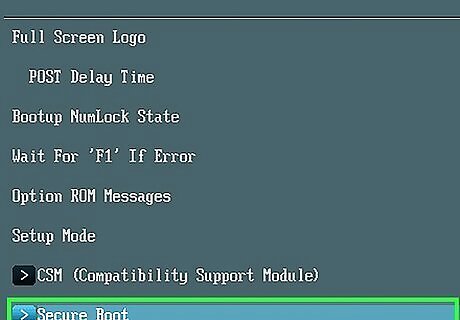
Find the Secure Boot area of the UEFI. The location varies by model. Some manufacturers, including Dell, have a Secure Boot method. For other manufacturers, you'll usually find Secure Boot in the Boot or Boot Options menu. You may have to do some menu digging to find Secure Boot. Look in the Advanced menu, Options, and other obscured places if you don't see the option. Depending on the software you want to install, you may not be able to reenable Secure Boot later without restoring your PC to its factory state.
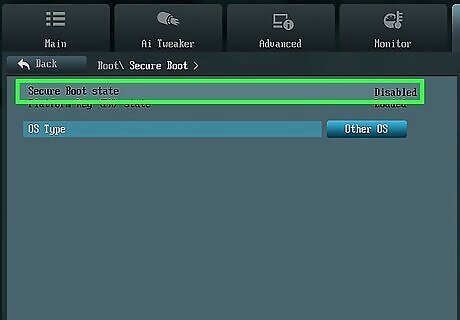
Select the option to disable Secure Boot. Use the arrow keys (unless your mouse is available in the UEFI) to select Secure Boot, then choose the Disable or Disabled option. Depending on the UEFI, you'll usually select the option by pressing Enter. If you see the option to do so, click Apply to make the change. If the option is grayed out or not selectable, try disabling Fast Boot first. If you still can't turn off Secure Boot, find the part of the UEFI that allows you to set an Administrator password for the UEFI. Set a password temporarily, then boot back into the UEFI to turn off Secure Boot. You can remove the password after turning off S Mode. If you still can't turn off Secure Boot, try resetting the BIOS to its defaults.
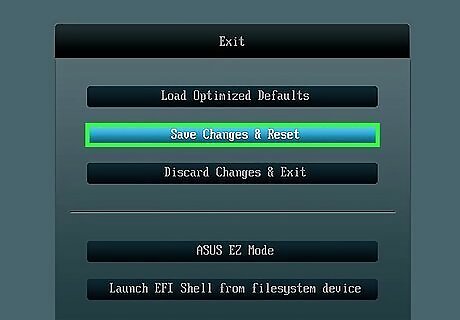
Save and exit the UEFI. In some UEFI versions, you'll press F10 to save your changes. In others, you'll select Exit and choose Save changes. Once you exit the UEFI, your PC will reboot. When it comes back up, S Mode will be disabled.


Comments
0 comment