views
If you're dealing with a stripped screw, you can read How to Remove a Stripped Screw; if it's a one-way screw, see How to Remove a One-Way Screw.
Trying Different Tools
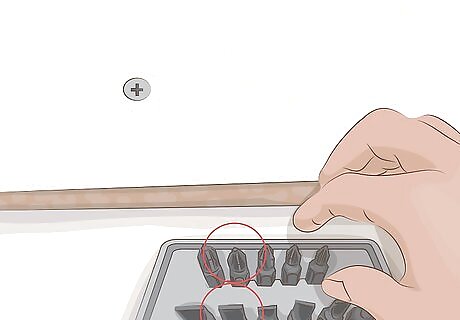
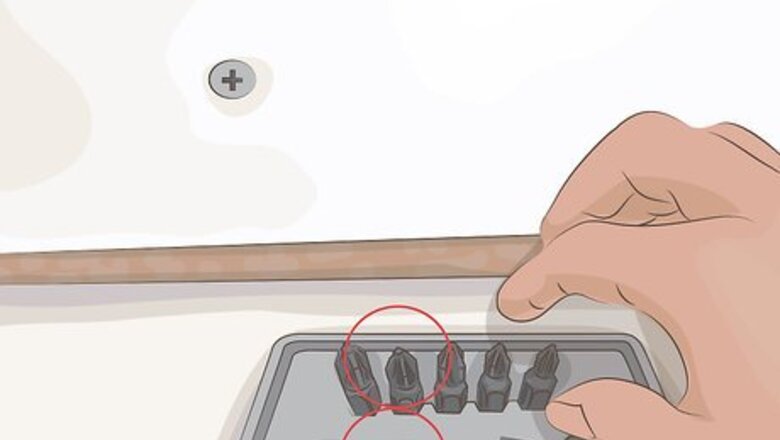
Switch screwdrivers. When a screw is stripped, attempt to remove it with a different screwdriver. First, try using a shorter screw driver with a larger head. Apply downward pressure and slowly attempt to remove the screw.Tip: If this doesn’t work, try using a screwdriver with a different type of head. For instance, if the screw is a philips head, try a flathead screwdriver intead. When using a flathead screwdriver, it must be narrow enough to fit inside the entire hole. Apply downward pressure and try to extract the screw.
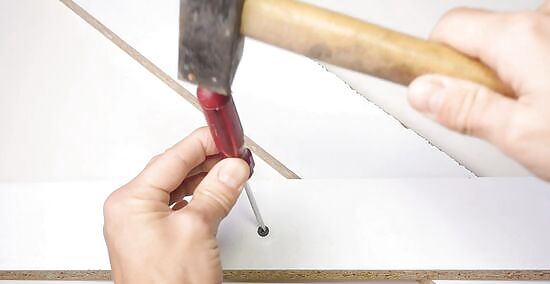
Tap the screwdriver into the head with a hammer. Place your screwdriver into the head. Grab a hammer and tap the base of the screwdriver. This will lodge your screwdriver into the head, providing you with more grip. Set down the hammer and attempt to remove the screw. This method works best with soft-metal screws.
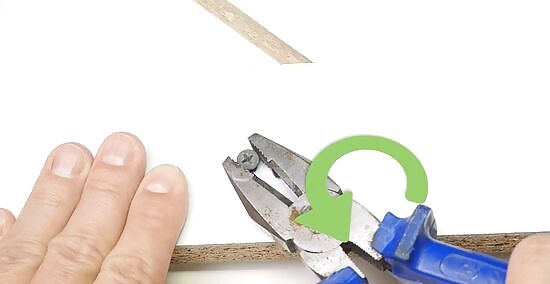
Remove the screw with a pair of pliers. If there is a slight gap between the surface and the head of the screw, try rotating the screw out with a pair of pliers, vise (American English) or vice (British English) grips. Secure the screw within the mouth of the locking pliers. Rotate the pliers and try to turn the stuck screw out.
Drill a small hole into the head with an electric drill. Select the correct drill bit and power up your electric screwdriver. Carefully drill a small, shallow hole into the head. This will allow your screwdriver to sit deeper in the head of the screw. Retrieve your screwdriver and insert it into the head. Apply downward force as you attempt to remove the screw.
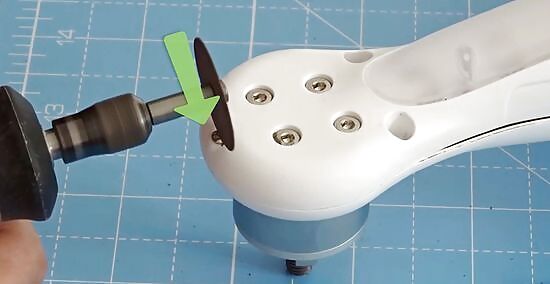
Use a Dremel. Attach a metal cutting disc to the Dremel, or small electronic rotator. Power up the tool and cut a new notch in the screw head. Grab a flathead screwdriver and put it in the newly cut slot. Rotate the screwdriver and try to remove the striped screw.
Using a Screw Extractor
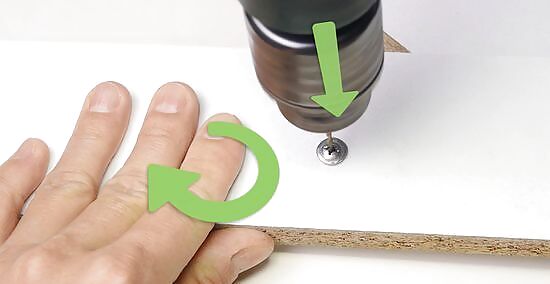
Drill a pilot hole in the head. Use an electric drill to create a ⅛ inch hole in the center of the head. Increase the size of the drill bit by 1/16 inch and make the hole larger. Continue to increase the size of the drill bit by 1/16 and enlarge the hole until it is the diameter of the screw extractor. Keep the drill in the center of the screw. Note the recommended depth for you specific screw extractor. Don’t make the hole deeper than recommended.
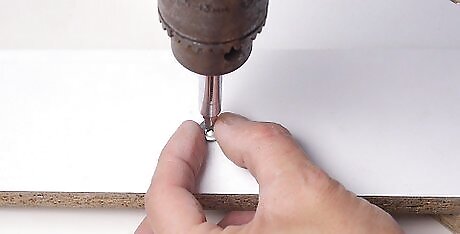
Insert the extractor. Insert the extractor into the hole you created. Lightly tap it into the screw with a hammer—make sure the extractor’s threads grip the sides of the screw before proceeding. Locate a T handle—it likely came in your extractor kit—and attach it to the top of the extractor.
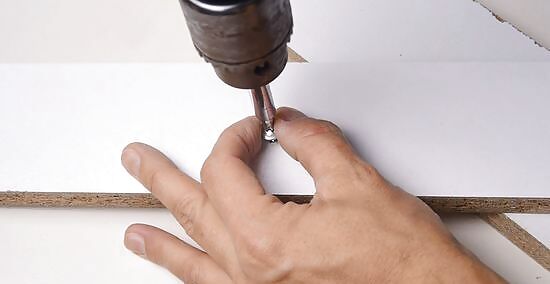
Turn and remove the screw. Keep the extractor straight while turning it counter-clockwise. Avoid applying any lateral pressure to the extractor as this can cause it to bend. Continue turning the screw until it loosens. Pull up on the extractor to bring the screw to the surface. Pull the screw from the surface with a pair of pliers.
Improving the Screwdriver’s Grip with Non-traditional Items
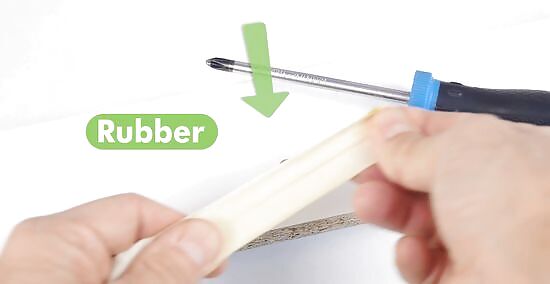
Use a rubber band. To improve your screwdriver’s grip on the head, insert a wide rubber band between the screwdriver and the screw head. Place the rubber band flat against the head and insert your screwdriver. Slowly turn the screw driver and attempt to remove the screw.
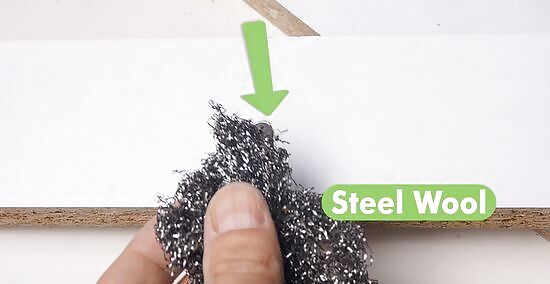
Use steel wool. When you can’t find a rubber band, you can substitute steel wool. Place the steel wool on top of the head. Insert your screwdriver firmly into the hole. Rotate the screwdriver slowly and try to remove the screw.
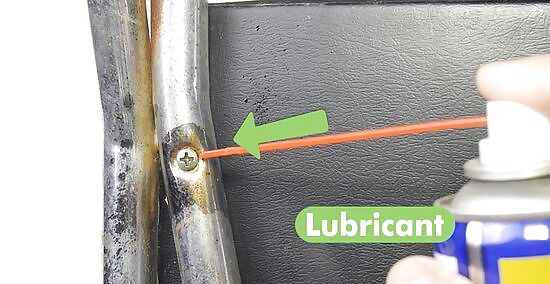
Apply a lubricant. Spray the screw head with a rust penetrant. Allow the rust penetrant to sit for 15 minutes. Reapply the rust penetrant. Tap the stripped head 5 to 6 times with a hammer. Retrieve your screwdriver and attempt to remove the screw. If you are unable to remove the stuck screw, apply a valve grinding compound. This product contains grit that will allow your screwdriver to grip the head. Insert your screwdriver into the head and try removing the screw.
Adhering a Nut to the Head
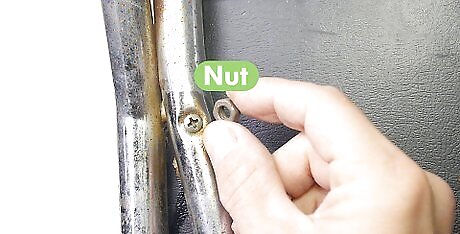
Gather the supplies. Even if you are not a skilled welder, it is possible to adhere a nut to the stripped screw head. Purchase a super strong welding adhesive. Find a nut that is the same diameter as the screw head.
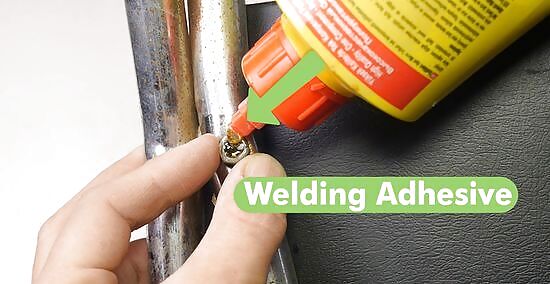
Adhere the nut to the head. Place the nut on the screw head, making sure it is centered. Carefully fill the nut with the super strong welding adhesive. Allow the product to dry the recommended amount of time.
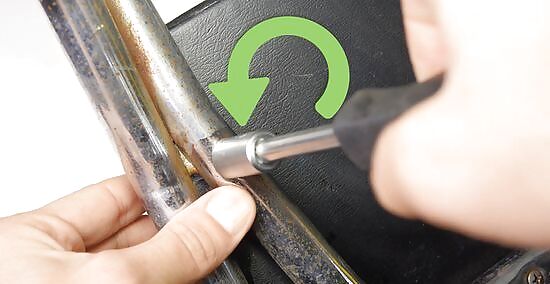
Remove the screw. Make sure the nut has completely adhered to the screw. Grab a socket wrench and place it on the nut. Rotate the socket wrench and remove the stripped screw from the surface.


Comments
0 comment