views
New Delhi: Twitter introduced a new feature, Custom timelines, which lets you create custom timelines of tweets. Users can control custom timelines by selecting the tweets they want to include. "This means that when the conversation around an event or topic takes off on Twitter, you have the opportunity to create a timeline that surfaces what you believe to be the most noteworthy, relevant tweets," said Twitter in a blog post.
Each timeline is public and has its own page on Twitter.com, making it easy to share so others can follow along in real time as you add more Tweets. Users can also embed these timelines on their websites.
You can create, add to and share a custom timeline right from TweetDeck. Twitter said, over the next several days, these capabilities will roll out to all TweetDeck users.
How to create custom timelines
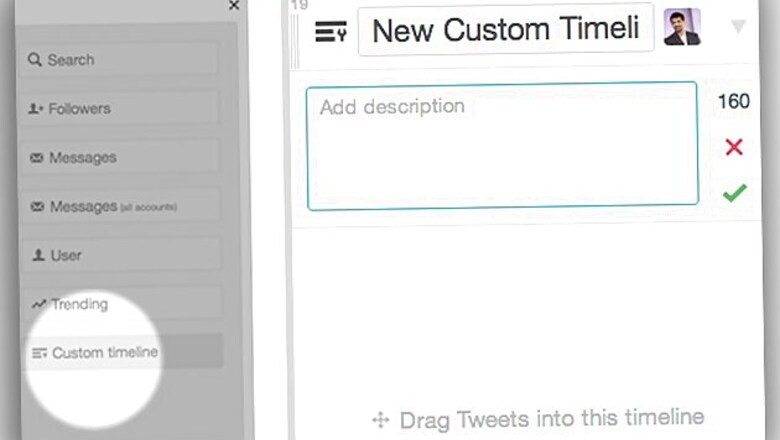
1. Log in to TweetDeck. You can create a new custom timeline by adding a new column of type "Custom timeline". To add a new column you can use the add icon "+" in the sidebar or the keyboard shortcut "A". You can also access your existing custom timelines from the sidebar and add them as columns.

2. To add a Tweet to a custom timeline, simply drag the move icon and drop it on the custom timeline column that you would like to update.

3. You can remove a Tweet by simply clicking on the "X" icon on a Tweet in a custom timeline column and it will be removed.

4. You can also add a Tweet to a custom timeline by choosing the "Add to custom timeline..." action in the More Actions menu. This can also be triggered by the keyboard shortcut "C". Simply select the custom timeline(s) to which you would like to add the Tweet.

5. You can share your custom timelines from the Share menu in column options. To embed a custom timeline on your website, click the share menu for custom timelines where you will find a link to generate and create an embedded custom timeline. Click and get the embed code.

####


Comments
0 comment