views
- Fill your Keurig’s reservoir with equal parts distilled white vinegar and water. Place a mug underneath the spout.
- Turn on your Keurig and run the descale or brew cycle. Let the vinegar solution work through the machine until the reservoir empties.
- Fill the reservoir with clean water and run it through your Keurig to get rid of residual buildup and vinegar.
Descaling a Keurig with Vinegar
Remove the reservoir filter and K-cup from your Keurig. If you have a filter inside your Keurig’s reservoir, empty the water and pull out the tall plastic piece off of the bottom to remove it. Then, open the machine and take out any K-cups or reusable filters inside. If your brewer has an Auto-Off feature, turn it off as well so the machine doesn’t shut down while you’re cleaning it.
Fill the reservoir with a 50-50 mix of white vinegar and water. Cleaning expert James Sears recommends that you “pour white vinegar into [the] reservoir halfway” and fill up the rest with clean water. If you have hard water at home, fill the Keurig’s reservoir halfway with distilled water instead to help prevent any additional buildup from forming.
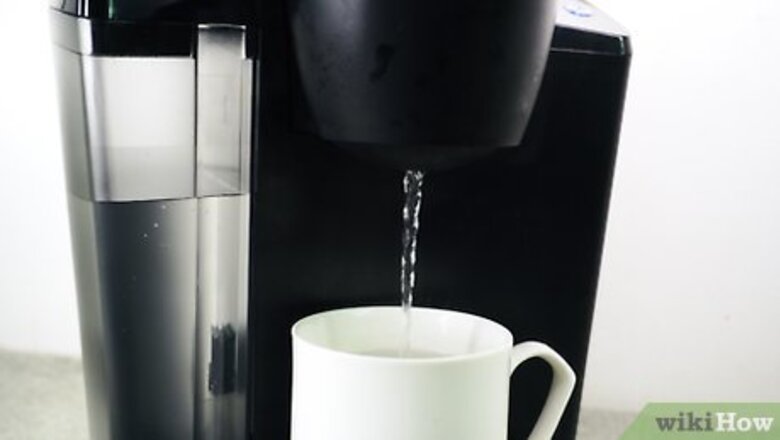
Run the vinegar solution through your Keurig. Put your largest mug underneath the Keurig’s spout to catch all of the vinegar solution that drains out. Either run your Keurig’s Descale setting or press the “Brew” button so the solution goes through the machine. Some models, such as the Keurig Slim, require you to press and hold certain buttons or find the Descale option in a menu. If you’re not sure if your coffeemaker has a descale setting, check the official support page for your specific Keurig model. If you’re manually pressing the Brew button, use the largest mug setting. Once it finishes, empty the mug and run additional brew cycles until the reservoir empties. Descaling a Keurig typically takes between 20–45 minutes, but it may vary on the model you have. Cleaning expert James Sears explains, “White vinegar…is slightly acidic so it will work to break down the scale, which is mostly mineral deposits such as calcium in your water that have settled over time.”
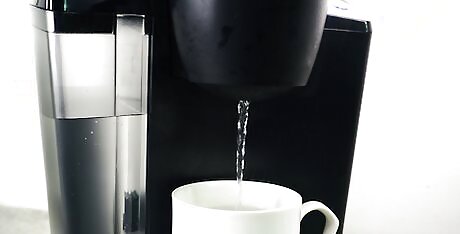
Cycle clean water through your machine. Rinse out any residual vinegar solution in the reservoir and fill it up with clean water. Press the Brew button on your machine to run the water through your Keurig to get rid of any leftover vinegar and buildup. James Sears, a cleaning expert, recommends “perform[ing] at least 12 cleansing brews” to fully rinse out the vinegar and prevent residual flavors. Some Keurig models recommend waiting for 30 minutes or more before cycling water through the machine. That way, the vinegar solution breaks down deposits in the internal tank.
Descale your Keurig every 3–6 months. Keurig recommends that you descale your coffeemaker a few times a year to ensure it continues working properly and provides the best flavor. If you have hard water at home, you may need to descale your Keurig every 2–4 months instead. EXPERT TIP James Sears James Sears House Cleaning Professional James Sears leads the customer happiness team at Neatly, a group of cleaning gurus based in Los Angeles and Orange County, California. James and the team have nine years of experience and offer green cleaning, interior and exterior window washing, and general apartment cleaning services. He provides transformative cleaning experiences by reducing clutter and renewing your home environment. James is a Trustee Scholar at the University of Southern California. James Sears James Sears House Cleaning Professional Our Expert Agrees: Descale your Keurig at least every 6 months. You'll need to descale every 3-6 months or whenever you notice scale build-up, which looks like white calcified spots. The harder your water is, the more often you'll need to descale, unless you use distilled or bottled water in your coffee water reservoir.
Cleaning the Exterior and Removable Parts
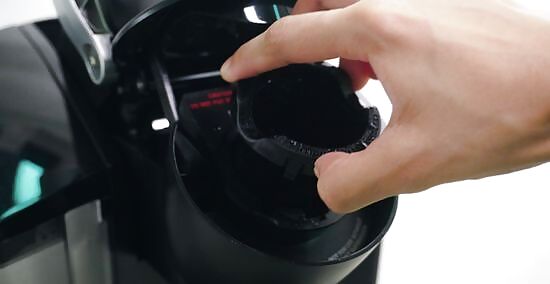
Take off all removable parts. While it depends on the Keurig model, you normally can remove the reservoir tank, lid, drip tray and cover, K-cup holder, and funnel. Carefully pull the pieces apart until they come free and set them aside.
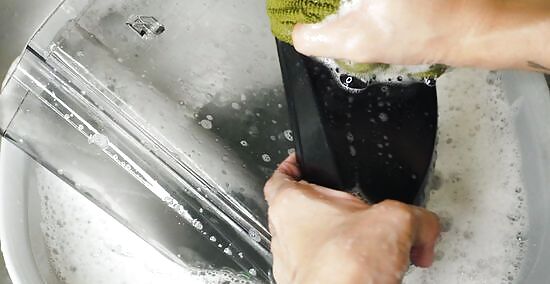
Wash the removable parts with soapy water. Place the components into a sink filled with warm water and a few drops of dish soap. Scrub the parts with a soft, clean sponge or microfiber cloth before letting them air-dry. Keurig pieces are usually dishwasher-safe, but check the user manual before washing them this way. While it’s easier to wash the pieces with soapy water, you may also wipe them clean with a 50-50 solution of white vinegar and warm water. Avoid drying pieces off with a cloth because it could leave behind lint.
Use a paperclip to clean the Keurig’s needle. Look for the needle inside the machine where you place the K-cups. Cleaning expert Ryan Santos says, “Use a paperclip or a toothpick to gently clear any clogs or debris from the needle.” Santos recommends, “us[ing] a small, soft-bristled brush to gently scrub the needle and surrounding areas.”
Wipe down the Keurig with a 50-50 vinegar and water solution. Dip the corner of a soft cloth into a 50-50 solution of water and distilled white vinegar. Gently wipe the outside of your Keurig to disinfect it and remove residue from the surface. If you notice stubborn areas with coffee grounds or residue, dip a soft-bristled toothbrush into your vinegar solution and gently scrub the area. James Sears, a professional home cleaner, says to “avoid toxic or synthetic chemicals as much as possible around an item that you will be consuming or drinking from.”
Reassemble your machine. Once you’ve cleaned all the pieces and wiped down the surface, put your Keurig back together again so you’re ready to brew more coffee. Try to deep-clean the parts of your Keurig about once a month to keep your machine working properly.
Maintaining Your Keurig
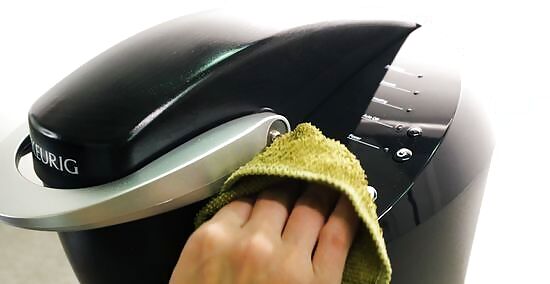
Wipe your Keurig down after each use. Rather than waiting for your Keurig to get dirty, throw away the K-cup right after brewing it and wipe up any spilled coffee grounds. Clean off the drip tray and any other splashes to prevent residue from forming.
Clean your Keurig if your machine isn’t working properly. Some signs that it’s time to clean your machine are white residue spots, longer brew times, coffee grounds in your mug, or stale flavors. If you notice any of these signs, then carve out some time to clean and descale.


Comments
0 comment