

Setup
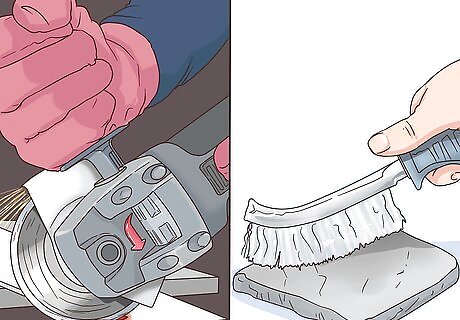
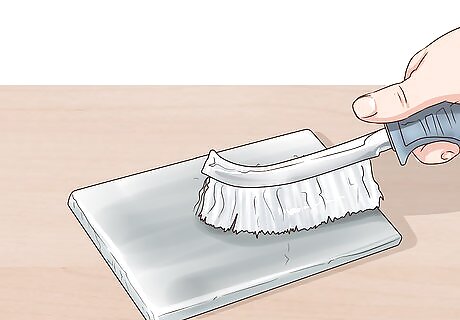
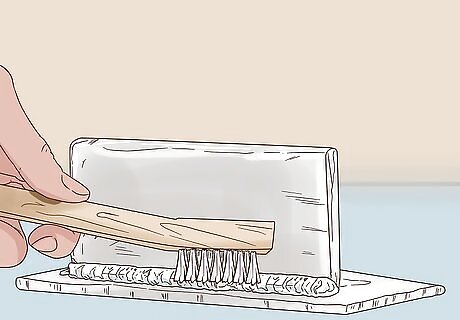
Cut the steel to size. The steel must be free from any rust, paint or other contaminants. Clean it with a carbon steel wire brush. You can use a stainless brush to clean with if that is all you have.
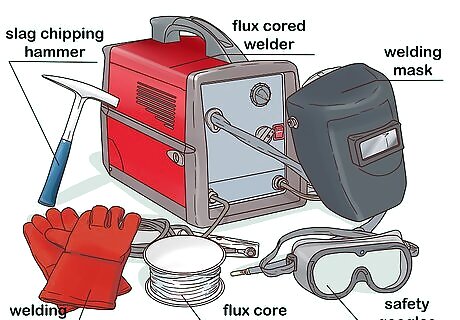
Gather all your equipment. This includes a flux cored welder, welding gloves, a welding mask, safety goggles, slag chipping hammer and a spool of flux core wire.
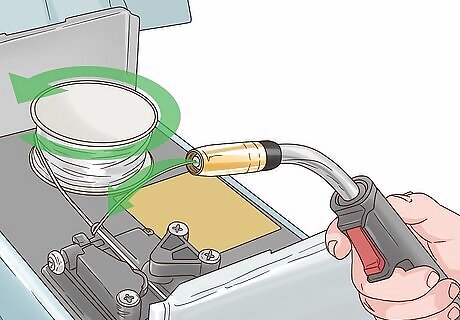
Load the wire into the machine by following the proper instructions that came with your machine. Be careful not to get "nesting" in your machine. That is when the wire gets tangled up inside the machine and looks like a bird's nest. It happens if the wire feed is set improperly.
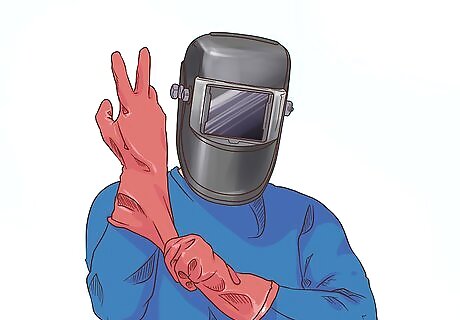
Put on all of your safety gear. This is the mask, safety goggles and gloves. Wear goggles under the mask to protect from hot slag and debris. If the mask is the handheld face shield type, set it aside until you need to weld. Then hold the face shield with one hand over your face and the welding gun in the other. Make sure to wear safety goggles at all times, even during cleanup. Always wear welding gloves, even during setup and cleanup to prevent cuts from metal edges. To stay safe while welding, wear appropriate protective gear. Always wear a welding helmet with a properly shaded lens to protect your eyes from the intense light. Use flame-resistant clothing, welding gloves, and apron to protect your skin from sparks and molten metal. Welding produces harmful fumes and gasses, so you should work in a well-ventilated area or use exhaust fans to remove the fumes. If ventilation is insufficient, consider using a respirator.
Connect the grounding clamp to the workpiece. Clean the area the clamp contacts the workpiece with a wire brush.

Clamp the workpieces together with C-clamps, locking pliers or magnetic squares.
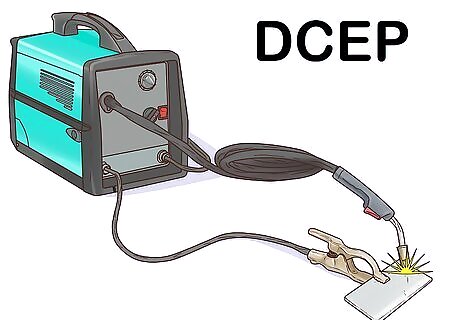
If you are on a MIG welder, change the cables from DCEN to DCEP.
Welding
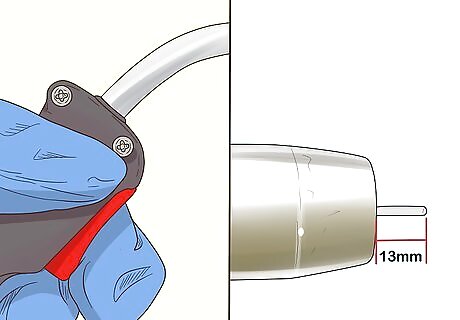
Squeeze the wire feed trigger until the wire pokes out about 13mm from the tip.
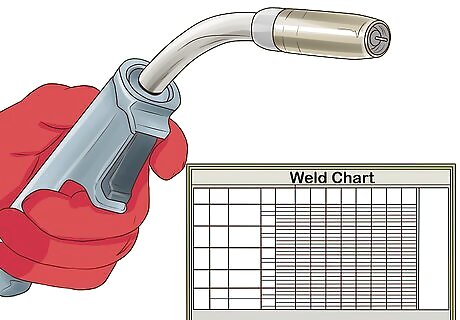
Set the current and wire feed according to a weld chart.
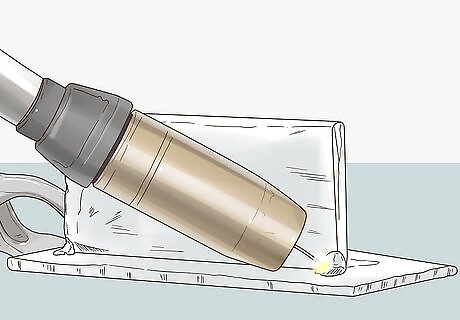
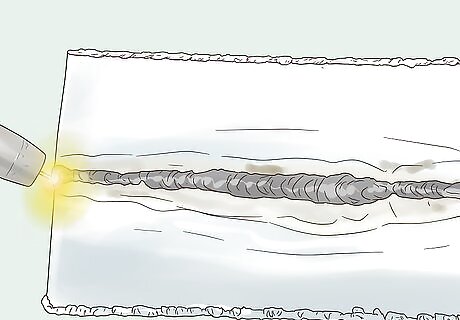
Tap the wire to the steel and quickly pull back, striking an arc. Keep squeezing the trigger as you move the gun along the steel.
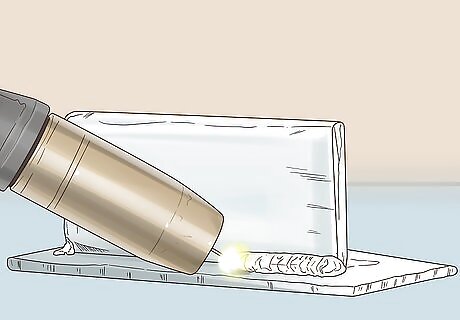
Move at the right speed for the steel, this will take some testing on your part.
Finishing The Weld
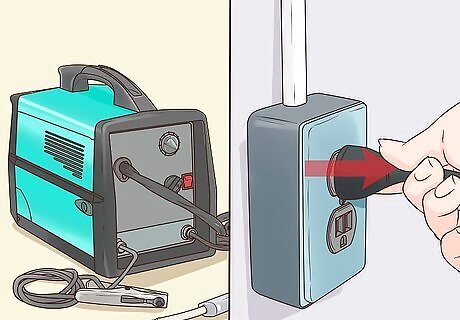
Unplug the welder, but keep your safety equipment on.
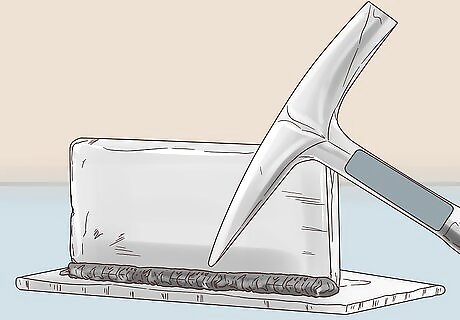
Using a slag chipping hammer, chip all of the slag off of the weld. A spring handled hammer is easy to grip even with gloves on and reduces shock for long periods of work.
Brush the weld with a nylon wire brush to get the little bits of slag out.
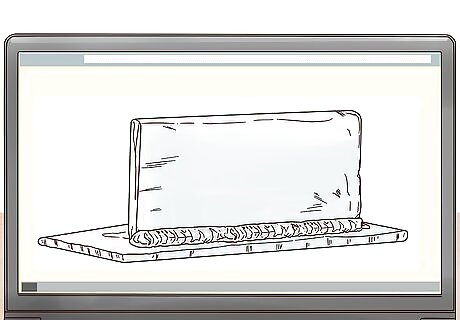
Inspect the weld.
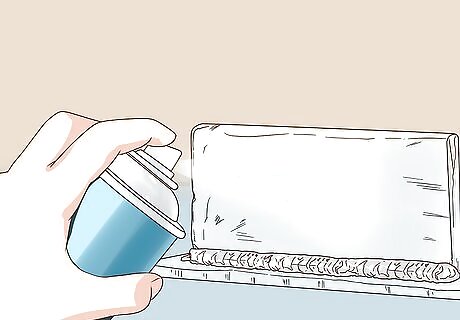
If you like, you can paint the finished weld once it is cleaned.
Practicing Welding
Before you weld on anything structural, test your welding technique. Butt weld two scrap plates. Clamp them in a bench vise and apply force with a large adjustable wrench. You can also use a pipe wrench. The weld should bend, but not break. If it breaks, then the weld is brittle. Weld another test piece and clamp it in the bench vise. Hit it hard with a hammer. The weld should also bend and not break. If the weld fails either one of these tests, you need more practice.

Keep welding more scrap steel if your welds failed the test described above. Then try again! Remember, practice makes perfect for welding.


Comments
0 comment