views
With a USB Cord
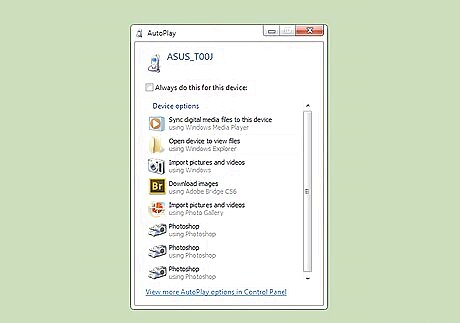
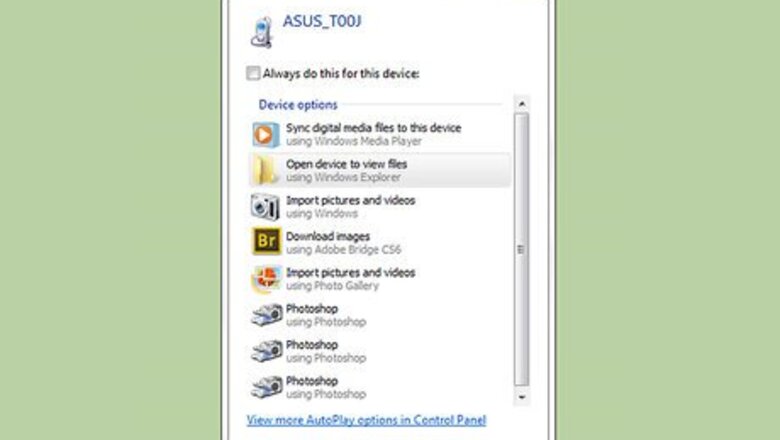
Plug your device into your computer using a USB cord. This will usually prompt a window to appear on your computer where you can sync the files from your phone onto your computer. If you are on a Windows computer, you may need to open the Photos app. If your are on a Mac, the iTunes will generally open.
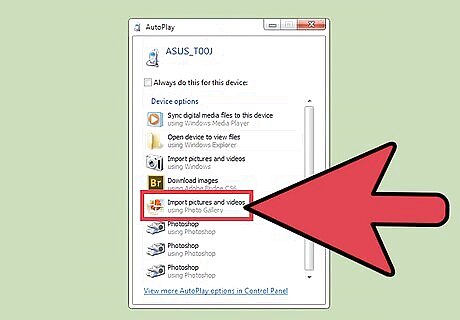
Select "Import." You will be asked if you would like to import all of your files and photos or to select from those saved on your phone.
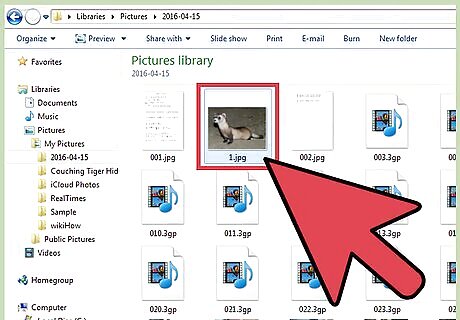
Choose your photos. The uploading process may take a few minutes depending on the number of photos.
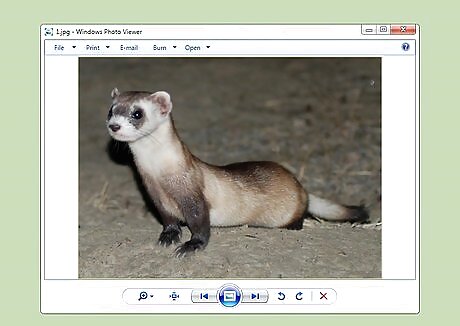
Enjoy your photos. These can usually be found in the Photo App in Windows or the iPhoto App on a Mac unless you saved them to a particular file on your computer.
Syncing Cloud-Based Entities
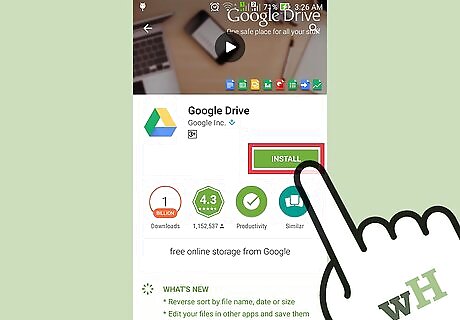
Download the Google Drive app. You can also use other options like DropBox or Box. Either option will work and the steps involved will be very similar. Before continuing with this method, however, you will need to make sure that you have a smartphone and that it is compatible with the Google Drive app and download it from the App Store or the Google Play Store.
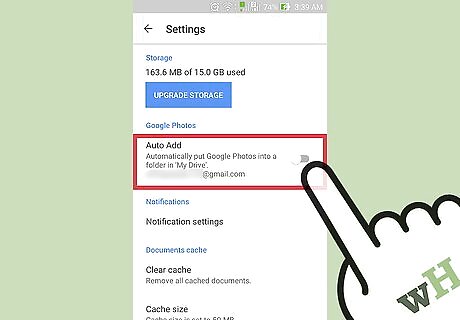
Allow the app to access your photos. Once you have downloaded it, make sure that you allow it to access your photo library by going to "Settings" and then going to "Privacy" under "Photos." Simply turn Google Drive to "On."
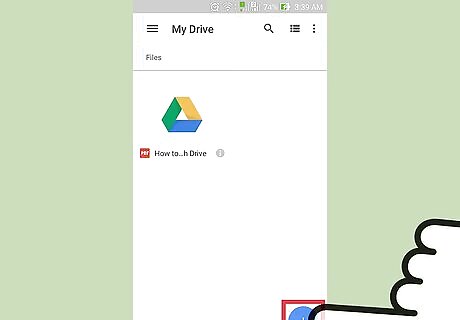
Select "Add." Once you have done so, click "Upload" and then select your photos. For iPhone users, click "Done" to finish.
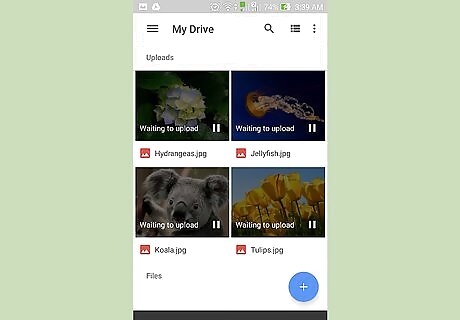
Wait a few moments for the photos to finish uploading. This may take a few moments depending on the size of your files.
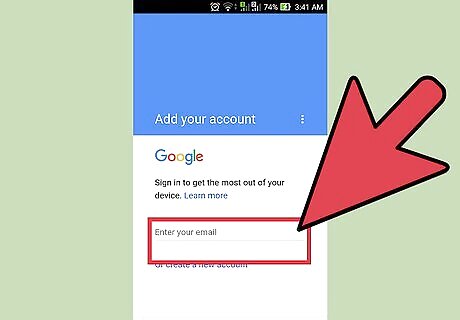
Access your photos by signing into your Google Drive. This can be found from any device with internet connection by signing into your Gmail Account and then selecting the square icon in the upper right-hand corner.
From a Memory Card
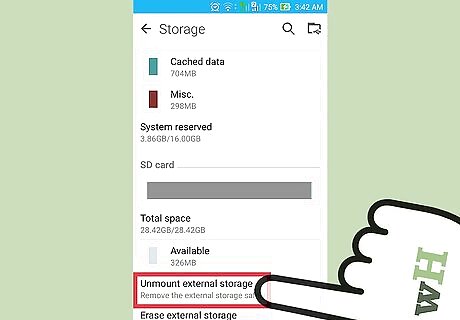
Remove your memory card. If your phone is not USB compatible, it is likely that it has a removable Memory card. Consult your user manual to find how to eject it safely.
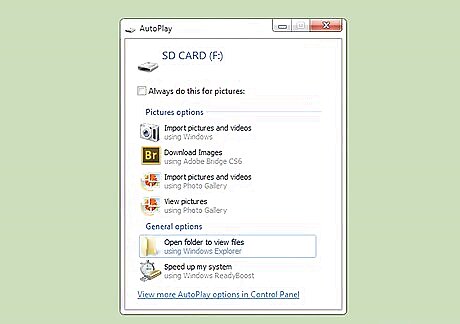
Insert the memory card into your computer. Wait a few moments for the computer to read the card. Once it has, the upload process will be nearly identical to the USB Method. Your computer may not have a memory card slot, and if that is the case you can find inexpensive card readers at any computer store.
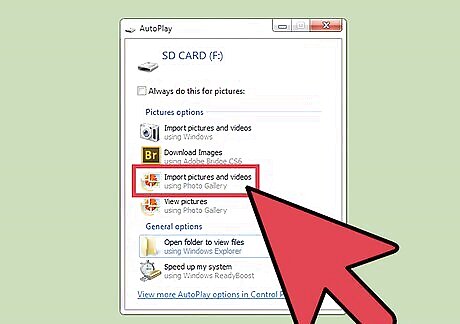
Select "Import." You will be asked if you would like to import all of your files and photos or to select from those saved on your phone. This process will relatively the same whether on a Windows or Mac device.
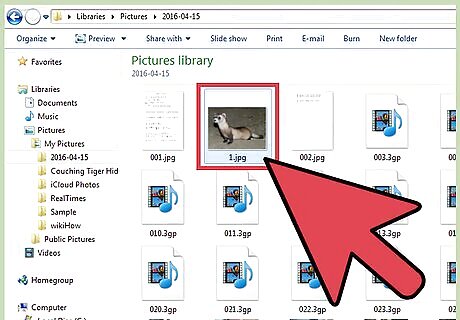
Choose your photos. The uploading process may take a few minutes depending on the number of photos.
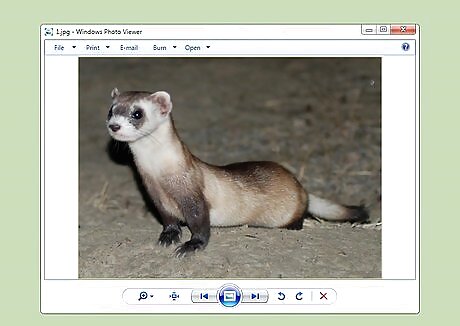
Enjoy your photos. These can usually be found in the Photo App in Windows or the iPhoto App on a Mac unless you saved them to a particular file on your computer.
E-mailing Your Photos
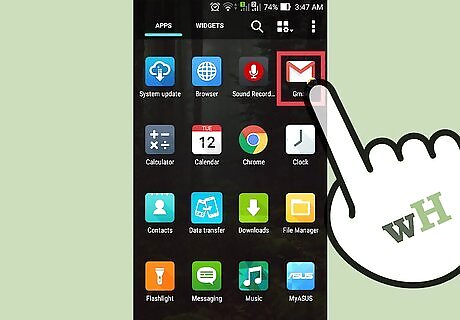
E-mail the photos to yourself. One of the simplest ways to upload your photos to your computer is by simply e-mailing them to yourself from your smartphone. While this is an easy process, you may have trouble when sending large photo albums and this method will typically only work if you are attempting to upload one or two photos.
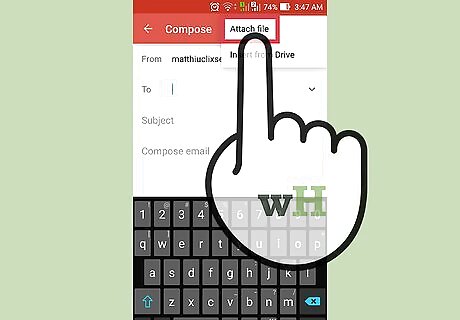
Attach your photos. Create an e-mail on your phone and attach the files you wish to upload.
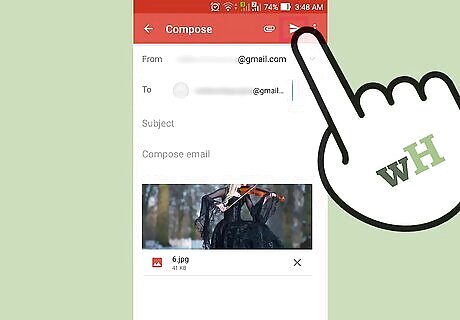
Send the e-mail to yourself. You can either send this to the e-mail you are sending it from or to another e-mail account that you control. Once it has sent, go to your e-mail on your computer. From here you will be able to download your photos.
Via Bluetooth
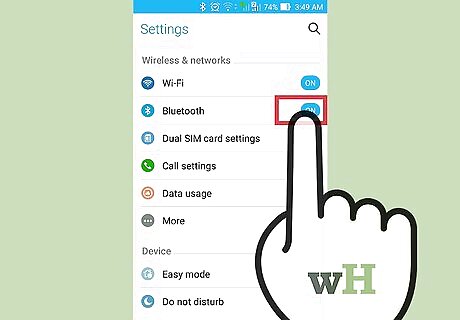
Turn on your Bluetooth. Nearly every smartphone released after 2007 has Bluetooth, all you need to do is enable it by going to your Settings and switching Bluetooth to "On" or "Enabled." If you are unsure about whether or not your device has bluetooth, consult your user manual.
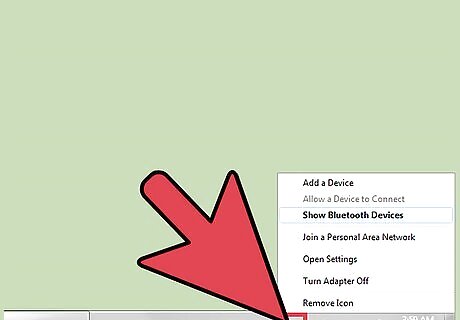
Select the Bluetooth Icon on your computer. This is usually found in the upper right-hand corner of a Mac or the lower-right hand corner on Windows. Bluetooth is backwards compatible, so almost any Bluetooth enabled device will be able to connect to another.
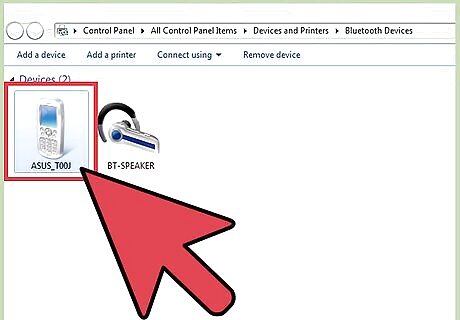
Connect to your Phone. Your cell phone should be listed as an available device in the Bluetooth File Transfer Window. If it is not, double-check that you have enabled Bluetooth. If you find that you are still having connectivity issues, try physically touching your device to your computer in order to ensure that the two can discover each other. If you continue to have issues, check for updates or other problems within your device.
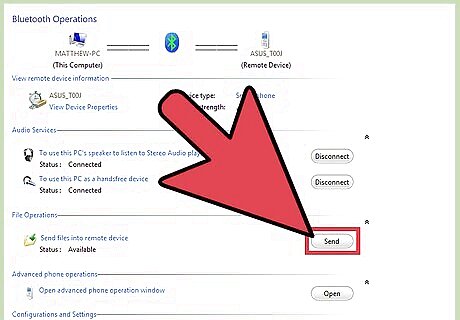
Select "Send File" on your computer. You will find this in a drop down menu after you select your phone.
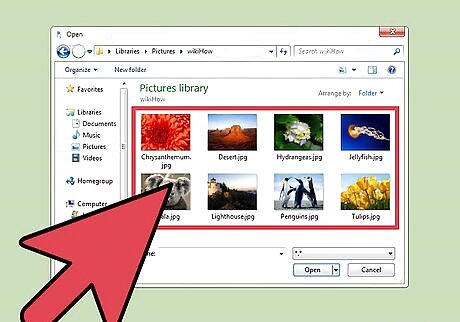
Choose your photos. Once you have selected your device, find the photos you wish to update and select "Next." This will prompt your photos to be uploaded to your computer and it may take a few moments to complete the process.
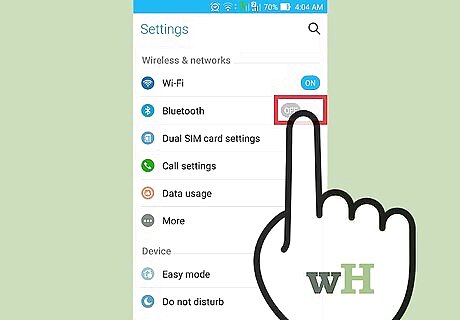
Disconnect from Bluetooth. Once you have uploaded your photos, you may want to disconnect from Bluetooth in order to save your device’s battery from draining.
Using a Wi-Fi hotspot
Download the Xender app to your phone. Xender is available on different app markets like Google Play Store, Apple App Store, Huawei AppGallery, and Apkpure.
On the Xender app, tap on the Connect to PC shortcut at the top right corner of the screen. On the top right corner, there is a laptop icon and a plus icon. The laptop icon is the shortcut to the Connect to PC feature. You can also tap on the plus icon and a list will show up. You can also tap on Connect to PC there.
Accept the permissions the Xender app requests like access to storage and location. On Android, apps need permission to access files on the device. Location information is important in detecting the Wi-Fi hotspot your device is connected to.
Connect your devices at the same Wi-Fi hotspot. If there is a Wi-Fi hotspot already available, just connect your phone and computer to that Wi-Fi hotspot. You can also use your phone or computer to create a Wi-Fi hotspot. If you cannot create a Wi-Fi link between your devices, you can still transfer files over the internet however this will be slower so using Google Photos or other cloud services is a much better option.
Open your web browser and visit the IP address as shown on the Xender app. The IP address shown in the app is the IP address of your phone on the Wi-Fi hotspot. The app automatically finds it for you and you just need to type the address in your browser to connect your browser to your phone. You can also go to web.xender.com and connect your phone using QR code by swiping up the web mode at the bottom of the app and tapping the scan button to scan the QR code.
On your computer, click on the Image/Photos icon and you will see an interface where you can download your images directly using Wi-Fi and without the need of a cable or internet. You can also tap specific images on the phone screen and swipe up to automatically download them to your computer.




Comments
0 comment