
Preparing the Dye and Soda Ash

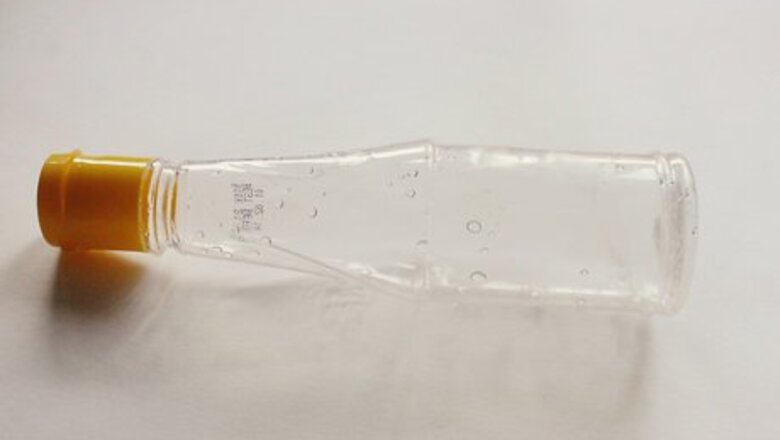
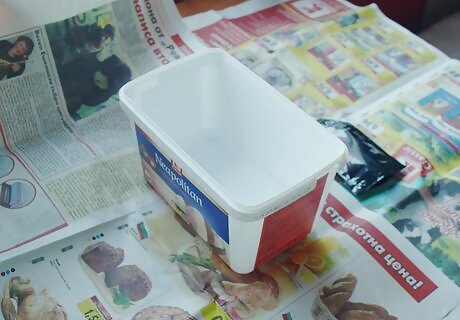
Get a bottle to dispense the dye. A plastic ketchup bottle would work fine, but a squeeze bottle—like you would find in restaurants—works best.
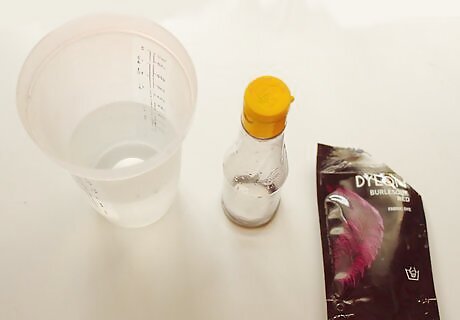
Prepare your dye/s. Some people like to use several dyes on their shirts, but only one is necessary. Each color dye will consist of: 1 tbsp (15 ml) organic nitrogen (to help conserve the color in the dye) 1 cup (236.5 ml) warm water 1 ounce (28 g) color dye
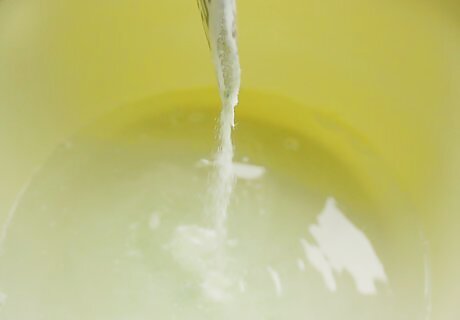
Prepare your soda ash mixture in a tub or sink. For every gallon (3.79 l) of water, mix in 1 cup (236.5 ml) of soda ash, also known as sodium carbonate
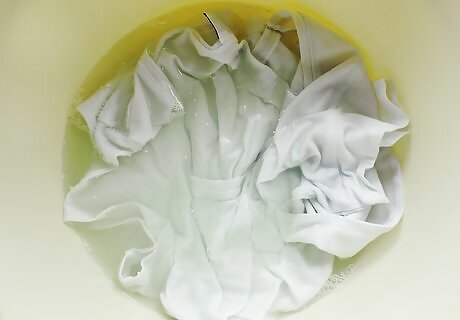
Wet your white cotton T-shirt in the soda ash mixture. Make sure that the entire shirt is wet; any part of the shirt that is dry will not absorb the dye. Wring the shirt out well, so it is damp.

Choose your design. There are several different designs you can choose from when making tie-dye, among them the spiral design and the sun design.
Spiral Design

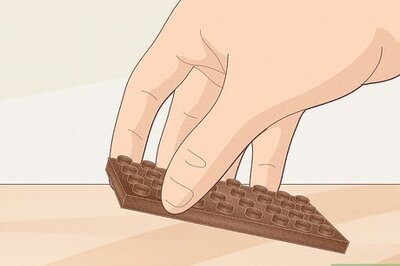
Locate the middle of the shirt and pinch it with your thumb and forefinger.

Keeping the shirt pinched, slowly twist the pinched part clockwise or counterclockwise. It should begin bunching up; the folds should resemble a kind of vortex.
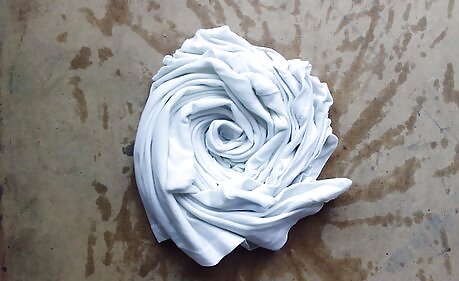
Twist until the shirt has bunched up into a tight circle. It should be about the same height across and round like a saucer.
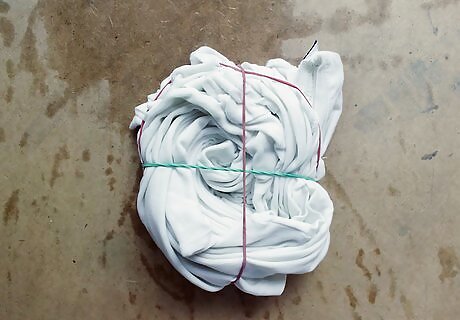
Wrap one rubber band around the side of the shirt and several rubber bands over the top. The rubber bands should overlap in the center, making the shirt resemble a cut-up wheel of cheese.
Sun Design
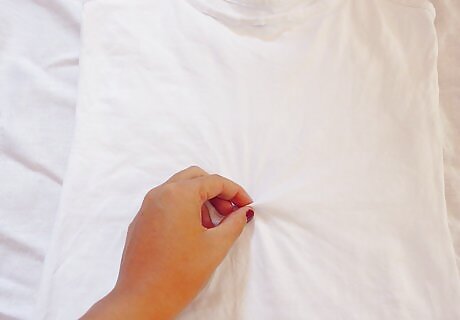
Locate the middle of the shirt and pinch it with your thumb and forefinger.
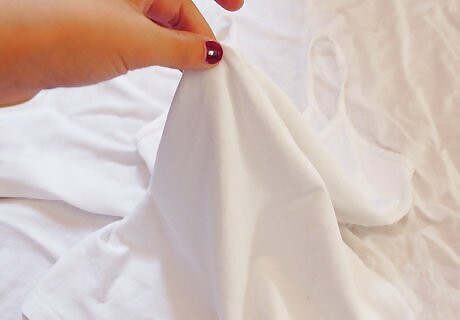
Lift the pinched portion of the shirt up into the air and squeeze the rest of the shirt tightly so that it forms a tight cylinder.
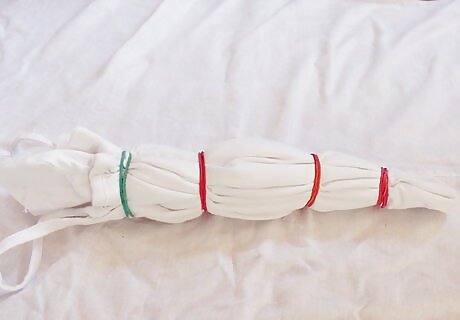
Without twisting the shirt, wrap 4 or 5 rubber bands down the length of the cylinder so that they are evenly spread out. It should look like a torpedo or baguette.
Dyeing Your Shirt
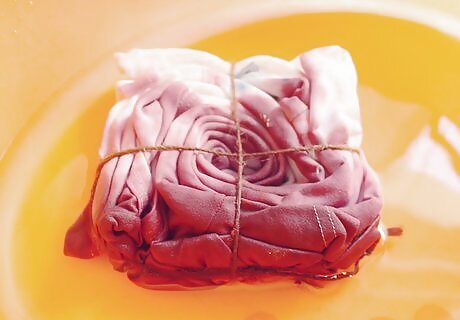
Apply the dye outdoors or in a safe place. When applying the dye, you want to add enough so you don't see white. At the same time, you don't want so much dye that there are little puddles of it on top of the shirt. There are several ways you can apply dye: If using the spiral pattern, apply one dye in the center and move outwards, encircling each new ring with a different color.Tie Dye a Shirt with Soda Ash Step 13Bullet1.jpg If using the spiral pattern, apply different dyes in each quadrant created by the overlapping rubber bands. If using sun pattern, apply different dyes in each segment created by the rubber bands. If you wish to have your whole shirt tie-dyed, stain both the back and front with the same dye pattern. If you wish to only have one side of your shirt tie-dyed, stain only the front or the back side.
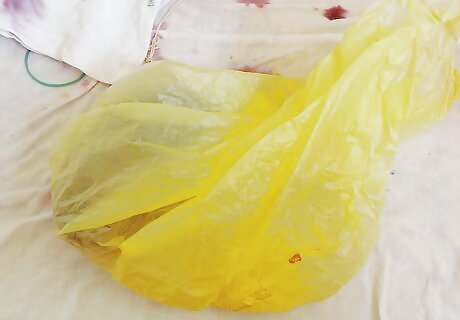
Place your dyed shirt in a sealable plastic bag or garbage bag for 24 hours. The dye will still be on your shirt.
After 24 hours, take the shirt from the bag and run water over it. Make sure the dye has washed out and the water dripping from the shirt is fairly clear. Remove the rubber bands to see what it looks like.
Directly after rinsing, wash the shirt in the washer with soap and warm water. Do not wash with any other shirts, or the shirts may stain when the dye runs out during the washing process.


Comments
0 comment