
views
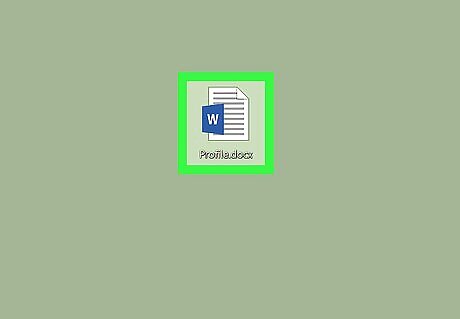
Open the Word document you want to edit. Find and double-click the file you want to edit on your computer, and open it in Microsoft Word.
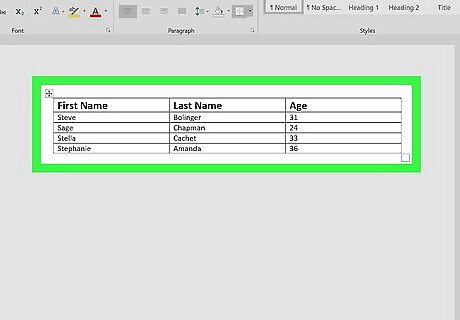
Click the table you want to split. This will reveal two new tabs above the toolbar ribbon at the top of your document: Design and Layout. If you want to add a new table to your document, click the Insert tab at the top, and click Table on the toolbar.
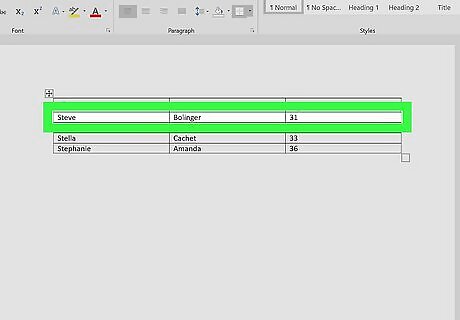
Click the row where you want to split your table. The row you select here will be the first row of your second table after splitting. For example, if you click the third row of your table, your first table will have two rows after splitting, and your second table will start from the third row.
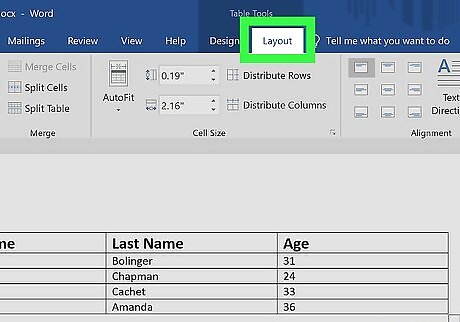
Click the Layout tab on the toolbar ribbon. When your table is selected, you can use the tools in this tab to edit its layout.
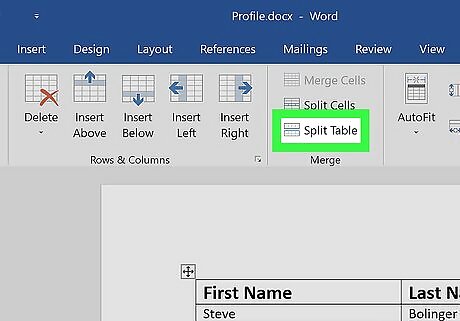
Click Split Table icon on the Layout toolbar. This button looks like a four-row table icon split in the middle. You can find it next to Merge Cells and Split Cells in the Merge group. This icon will not be visible if you don't have your cursor clicked in a table row. This will split your table into two tables. You can also press the keyboard shortcut: Ctrl + Shift + Enter to split the table at your cursor.


Comments
0 comment