views
X
Research source
We’ll show you how to do just that, as well as other options to keep your keen kitchen cutter razor-sharp. We’ll also show you how to properly store and maintain it so that it keeps its edge longer.
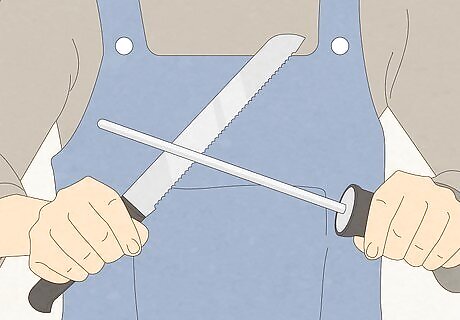
- Hold the sharpening rod in your dominant hand and position it at a 15-20-degree angle against one of the knife’s serrated “scallops,” so that it rests in the curve.
- Move the rod back and forth across each serration, giving 10-20 quick, short strokes each time, until a small burr or prick forms on the other side of the blade.
- Run the opposite side of the blade flat along the rod 2-3 times to remove the burr, then wash and dry the knife to remove any shavings.
Using a Sharpening Rod
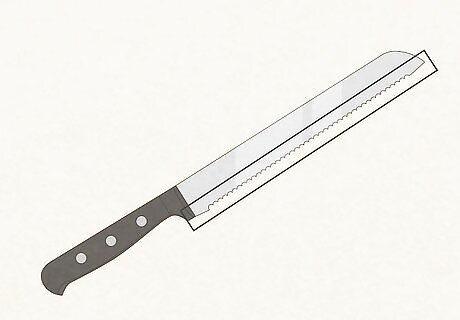
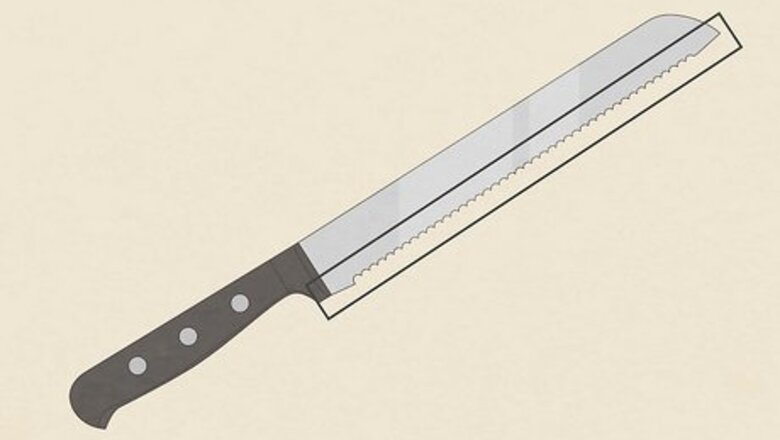
Locate the beveled side of your blade and find a sharpening rod. Unlike other knives, serrated knives tend to be flat on one side of the blade and beveled into grooves on the other. This beveled side of the knife is the side we’ll be working with. Also unlike other knives, serrated knives require a sharpening rod to sharpen, which are often tapered to accommodate many sizes of serration. A ceramic sharpening rod is great for giving a blade a little TLC, but if your serrated knife is particularly dull, use a diamond rod, which will restore its edge. If you don’t have a sharpening rod, wrap and tape a bit of emery cloth around a wooden dowel to use instead.
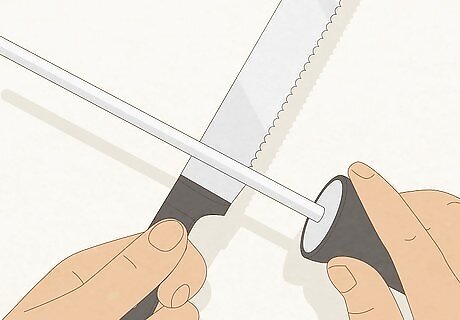
Align the rod with one of the serrations (or "scallops"). Hold the rod in your dominant hand, perpendicular to the knife, and rest it within one of the knife’s serrations—start with the one closest to the knife’s handle. Position the rod so that it’s aligned with the angle of the serration’s bevel, usually about 15-20 degrees. If your sharpening rod is tapered, position it in the serration at the point where the rod's diameter is about the same size as the serration. If the knife also has a straight edge portion, the bevels are usually ground to the same angle—about 20 to 25 degrees. To get a better guide for your angle, draw on the beveled side of the serrations with a permanent marker. You'll know you're hitting them at the right angle if the marker is totally removed with 1-2 strokes.
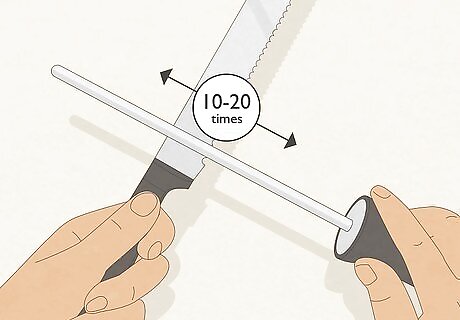
Move the rod back and forth 10-20 times to sharpen each serration. While applying very light pressure to the blade, run the sharpening rod back and forth within the first serration to sharpen it. Repeat 10-20 short strokes to make sure the serration is adequately honed. Then, do the same for the next serration, and keep going until each serration is sharpened. The serration is sharpened when you can feel a burr or prick on the opposite, flat side of the blade. Or, move the knife itself along the rod, rather than moving the rod along the knife. Some chefs stand the rod on-end and make a downward slicing motion with the knife. It’s up to you! Remember to keep a tapered rod’s diameter matched with the size of the serration to avoid enlarging the scallop.
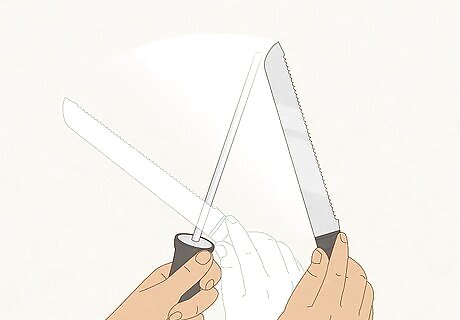
File away all the burrs with your sharpening rod. The burrs are the metal shavings that you filed off when sharpening the blade. To remove them, place the flat, un-beveled side of the knife flat against the rod, and run the rod 2-3 times along the entire length of the blade. Or, use a regular whetstone or even some fine-grit sandpaper for this step, instead of the sharpening rod. The end result is the same.
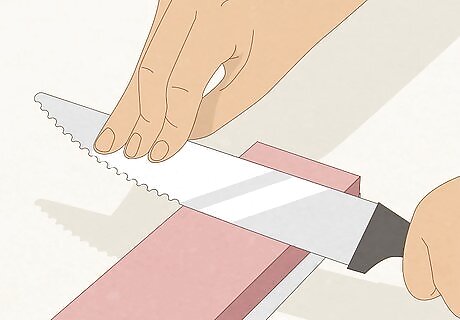
Sharpen any straight-edged portion of the blade. If your knife is only serrated along a part of the blade's length, sharpen the remaining length with a whetstone or other sharpening tool. Don't attempt to use the serrated knife sharpener on the straight portion of the blade. When you’re done, wash the knife with warm water and dish soap to remove any shavings.
Using Other Tools
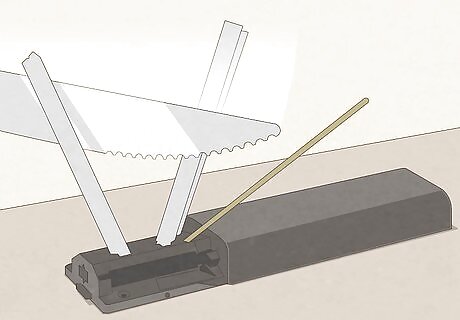
Use a triangle-shaped sharpener. A triangle-shaped sharpener is compatible with many different blades, including serrated knives, and works much the same way as a traditional sharpening rod. These sharpeners have the added benefit of defining the angle for you—just hold the knife straight and drag it along the tilted rods. Due to the shape, they tend to work best on knives with V-shaped gullets.
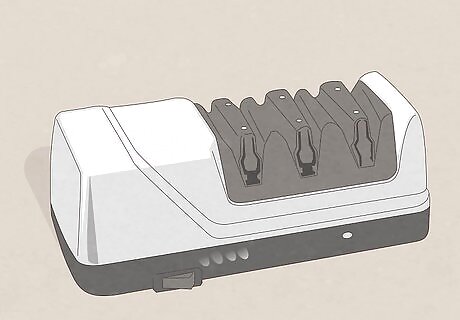
Try a specialty electric serrated knife sharpener. If you’d rather not fuss with a sharpening rod, or just want to save a bit of time, opt for an electric serrated knife sharpener. These are different from regular electric knife sharpeners, and are specially designed to work with the serrated grooves of your knife. Typically, turn on the sharpener and drag the blade of the knife through the designated slot of the sharpener. These devices vary widely in design and function, so consult your sharpener’s manual for more specific instructions.
Hire a professional knife sharpener. If your knives are in especially poor condition, or you just want to sidestep the work, a professional knife sharpener will have your blades in tip-condition—for a fee (usually several dollars per knife). They often provide their services at local farmer’s markets, or you might take your knives into a nearby cutlery store to have them serviced.
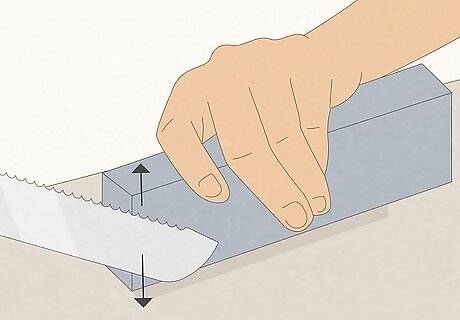
Use the corner of a square stone to sharpen the serrations. This is a difficult and unreliable last resort, but it is possible. Hold the knife spine securely against a hard surface and tilt the blade so the beveled edge is on top. Bring the corner of the sharpening stone to the serrated edge and use it to sharpen each serration, as you would with a sharpening rod, rocking it back and forth to cover the full area of each serration.
Maintaining Serrated Knives
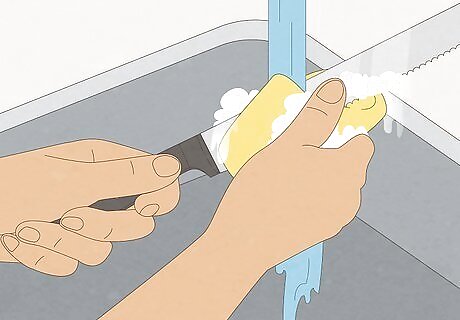
Wash your knives by hand to maintain their edges. The harsh detergents, heat, and contact with other dishware prematurely dull your sharp knives. Instead, wash your serrated knives by hand with warm water, dish soap, and a sponge. Point the blade away from you, and work slowly to avoid injury. When you’re done, give them a rinse under warm water and dry them with a soft towel to prevent rust. If there’s food dried to your knife, let it soak in warm water for 1-2 minutes to loosen the residue.
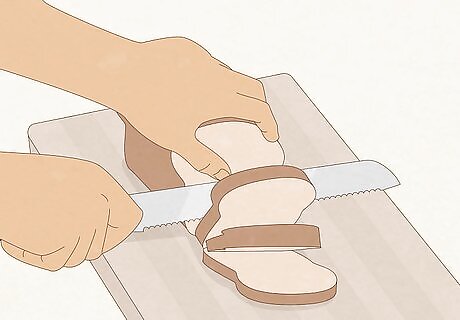
Use a cutting board to keep the serrations sharp. Cutting something directly on your counter or any other hard surface dulls the blade of the knife when it strikes that surface. Instead, always use a cutting board to minimize wear. But the material of the cutting board matters, too. Maple is a relatively soft wood that’s easy on your edges, but materials like bamboo are extremely hard and rough on those serrated teeth.
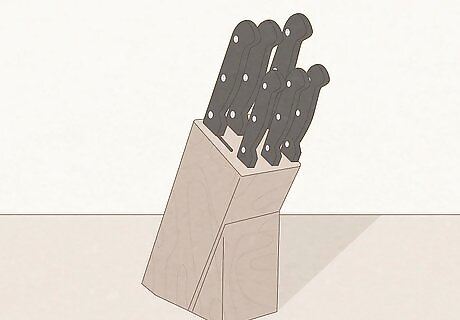
Store the knife in a knife block rather than loose in a drawer. Tossing your knives in a loose drawer runs the risk of dulling or even chipping them against other cutlery. Instead, slot your knives into a knife block or an in-drawer block, or hang them from a magnetic knife strip to preserve their blades. You might also slip them into blade guard sleeves if you don’t have other storage options, or are taking your knives on the road.


Comments
0 comment