views
Setting Up to Send
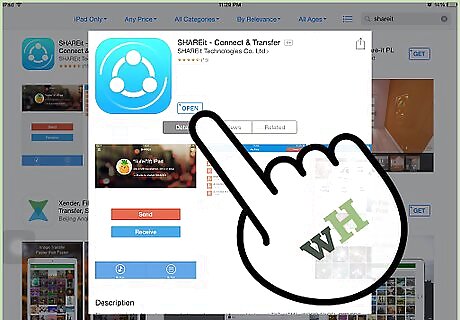
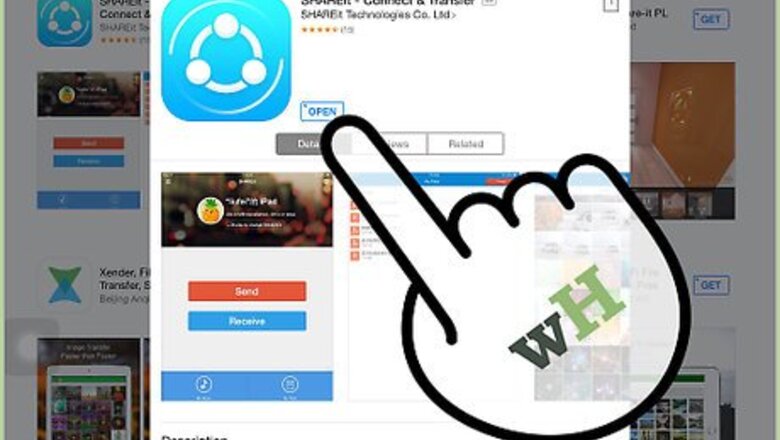
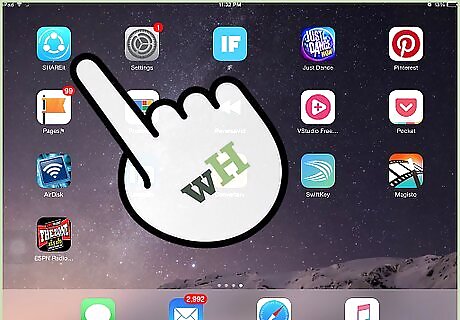
Launch SHAREit. Tap the SHAREit app on your source iPhone or iPad. The app logo has a blue background with three dots connected in a circle. You can download SHAREit for free from the App Store.

Tap the “Send” button on the source device’s screen. A file browser will appear on your screen.
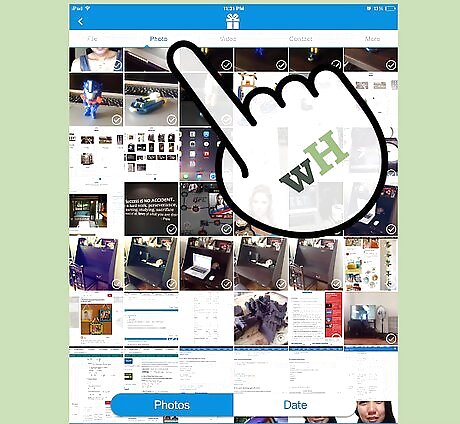
Select type of file you want to send. You can choose among “File,” “Photo,” “Video,” and “Contact.”

Select files to send. The files, photos, videos, or contacts accessed by the app will be displayed. Photos and videos are displayed in thumbnails so you can easily identify them. Tap on the ones you’d like to send. The selected items will be marked with orange checks.
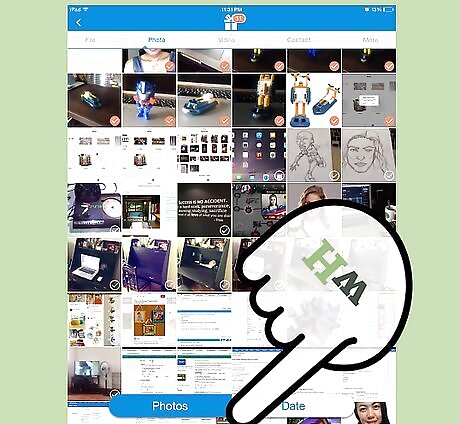
Send the files. Tap the “OK” bar at the bottom of the screen. The app will detect other devices on the same network running SHAREit on the receiving end. All the detected devices will appear inside the radar.
Setting Up to Receive
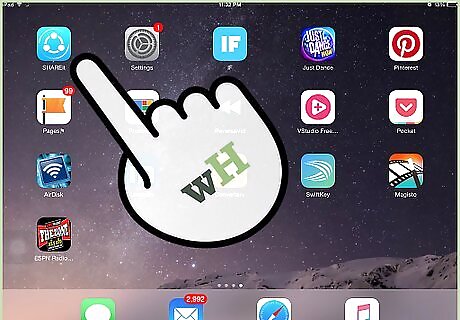
Tap the SHAREit app on your destination iPhone or iPad. The app logo has a blue background with three dots connected in a circle.

Choose “Receive” on the destination device’s screen. Your device’s name and avatar will appear inside a circle surrounded by other circles while it waits to receive the files.
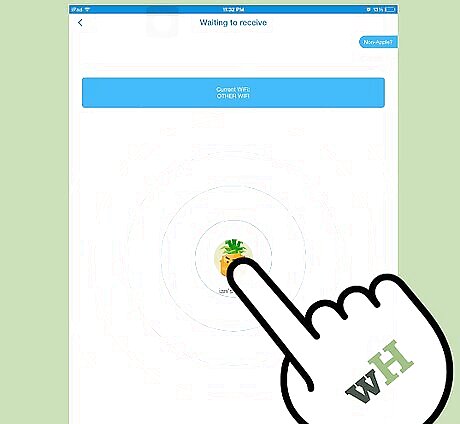
Wait to receive the files. The sender should now connect the two devices and send the file since the destination device is ready.
Sending and Receiving Files
Connect the two devices. On the source device’s screen, the destination device’s name and avatar will appear inside the radar. Tap on it. The two devices will be connected.
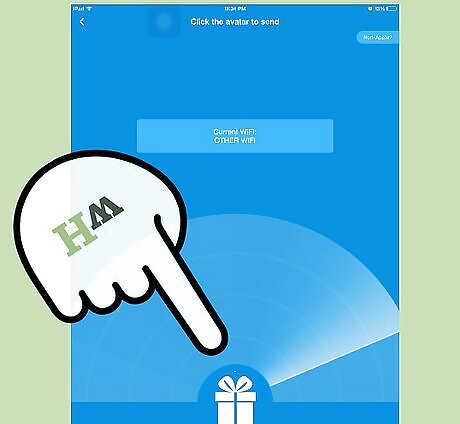
Send files. Once connected, the selected files will be sent immediately. No need for you to do anything.
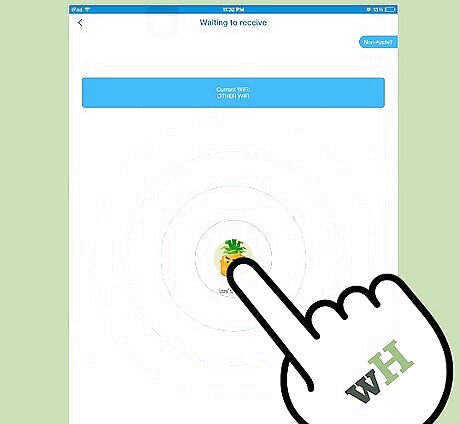
Receive files. The sent files will immediately be received by the destination device and will appear on the screen.
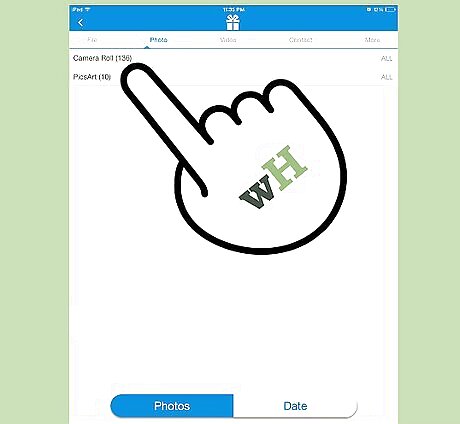
View photos and videos. If the files sent and received were photos or videos, they will be stored under the Camera Roll album of the destination device. A SHAREit folder will also be created and will store these files, as well as non-media files.


Comments
0 comment