views
Cleaning and Seasoning Your Griddle
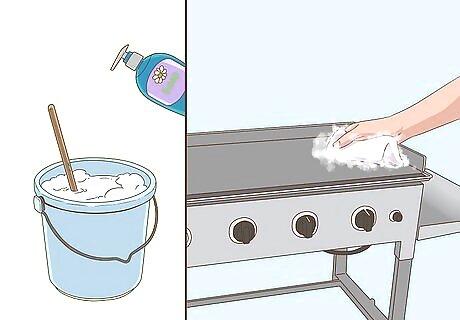
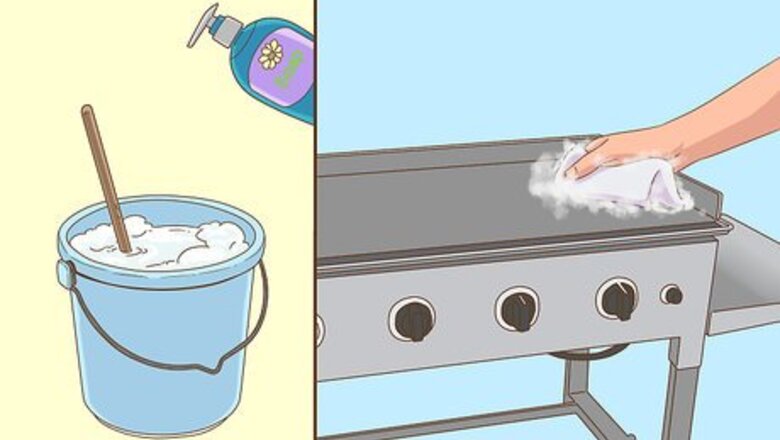
Clean your griddle with water and soap if it's brand-new. Fill up a 2 litre (0.53 US gal) bucket with warm water. Add some soap and then stir it in with a stick until it's evenly mixed into the solution. Afterward, gently pour a small puddle of the soapy water over the griddle. Grab some paper towel and thoroughly rub the soap and water across the surface. Finally, wipe the surface of the griddle with a clean paper towel until it's dry. Always wash a new griddle with soap prior to using it. This removes the cooking oil it is pre-seasoned with to prevent damage and rust during shipping. If you're seasoning an old griddle, skip this step—applying soap on a used griddle can actually damage the plate coating permanently.
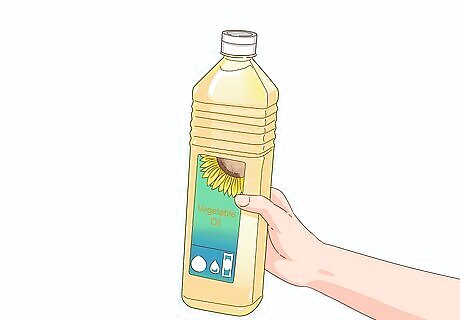
Select an oil that's rich in fatty acids to coat your grill. Select your favorite oil from the following high-fat options: vegetable shortening, vegetable oil, flax oil, extra virgin olive oil, and coconut oil. You can also use lard if you want. Always use oils that are high in fatty acids—indicated as a fat percentage on the nutrition information label—for optimal bonding with the griddle plate. Avoid products with trans fatty acids, which have been connected to health problems like coronary artery disease, weight gain, and liver dysfunction.
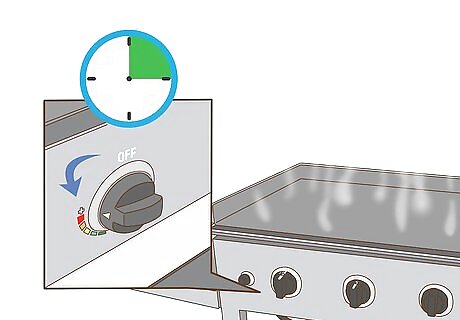
Turn the burners to the maximum temperature and wait for 10 to 15 minutes. Locate your propane tank and turn it on by rotating the valve counterclockwise. Now, set the burners to the maximum possible temperature and wait. Once you see the top of the griddle start to turn brown, you're ready to move on to the next step! Put on heat-resistant gloves for safety. Make sure your griddle is completely dry before turning on your burners. For griddles with specific temperature settings, turn the knob to 350 °F (177 °C).
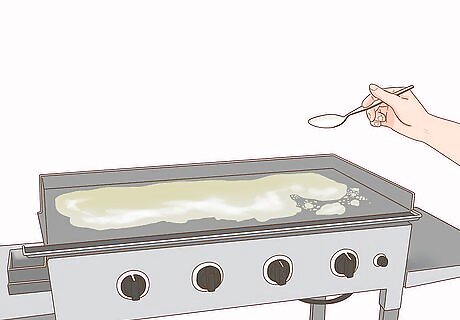
Spread 2 to 3 tablespoons (30 to 44 mL) of oil over the griddle surface. Adding oil creates a natural non-stick surface and adds some flavor to your food. Pour your favorite oil around the griddle and spread it evenly across the surface using a paper towel. Use a pair of tongs to move the paper towel if you find your hands getting hot. Crouch down and examine the layer of oil from the side to see if it's even. Be sure not to leave any dry spots or thick oil puddles.
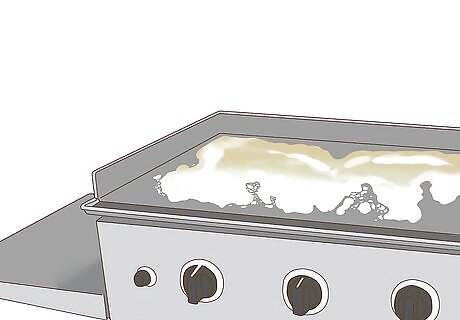
Wipe the edges, sides, and corners of your griddle with oil. Dab some oil onto a piece of paper towel or use the same one you used to wipe the surface. Now, use it to apply oil to the remaining parts of the griddle surrounding the top surface. Be sure to clean the sides facing outward from the griddle as well.
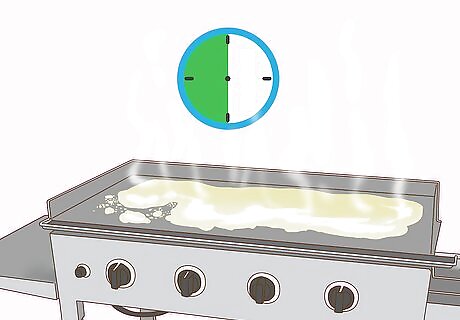
Leave the oil to cook for about 15 to 30 minutes or wait until it smokes. After turning the griddle to the max, the top plate will slowly turn black. Keep waiting until you see smoke beginning to fill the air above the grill—this is called the "smoke point" and should happen after about 30 minutes. Once it does, keep waiting until all of the smoke disappears.
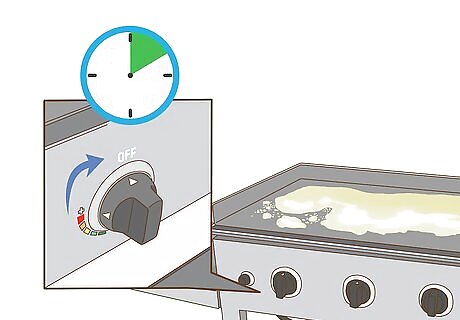
Turn your griddle off and let it cool for 10 minutes. Once all of the smoke has disappeared, turn your griddle off. After it has cooled down, you've completed one round of seasoning. From here, you will continue doing this until you achieve the right level of seasoning. Hold your hand about 1 inch (2.5 cm) over the griddle to see if it's still hot.
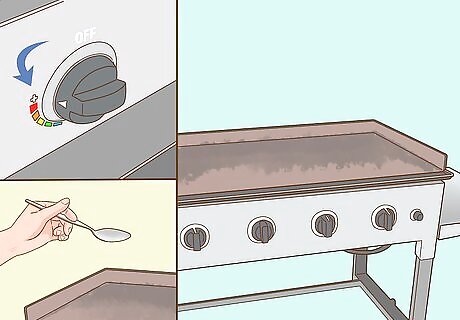
Coat and heat your griddle 1 to 4 more times or until it's dark brown. Turn your griddle back to max and heat it up again for another 10 to 30 minutes. Afterward, spread another even coating of oil onto the top and then wait for the smoke point again. Keep doing this until the top of the griddle turns dark brown—about 2 to 3 times is standard. Mix up your oils to create different flavor combinations. For example, use extra virgin olive oil for the first two rounds and top it off with coconut oil for the third round.
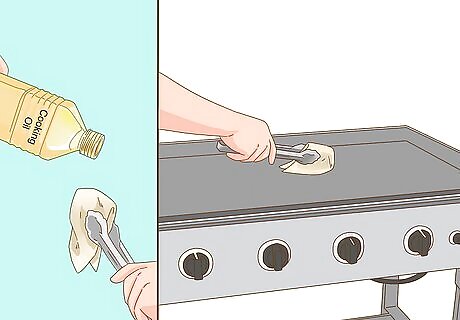
Wipe the griddle surface with cooking oil to finish it off. The final touch is a quick wipe down with your oil of choice to prevent oxidation, also known as rust. Before placing it into storage, pour some oil onto 2 to 3 paper towels and lightly wet the top of the grill. Be sure to wait until the grill has cooled before wetting it lightly.
Storing and Maintaining Your Seasoned Griddle
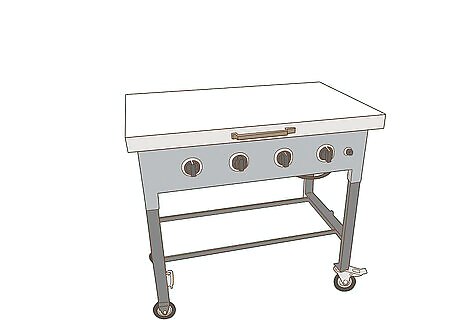
Store your griddle in a dry, cool place with a cover. Place a heavy-duty cover over your griddle to further prevent rusting and weather damage. Avoid storing it in humid, hot areas—this can alter your seasoning. If you're willing to make the investment, store your griddle in a carry bag, especially if you're leaving it outdoors. Leave the zipper of your carry bag open 2 to 4 inches (5.1 to 10.2 cm) to prevent rusting.
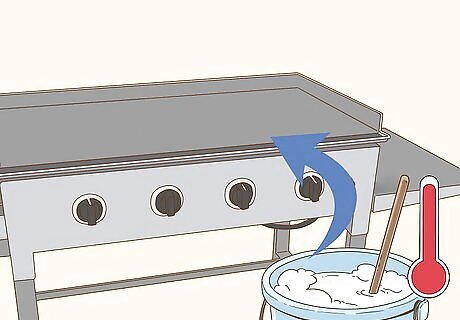
Clean your griddle after each use with a paper towel and hot water. Once you start using your griddle, each use will add to your layer of seasoning, so never clean it with soap. Instead, use a spatula to gently scrape any food from the top. Afterward, clean the surface with a dry paper towel. For tougher spots of food residue, fill up a 2 litre (0.53 US gal) bucket with boiling water. Pour it over the tough spot and leave the water to eat away at the residue for about 5 minutes. Wipe the spot with paper towel afterward. Pour ¼ cup (32 grams) of salt over tough areas to help the cleaning process.
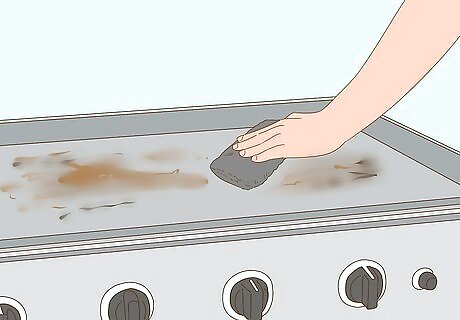
Remove rust with steel wool or 40- to 60-grit sandpaper. When you spot rust, remove it right away before it gets worse. Using either steel wool or low-grit sandpaper, scrub the rusted spot thoroughly until the corrosion spots smooth over. Be sure to apply a firm amount of pressure toward the rust spots as you scrub them. Purchase steel wool and sandpaper from home hardware stores and kitchen supply stores, respectively.
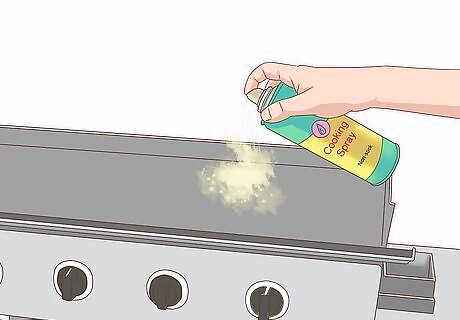
Coat your griddle with a thin coat of oil after cleaning to maintain seasoning. A thin coat helps maintain the seasoning bond and also prevents rust build-up. Choose any kind of cooking oil that you like for this purpose. You can even use non-stick cooking spray. Always coat your griddle after removing food buildup and rust. Over time, your griddle top should become blacker and more resistant to sticking. If it's not, you're not maintaining it properly.




Comments
0 comment