views
Performing a System Restore
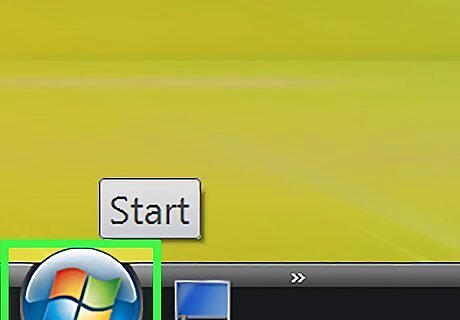
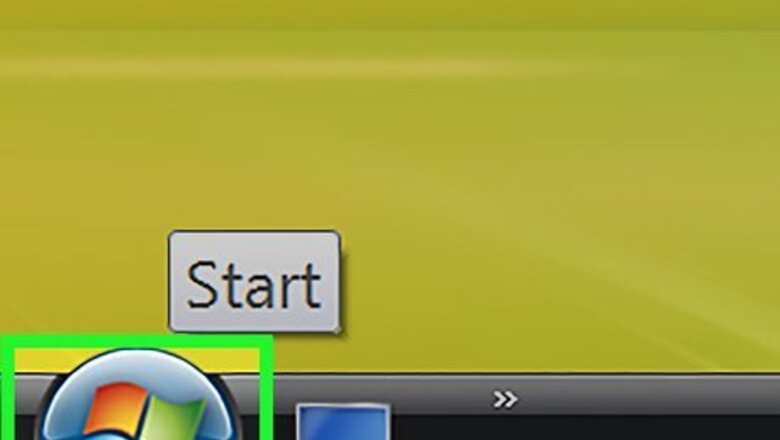
Click on the Start menu and select “All Programs.”
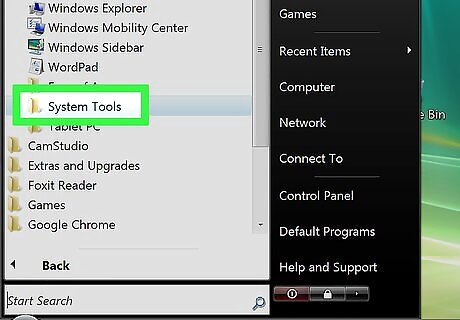
Click on “Accessories” and select “System Tools.”
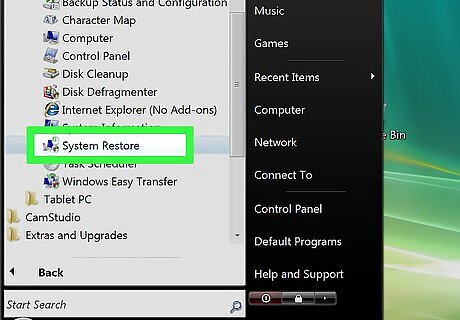
Click on “System Restore.” The System Restore window will display on-screen.
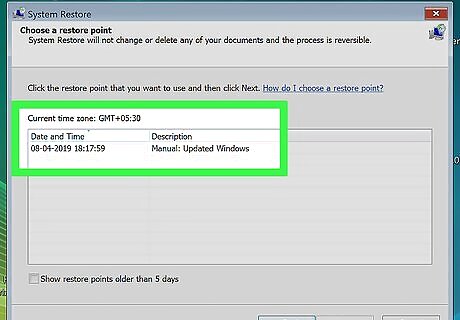
Select the radio button next to the restore point for which you want your computer restored. You can either choose the restore point recommended by Windows or choose a different restore point.
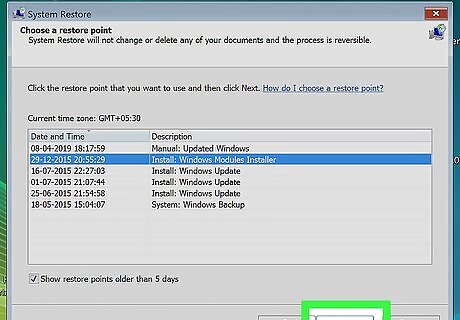
Click on “Next.”
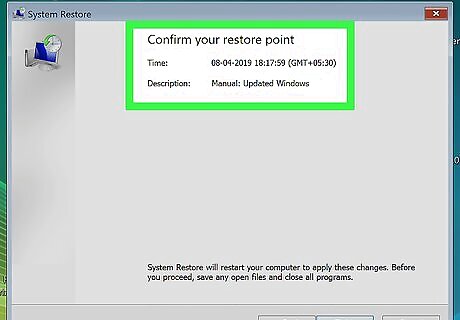
Verify that a checkmark is placed next to the C:/ drive when asked which disk drive you want restored.
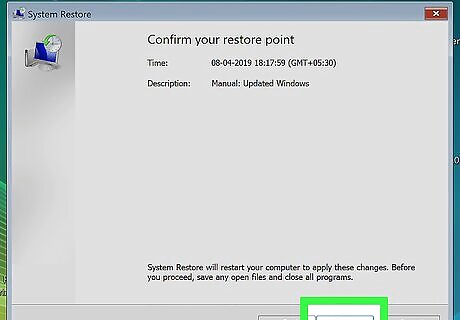
Click on “Finish.” Your computer’s system files will be restored to the earlier date and time you specified, and your personal files will not be affected.
Restoring from a System Image Backup (with Windows Installation Disc)
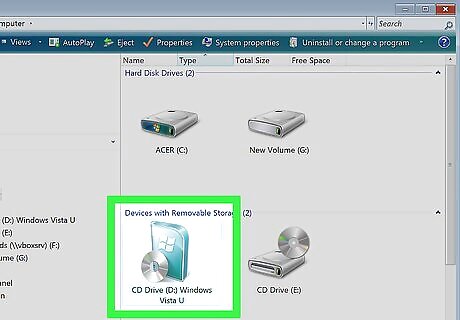
Insert the Windows Installation disc that came with your computer into your computer’s disc drive.
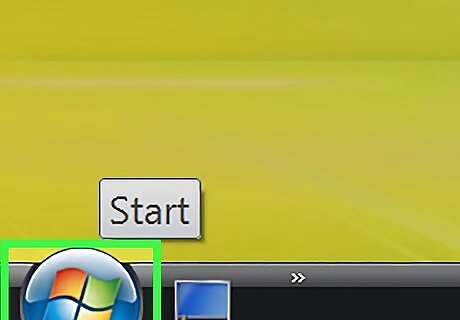
Click on the Start menu, then click on the arrow next to the Lock icon.
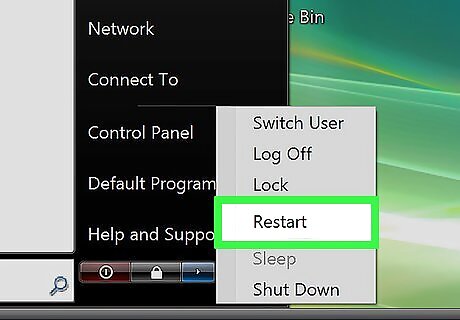
Click on “Restart.” Your computer will restart and recognize the Windows Installation disc upon startup.
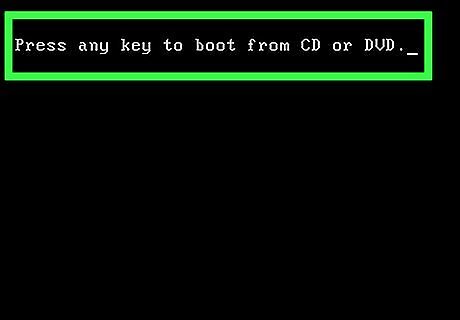
Press any key when prompted to do so by Windows Vista.
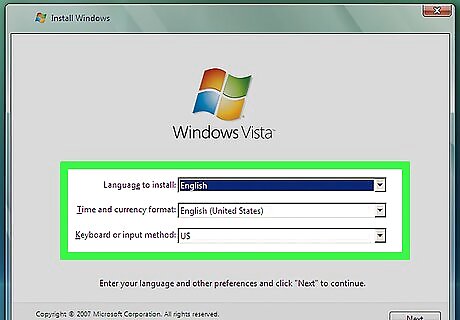
Choose your language preference and select “Next.”
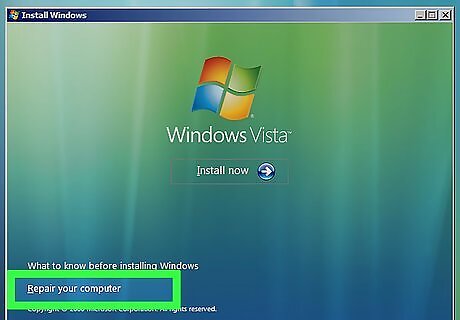
Click on “Repair your computer.”
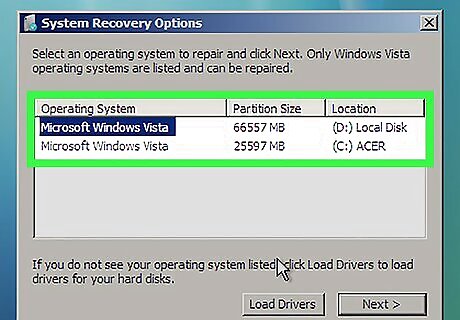
Click on the name of the operating system you want repaired. This option will most likely read as “Microsoft Windows Vista.”
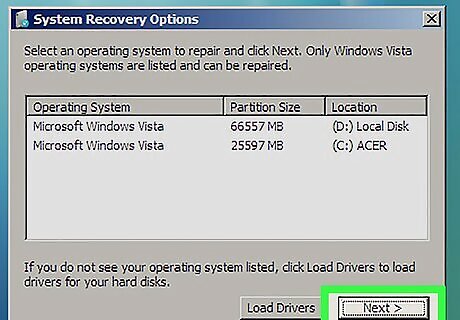
Click on “Next.” The System Recovery Options menu will display.
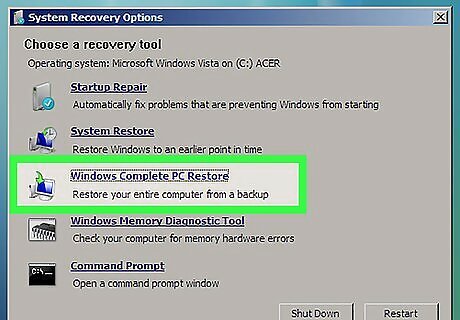
Click on “Windows Complete PC Restore.”
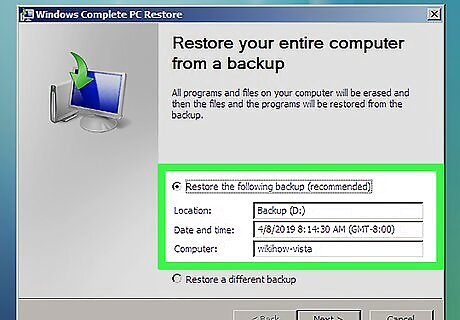
Select the restoration point to which you want your computer restored.
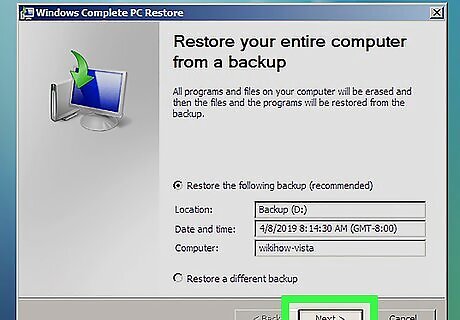
Click on “Next.”
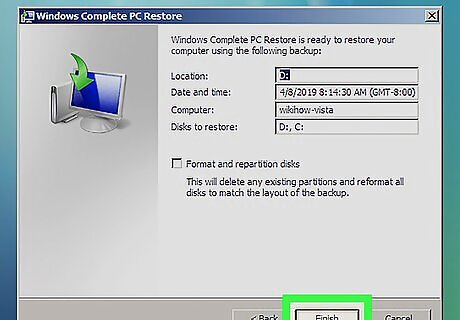
Verify that your restore point information is correct and click on “Finish.” Windows will then restore all the contents of your computer, such as system files and settings, back to the restore point you selected.
Restoring from a System Image Backup (With No Installation Disc Provided)
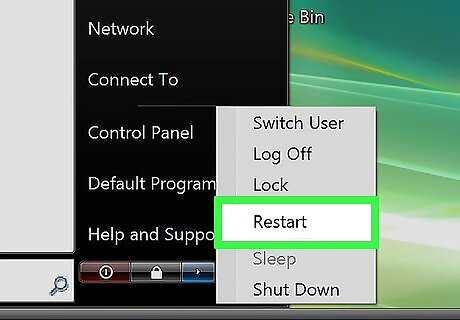
Power on your Windows Vista computer. If your computer is already turned on, click on the Start menu and select “Restart” from the dropdown menu next to the Lock button.
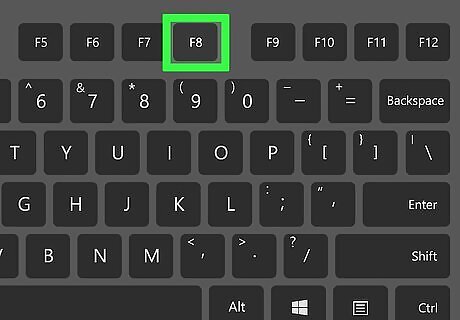
Press the F8 key repeatedly as your computer boots up. The Advanced Boot Options menu will display on-screen. If the Advanced Boot Options menu does not display, restart your computer and continue to press F8 repeatedly before the Windows logo displays on-screen.
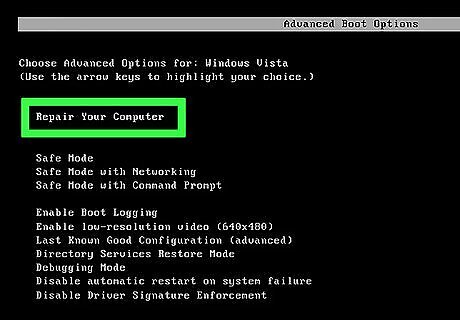
Use the arrow keys on your keyboard to highlight “Repair your computer.”
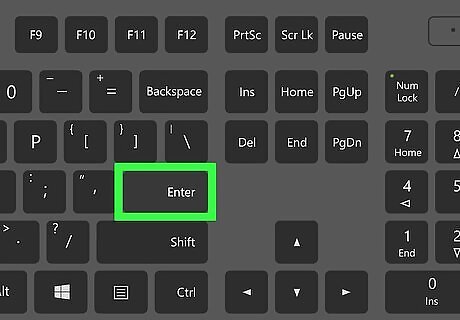
Press the “Enter” key.
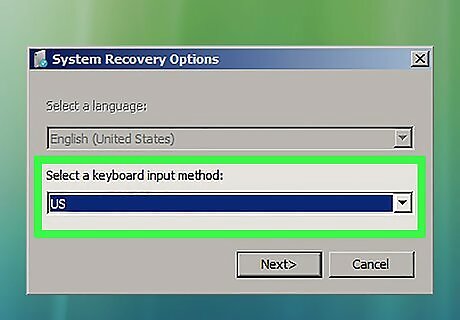
Select a keyboard layout from the options provided, then press “Next.”
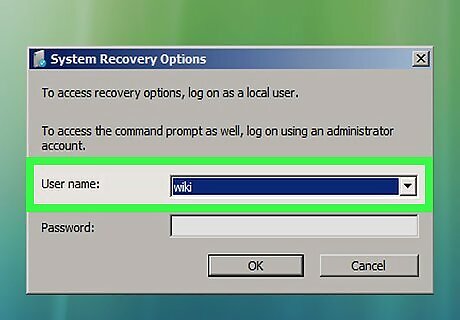
Select your username from the dropdown menu and type your Windows Vista password.
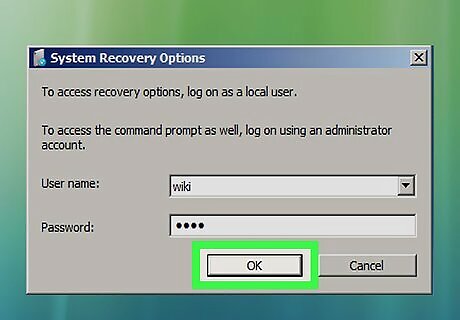
Click on “OK.” The System Recovery Options menu will display on-screen.
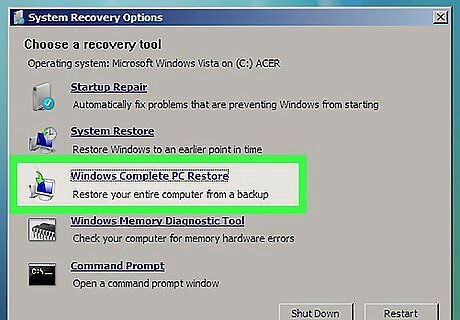
Click on “Windows Complete PC Restore.”
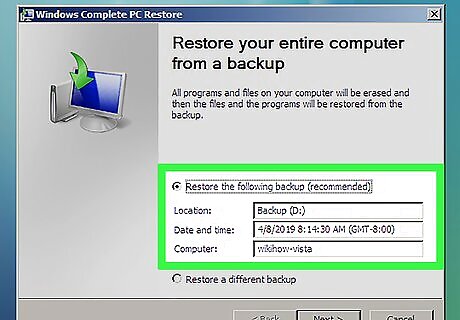
Choose the restoration point to which you want the state of your computer restored.
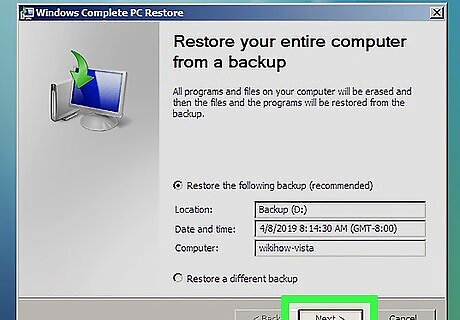
Click on “Next.”
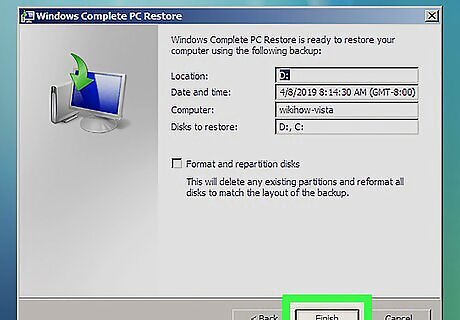
Verify that the restore point information is correct and click on “Finish.” Windows will then restore all the contents of your computer, such as system files and settings, back to the restore point you have chosen.
Reinstalling Windows Vista
Power on your Windows Vista computer.
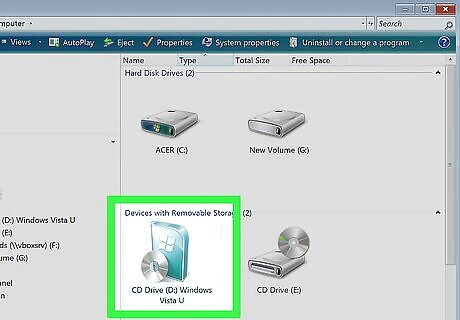
Insert your Windows Vista Installation disc into the disc drive of your computer. The “Install Windows” wizard will display on-screen.
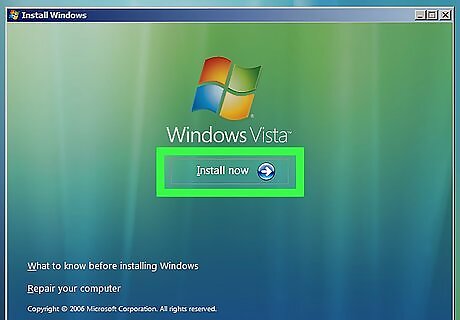
Click on “Install now.”
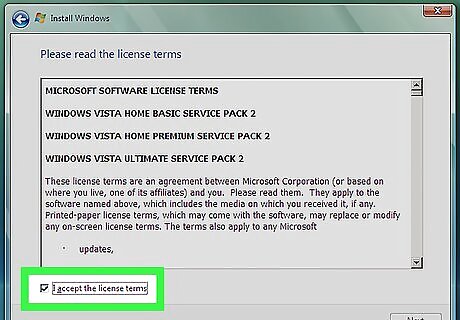
Read and review the Windows Vista license terms and click on “I accept the license terms.”
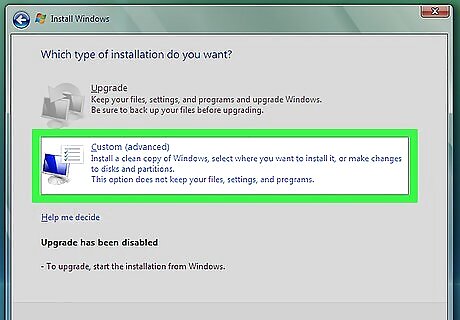
Select “Custom” when asked about the type of installation you prefer.
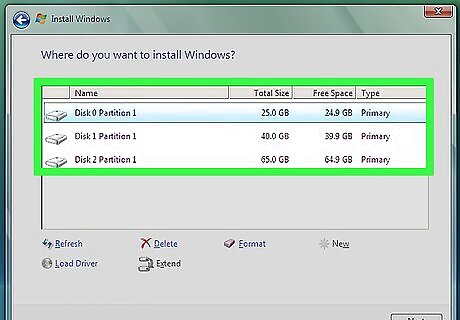
Select the C:/ partition when asked where you want to install Windows Vista.
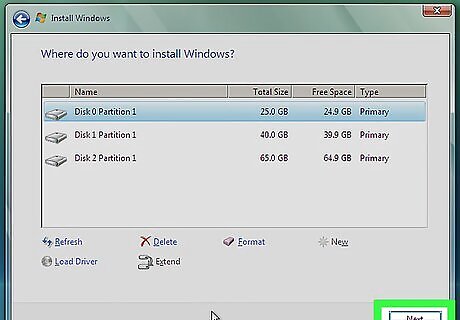
Click on “Next.” The Windows Vista installation process will begin, and your computer will be returned to its default settings.
Restoring to Factory Settings
Disconnect all non-essential external peripherals from your computer. Examples of non-essential external peripherals are printers, flash drives, and scanners.
Power on your computer.
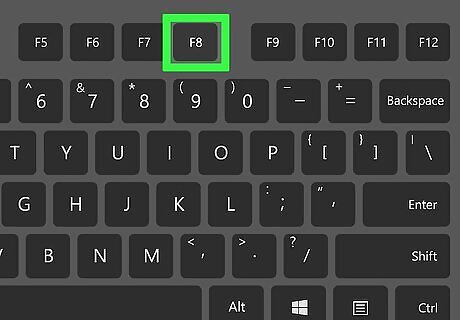
Press the F8 key repeatedly as your computer boots up. The Advanced Boot Options menu will display on your screen. If the Advanced Boot Options menu does not display, restart your computer and try again to press F8 repeatedly before the Windows logo is displayed on-screen.
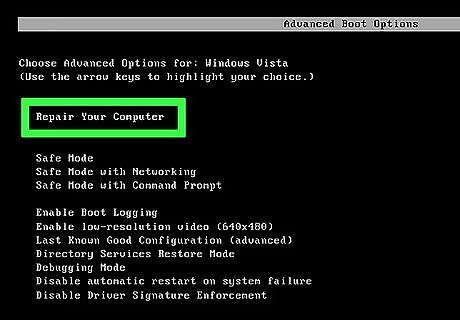
Use the arrow keys on your keyboard to highlight “Repair your computer.”
Press “Enter.”
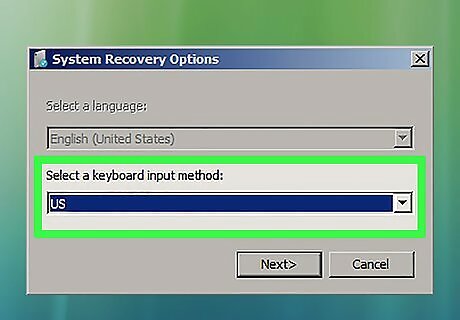
Select your language preference from the options provided, then click “Next.”
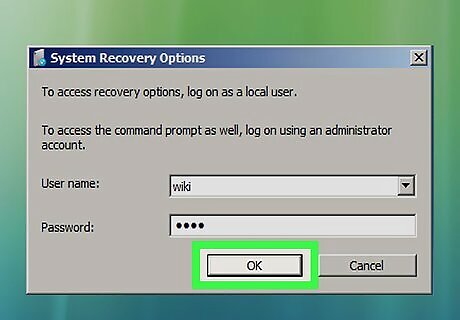
Log into Windows Vista using your username and password.
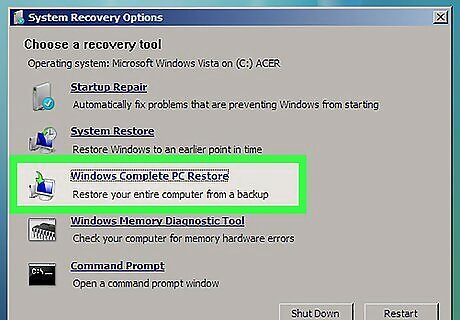
Select the option to perform an image restore. For example, if you are using a computer manufactured by Dell, select “Dell Factory Image Restore.”
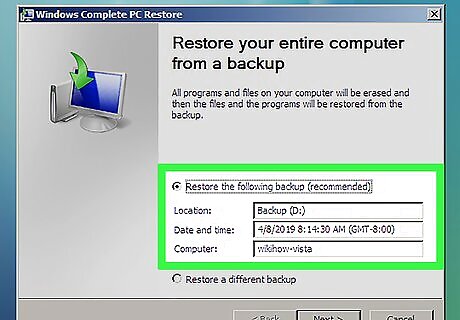
Click on “Next.”
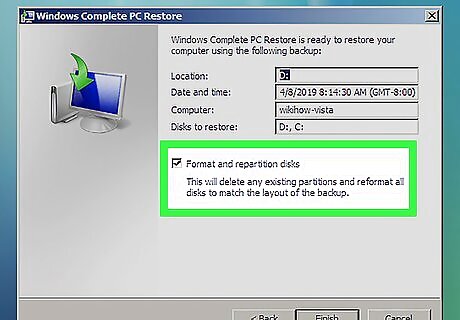
Place a checkmark next to the option that reads, “Yes, reformat hard drive and restore system software to factory condition.”
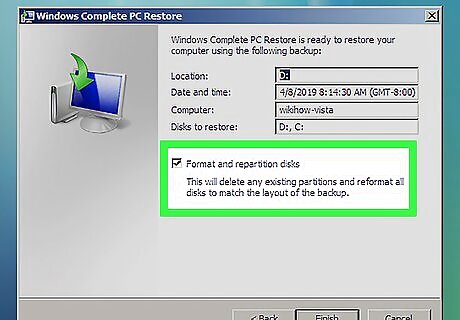
Click on “Next.” Your computer will then be restored to its default factory settings.
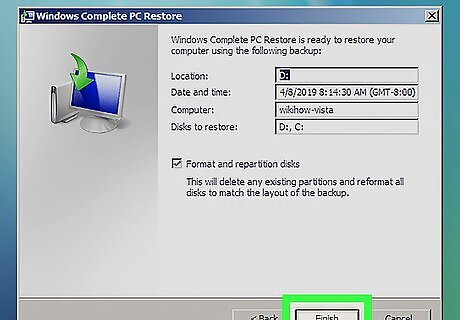
Click on “Finish” when the restoration process has been completed. Your computer will restart, and be ready for use as if the computer were brand new.


Comments
0 comment