
Preparing the Room
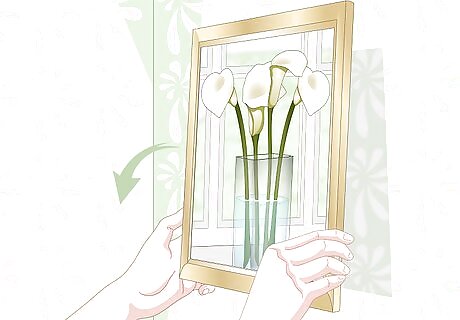
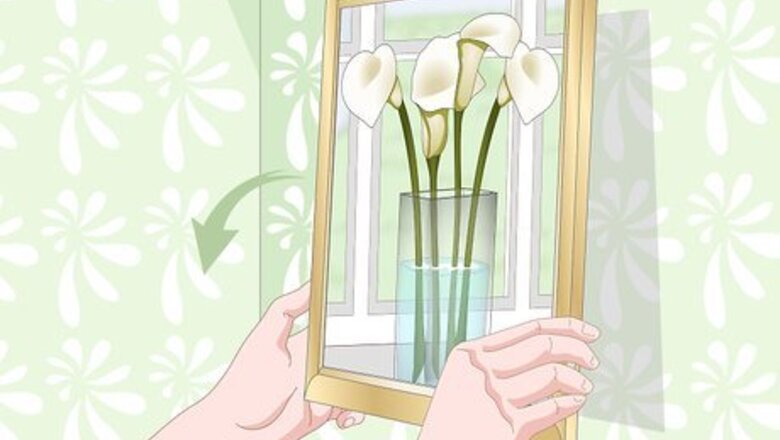
Remove all decorations and furniture from the room you're working on. As wallpaper comes away from the walls, it can release a lot of dust and grime; clear out the room ahead of time to save yourself from having to clean off paintings, pictures, decor, and furniture later on. If there is furniture that is too heavy to move, cover it completely with plastic sheeting or a drop cloth.
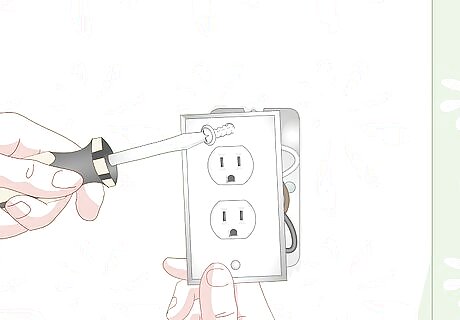
Unscrew all fixtures from the walls. Lighting fixtures, switch plate covers, electrical outlet covers, grates, vents, and anything else attached to the wall needs to come off. Use a screwdriver and place all the screws and hardware into a resealable plastic bag so you don't lose anything. Sometimes the areas underneath fixtures are the best places to start peeling away wallpaper.
Protect the floor and trim by covering them with plastic sheeting. Use painter's tape to secure plastic sheeting to the top of the baseboards around the room you'll be working in. Lay another sheet of plastic over the floor so that none of it is exposed. Water will run down when it's sprayed onto the walls, and you don't want to risk any water damage. You could use a drop cloth over the body of the floor but opt for plastic around the baseboards.
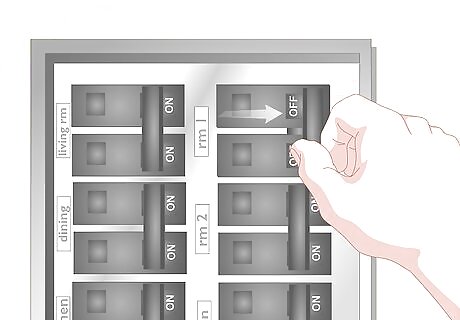
Turn off the electric to the room you are working in. You don't want to risk any water getting into an electrical outlet and causing a problem. Plug in spotlights to outlets in other rooms and use extension cords so you can have them in your work area. To turn off the electric, locate the electrical panel (this is often in a basement or closet). Shut off the individual breaker that powers the room you're in. You may need to test several breakers to find the right one if they aren't marked.
Peeling, Spraying, and Scraping the Wallpaper
Check the wallpaper to see what kind of material you are working with. In some cases, you can simply strip away wallpaper without having to use any other products. Use a putty knife to loosen an edge of the wallpaper. If it starts to peel away easily and doesn't leave a backing behind, you're working with strippable wallpaper. If it does leave behind a backing or if it won't budge, you'll need to use water to assist you in the removal process. Some very stubborn wallpapers may even need to be steamed away. But, try using hot water first before you rent a steamer.
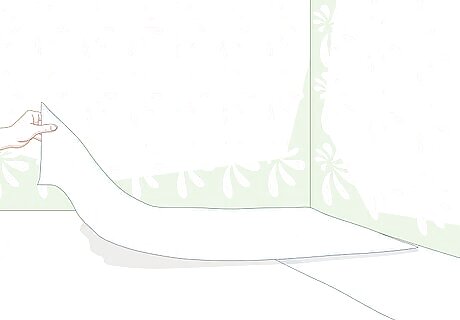
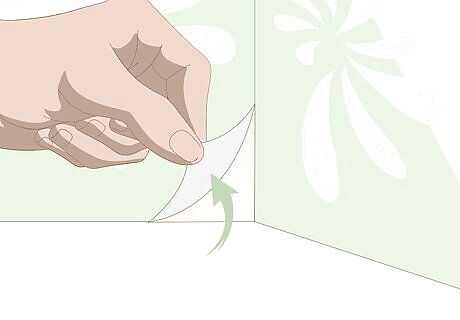
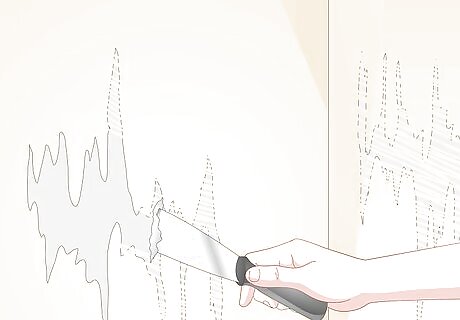
Start peeling the wallpaper away at a corner or near a switch plate. If you need to, use a putty knife to get the wallpaper up away from the wall, but try your best to not dig into the plaster or drywall. Remove as much of the wallpaper as you can by hand to reveal any backing that is present. Removing the top layer of wallpaper first and exposing the backing makes it a lot easier for the backing to absorb the water. In theory, this should make the removal process much faster.
Score the wallpaper if it won't come away from the wall. Every once in awhile, you might encounter wallpaper that is adhered to the wall and won't peel away from the backing. When this happens, use a scoring tool to poke lots of little holes in its surface to make it easier for the water to saturate the paper. Simply run the tool over the wallpaper while applying light pressure. This step is most helpful for waterproof wallpapers or ones that are glossy or made of vinyl. Remember, if you were able to peel away the top layer of wallpaper, you don't need to worry about scoring the backing on its own. Scorers quickly poke hundreds of tiny little holes into the wallpaper. You can buy them at all home improvement stores or online for $10 or less.
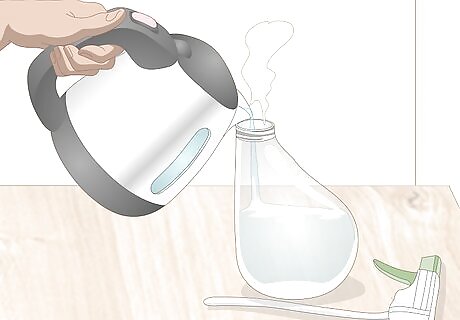
Fill a clean spray bottle or bowl with hot water. Whether you use a spray bottle or a bowl is up to you. The spray bottle allows you to cover a greater area more quickly, but soaking a sponge in the bowl of hot water lets you saturate the backing more completely. The hotter the water, the more effective it'll be at removing the wallpaper.Tip: Some people swear by the vinegar and water method to remove wallpaper. Try mixing a 1:1 ratio of hot water and white vinegar and spraying that on the to-be-removed wallpaper and backing.
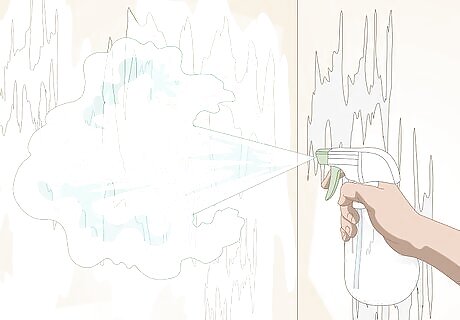
Saturate the backing with the water until it softens. It's okay if there are still sections of wallpaper left that you couldn't peel away. Just spray those areas, too. You can tell the material is soft when you can scrape it away with a fingernail or putty knife. If you're working with plaster walls, don't worry about how much water you're applying—it can take a lot of liquid! But if you're working with drywall, try to only use as much water as you need—saturation for more than 15 minutes can cause permanent damage.
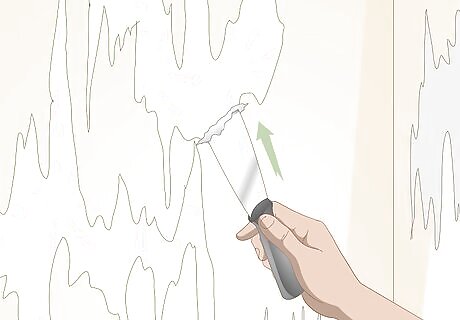
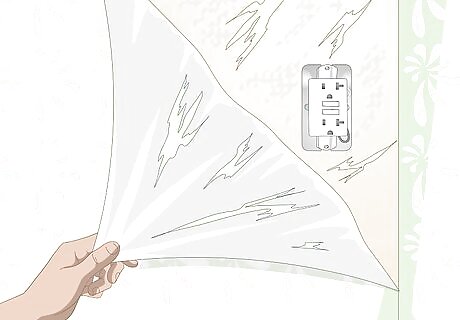
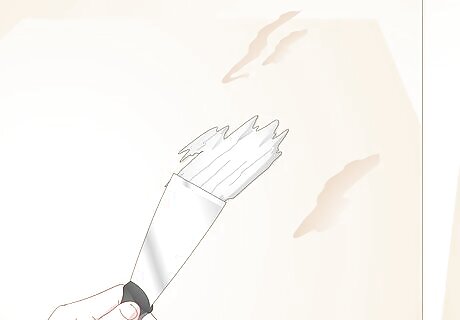
Use a putty knife to scrape the wallpaper and backing off the walls. Hold the knife at a 45-degree angle, and keep the blade flat against the wall to prevent gouging the wall. Take your time and rewet the wall as you go to help the process move along. You could also use a metal spatula to the same effect. The more flexible the instrument, the less likely it'll be to mark up the wall. If you discover a second layer of wallpaper underneath the first, focus on removing the top layer completely before thinking about the second layer. That bottom layer will come up much more easily if the first layer is completely gone.
Go over the wall as many times as you need to remove everything. Any little bit of wallpaper or backing that is left will show up underneath a fresh coat of paint or a new layer of wallpaper. Plus, you need to clear it all away so you can clean up the glue that's underneath. It's totally okay to take a break and step away from your project when you need to. Nothing is going to get damaged in the middle of this kind of process since you aren't using any kind of chemical product.
Cleaning Away Wallpaper Glue
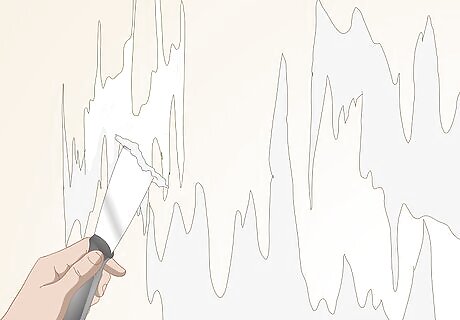
Scrape away as much of the glue as you can with a putty knife. Underneath the wallpaper and backing, you will see a sticky layer of glue that was originally used to put up the wallpaper. You must remove the glue completely, otherwise, it can dry and crackle underneath fresh paint, causing it to bubble and peel. Continue spraying the glue with hot water and scraping it with the putty knife. Wallpaper “glue” and wallpaper “paste” are the same thing.Tip: If the wall feels sticky to the touch even after the wallpaper and backing has been removed, that means there is still paste on the walls.
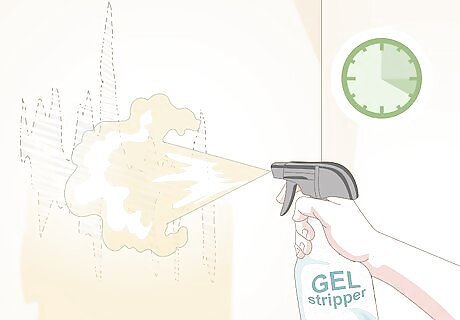
Apply a gel stripper to stubborn patches of glue for 15-20 minutes. Sometimes water and sheer force aren't enough for you to remove the glue. In those cases, invest in a bottle of gel stripper. Spray it over the glue and let it sit for 15-20 minutes. You can buy gel stripper at any home improvement store or online. It costs about $10-$15 a bottle.
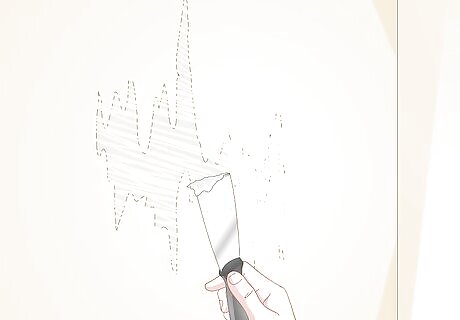
Scrape away the paste with a putty knife. After the 15-20 minutes have passed, use your putty knife to scrape away the glue. Repeat this process as many times as you need until all the glue is gone. It can sometimes help to wipe off your putty knife with a damp towel in between scraping.
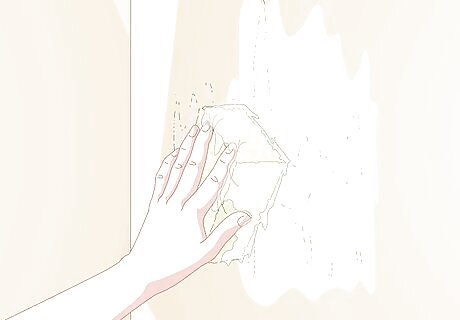
Rinse the walls with warm water to remove any lingering gel stripper. After the glue has been completely scraped away, dip a sponge into a bowl of clean, warm water and squeeze it out so it's damp but not dripping wet. Wipe down the walls from top to bottom and let them air-dry. Use this as an opportunity to spot check the walls for any spots you missed. If you come across a sticky section, take a minute to clean it.
Repairing and Prepping the Walls

Wait 12 hours after removing the wallpaper so you can check your work. Instead of jumping straight into the next part of the project, take a well-deserved break. After the 12 hours have passed, take a fresh look at the walls to see if there are any spots of glue, backing, or wallpaper that you missed.
Patch nicks and gouges so there are no uneven surfaces on the wall. Put a small amount of spackling paste onto the edge of a putty knife and work the paste into the hole in the wall. Add enough paste so that the hole is filled, and then flatten the edge of the putty knife against the wall and swipe it over the hole at a 45-degree angle. You can buy a container of spackling paste for about $5 from home improvement stores or online.Warning: Always read the directions on the spackling paste before you use it. Most products operate in the same way, but the drying time might be a little different depending on what brand you purchased.
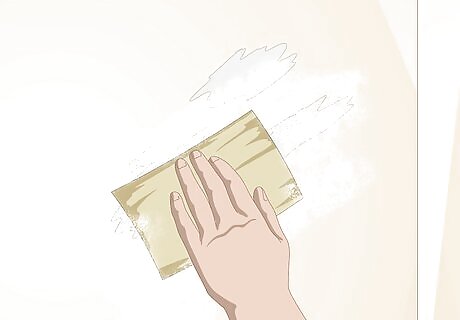
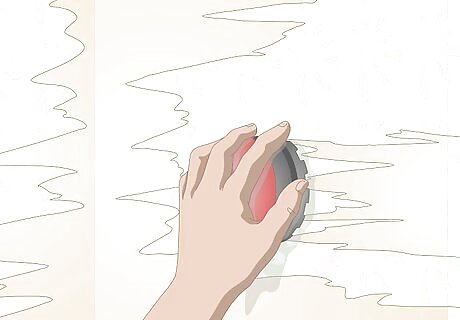
Sand the patched areas so the wall is perfectly smooth. Opt for 100- or 120-grit sandpaper. Once the spackling paste is completely dry, lightly sand the patched area. This will even out any sections that were partially raised and will give the patched section a smooth finish. You don't need to apply a lot of pressure when you sand the paste. Just rub the sandpaper back and forth over the section several times until it feels smooth to the touch.
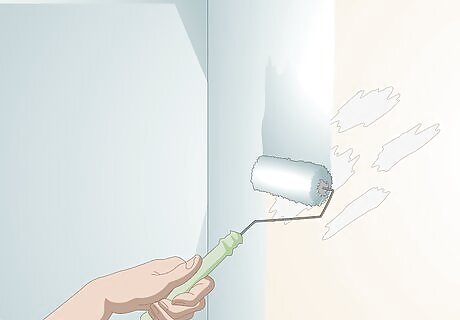
Apply primer to get the walls ready for new paint or fresh wallpaper. Use acrylic primer if you plan on applying new wallpaper (it'll make it easier to remove in the future). Use paint primer if you plan on painting the walls. Even if the wall is painted underneath of the wallpaper you just removed, you should still prime it again before doing anything new.


Comments
0 comment