views
Organizing Your Work Area
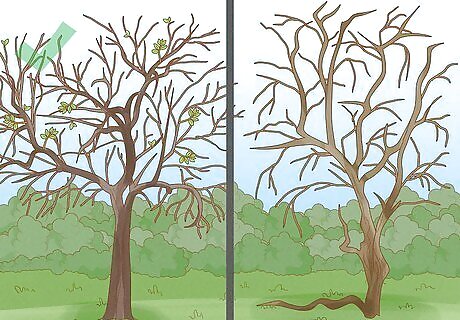
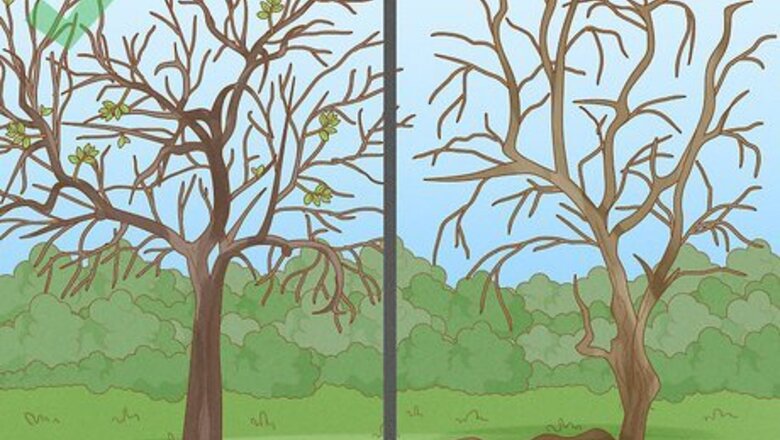
Make sure that the tree is healthy. Pruning an old apple tree can encourage it to develop new growth and fruit. If the tree is brittle, dead, or diseased, then pruning it won't help. To determine whether or not your tree is worth saving, look for the following: Grayish or crinkled branches: These branches are dead or diseased. If more than half of the tree's branches appear like this, then the tree is not worth saving. Damaged or peeling bark: This is a sign that the nutrients aren't making their way into the trunk, leaving it weak. New growth at the ends of the branches: This is a sign that the tree is alive. If you don't see signs of new growth, the tree is past saving.
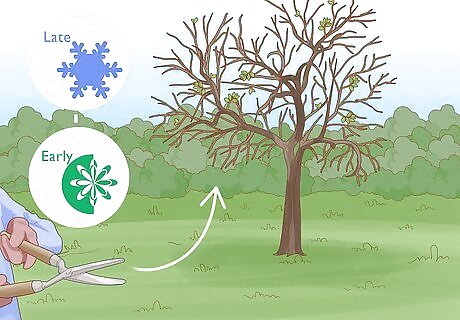
Plan to prune in late winter or early spring. The best time to prune is after the tree has gone dormant for the winter, but before it sprouts new growth in the spring. Depending on where you live, this will be some time between late winter and early spring. If you prune the tree too early, it may get damaged by the cold.
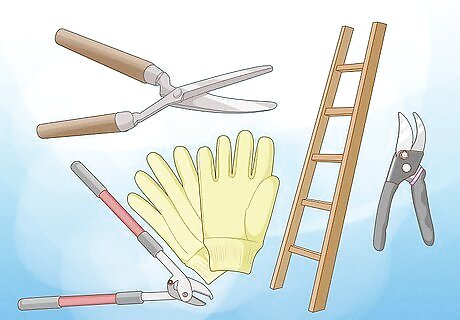
Obtain the right cutting tools, gloves, and a ladder. You'll need a saw with fine teeth, a pair of clippers, and gloves. If your tree is too tall for you to reach the uppermost branches, you'll need a sturdy ladder as well. If you have a lot of thick branches to cut, then a lightweight chainsaw might also come in handy. If you have a lot of trees to prune, consider investing in a pole pruner. It is a pair of clippers mounted on a pole.
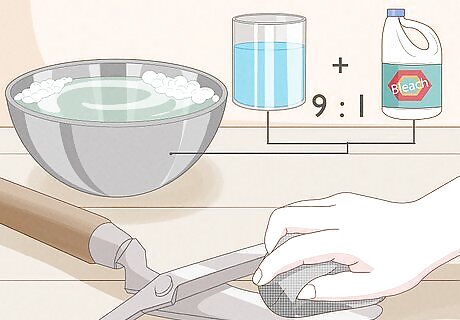
Sharpen and clean your tools, if necessary. Your tools must be sharp and clean. Dull tools will create jagged wounds that won't heal, while dirty tools might infect those wounds. If the tools are dirty, prepare a solution made from 9 parts water and 1 part bleach. Clean the tools with the solution and some steel wool. Sharpen your tools using the appropriate tools or take them to a hardware store or a blacksmith.
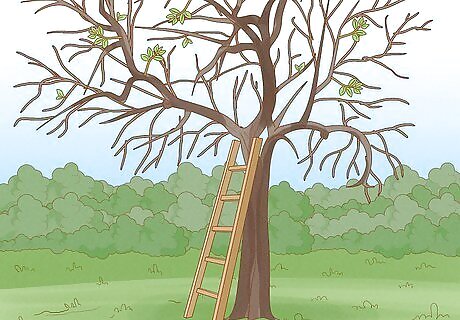
Lean the ladder against the tree, then test the weight. This is very important. The trunk may look strong and sturdy from the ground, but it may actually be weak and brittle. If you put too much weight on it, it may break. A good way to test the weight is to step on the first rung of the ladder or lean your weight against it. If you hear creaking, the tree is not stable. If your tree is short enough for you to reach the upper branches, then you do not need a ladder.
Pruning the Tree
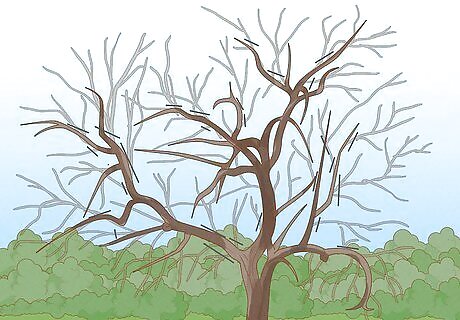
Visualize what you need to cut and how much. Never go into a pruning job without some sort of plan or idea. Visualize what you need to cut first. Ideally, you want to have a central branch growing straight up, and then some lateral branches coming off of that. The upper branches should be shorter than the lower branches.
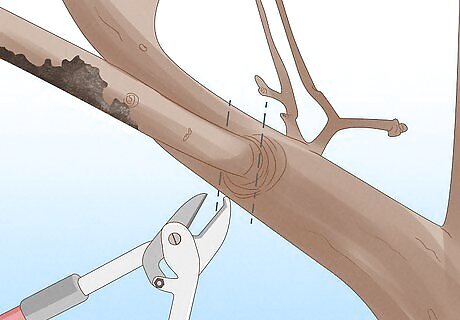
Prune the dead or diseased branches as close as possible to the collar. The collar is the joint between the branch and the trunk. You want to cut right up to this joint; do not cut the branch flush to the trunk or leave a stub. Hold the branch while you cut it so that it doesn't tear the bark while it falls. If the branch is too thick, cut it halfway through from the underside, then cut it the rest of the way through from the top. Make your cuts perpendicular to the ground. If they angle upward, they will collect water and rot.
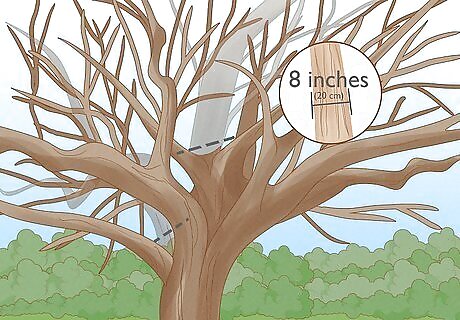
Remove 1 or 2 of the larger limbs, if necessary. The large, central, upward-growing branch is your leader branch. Any other large branches are competing with it for nutrients. Prune 1 or 2 of these branches off, 3 if absolutely necessary. If you need to cut more off, save them for the next year, otherwise you will shock the tree. Don't cut branches thicker than 8 inches (20 cm). Think twice before cutting that third limb. If it looks healthy, strong, and is not getting in the way, it would be best to leave it.
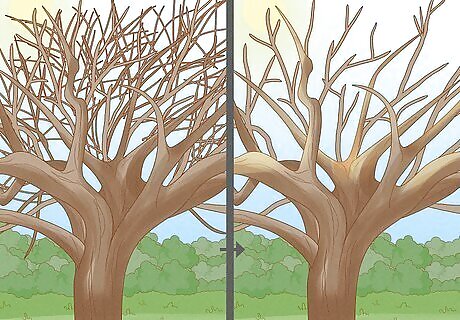
Cut back any excess branches that block light. These branches will cast too much shade when the leaves develop. Crisscrossing branches, or branches that are crowded too closely together, also need to be thinned. If you notice any branches that are closer than 24 inches (61 cm) to the ground, cut them off as well. If the tree is overgrown, leave 20 to 24 in (51 to 61 cm) gaps between the tips of the branches. If the tree is stunted, leave 4 to 6 inches (10 to 15 cm) gaps instead.
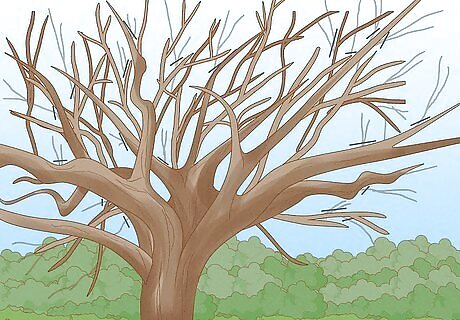
Trim off all water shoots, starting from the top. Water shoots are thin branches that do not develop fruit or foliage. They are not worth keeping because the tree will waste energy on them that could be otherwise spent on producing fruit. Trim the water shoots off starting from the uppermost branches, then work your way down.
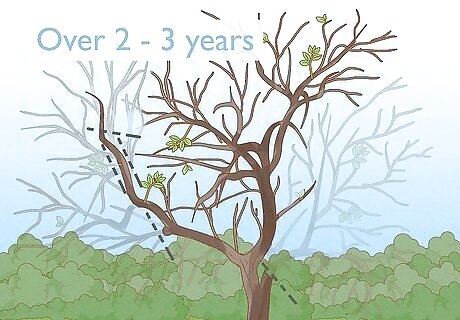
Do not remove more than a third of the canopy. If you need to remove more than a third of the canopy, save it for the following winter. If you remove too much at once, you are more likely to stress the tree. If the tree gets stressed, it will produce watershoots, which you will have to trim back later. If you need to, spread the pruning out over 2 to 3 years.
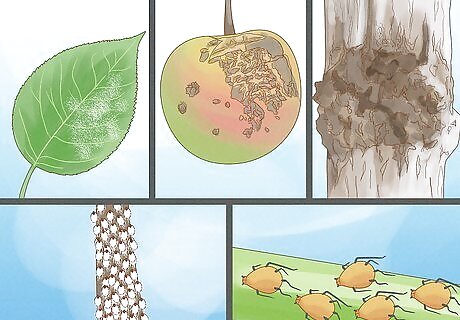
Look for signs of pests and disease and treat them accordingly. A lot of old trees suffer from problems, such as biennial bearing, cankers, powdery mildew, and scabs. They may also become host to rosy apple aphids and woolly aphids. Keep track of these as you prune, then treat them immediately after pruning. If you aren't sure how to treat these, ask for advice at your local nursery.
Providing Proper Aftercare
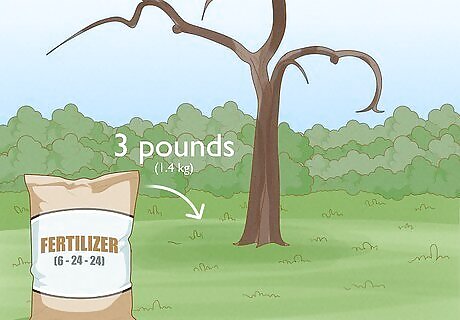
Get a 6-24-24 fertilizer. How much fertilizer you need to get and use depends on the size of your tree. Read the label on the package to find out exactly how much fertilizer you should use. In most cases, plan on using about 3 pounds (1.4 kg) of fertilizer per tree. If you can't get this type of fertilizer, get a fertilizer made specifically for old fruit trees. If you wish to use organic fertilizer, for something that contains any of the following ingredients: blood meal, composted chicken manure, cottonseed meal, feather meal, or soybean meal.
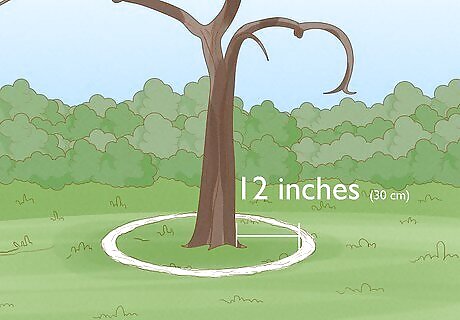
Apply the fertilizer in a ring 12 inches (30 cm) away from the trunk. Do not apply the fertilizer right next to the trunk. Instead, begin applying it 12 inches (30 cm) away from the trunk. Apply the fertilizer all the way around the trunk.
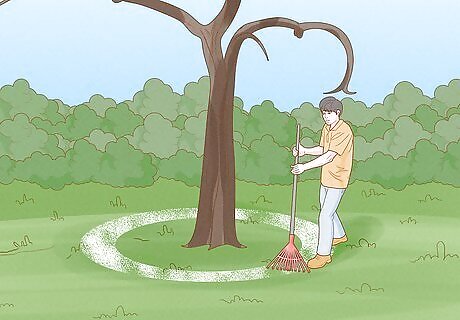
Rake the fertilizer towards the drip line. Start 12 inches (30 cm) from the trunk and finish at the drip line. Work your way around the trunk, making sure that you rake all of the fertilizer. The drip line is the span of the tree's branches. If it were to rain, the water would drip down from the tips of these branches.
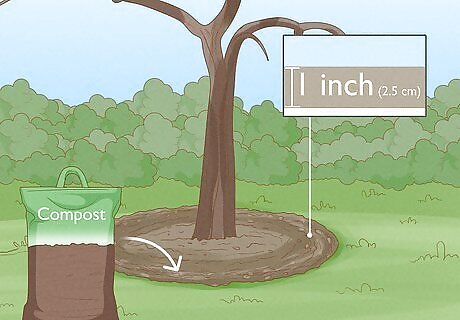
Cover the raked area around the tree with 1 inch (2.5 cm) of compost. The compost should start 12 inches (30 cm) away from the trunk, and end right at the drip line. A 1 in (2.5 cm) deep layer will provide your tree with enough nutrients.
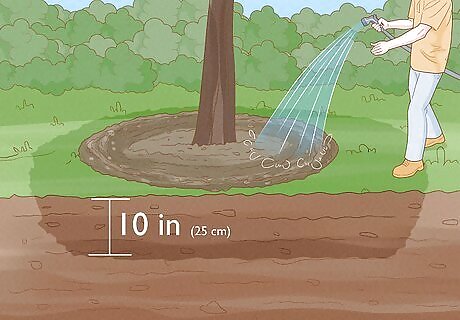
Water the soil and compost for 10 inches (25 cm). How much water you use depends on how thirsty the ground is. The soil needs to be wet for 10 inches (25 cm). You can tell if you've water enough by digging a 10 in (25 cm) deep hole. If the soil is wet at the bottom of the hole, you've watered enough. Do not get water within 12 inches (30 cm) of the trunk, or you could end up with rot.
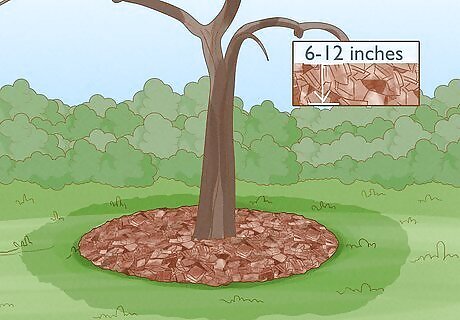
Top it off with a 6 to 12 in (15 to 30 cm) layer of mulch. Chipped brush, lawn clippings, and leaves all make excellent mulching. This will help conserve moisture and prevent the fertilizer from leaching out. It will also help provide a home for organisms that will break down the fertilizer.
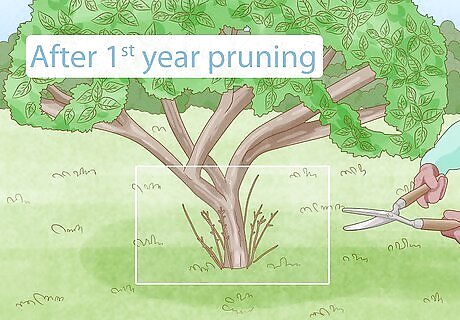
Cut the watershoots growing from the trunk the first year after pruning. If you don't see any, check the lower parts of the main branches, then cut off any that you see. Cut half of the watershoots that are leftover all the way down to their base. Leave the remaining half alone.
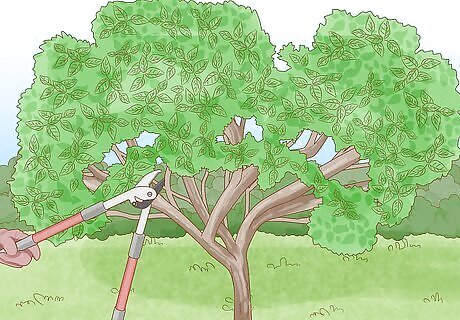
Perform a follow-up pruning for the next 2 years. In the spring of the following 2 years, remove any branches that you missed or skipped the previous year. Then remove the most vigorous shoots growing near the top of the tree or where you made large cuts the previous year. In the summer when your tree is dormant, you can shorten long branches to shape your tree. This will redirect the shoots growing lower on the tree. It also allows sunlight to penetrate lower into the canopy.




Comments
0 comment