views
X
Expert Source
Patrick CoyePainting Specialist
Expert Interview. 22 July 2020.
Before you get started, make sure to use a primer and paint that work well for the type of plastic you’re painting.
Washing the Plastic
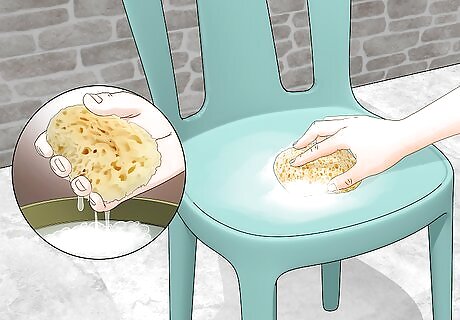
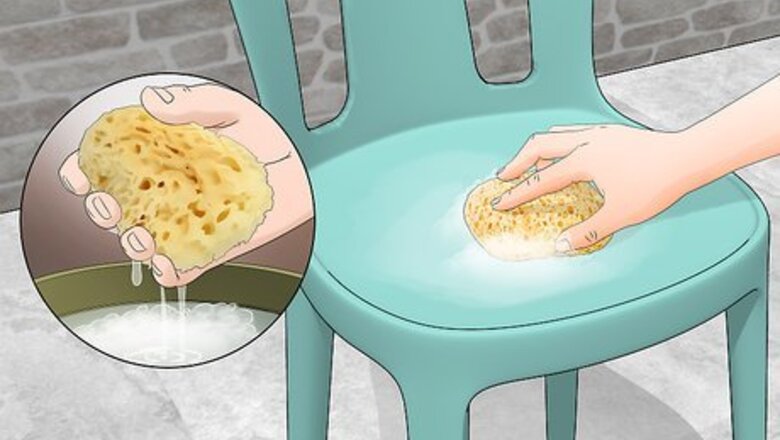
Scrub the plastic piece with soapy water and a sponge. Fill your sink or a bowl with water and dish soap and stir it around until suds form. Soak a non-scratch sponge in the water and rub down the surface of the plastic. Cellulose sponges are best, but you can also use a microfiber cloth, sea sponge, or sponge made of a blend of cellulose, nylon, or polypropylene fiber. If you're painting a piece that has set-in stains that you're worried may not be covered by the paint, pour rubbing alcohol onto the stain and let it sit for 10 to 20 minutes before scrubbing it away.
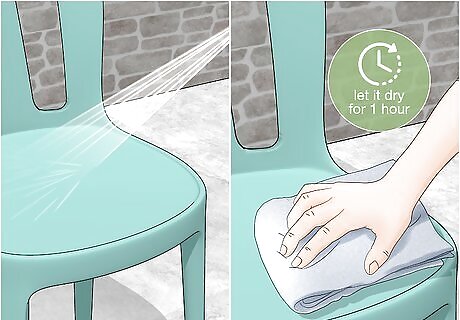
Rinse the piece and let it dry completely for 1 hour. Once all the residue has been washed away, rinse the plastic piece with regular water until there are no suds left. Wipe it with a rag and let it dry for 1 hour or until it’s completely dry. To speed up the process, lay the piece in a well-ventilated area with a fan.
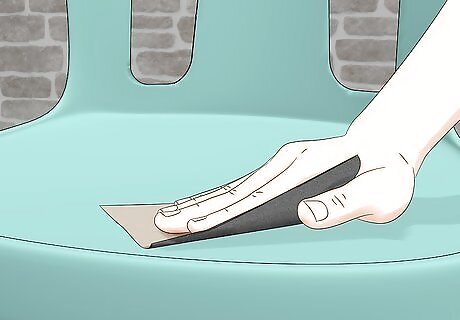
Use a fine-grit sanding block to rub the entire surface. The idea is to roughen up the surface a little so the paint has some texture and more surface area to cling to. Fine-grit sandpaper will scratch up the surface without weakening or damaging the plastic. Use a light to medium pressure to sand down the entire surface you plan to paint. If the plastic has shiny parts, make sure to sand down those parts a little extra because the paint will have a harder time sticking to a slick, glossy surface. If the plastic piece has a curved surface or small crevices, it may be easier to use sandpaper instead of a sanding block. You can buy a 360, 400, or 600-grit sanding block or sandpaper at any home repair or crafting store.
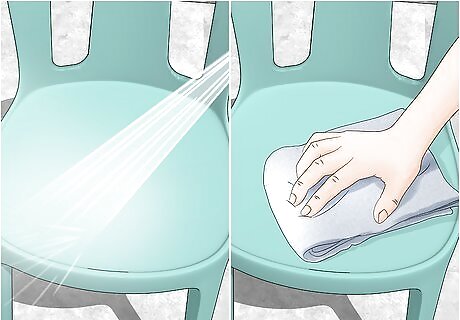
Wash off bits of dust and sand with water and let it dry. Any loose bits of sanding or dust will mess up your paint job, so hold the piece under the sink or hose to get rid of it. Use a towel to wipe up excess moisture and then let it sit for an hour or until the piece is completely dry. Place the plastic piece near a fan or in a well-ventilated area to speed up the drying process.
Applying Primer
Lay a tarp or newspaper over any surface to protect your work area. If you have a tarp, spread it over the floor or a countertop so you have a place to prime and paint without damaging the underlying surface. If you're painting something smaller, lay down some newspaper sheets so you won’t accidentally get primer on the floor, carpet, or countertop. Make sure your work area is well-ventilated because inhaling fumes from primer can cause unpleasant side effects like headaches, dizziness, or nausea.
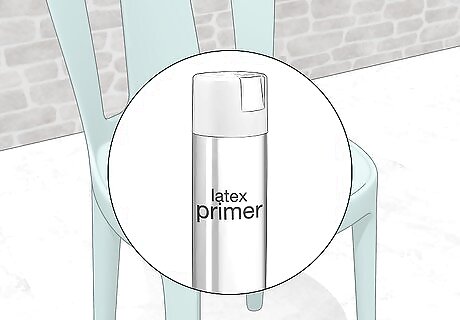
Select a primer made especially for plastic. Most plastic primers contain alcohol and glue, ensuring the paint will go on evenly and stick without chipping or smudging. You can buy primer made for plastic from any home improvement store or from most craft stores. Shellac-based primers are quick-drying but aren't ideal for plastic that is exposed to high heat (like outdoor chairs or car parts). You can use oil-based or latex primers on plastic. Just note that these work best if you plan to paint the piece with either oil-based or acrylic paint. If the plastic piece is flexible or bends in any way, avoid using an oil-based primer and oil-based paints because they don't allow for movement.
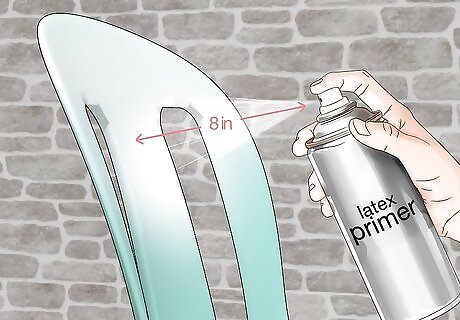
Spray a thin layer of primer onto the plastic. Shake the can of primer and hold it 6 inches (15 cm) to 8 inches (20 cm) away from the surface. Spray a thin, even layer, working in sections from left to right. Move your hands in even lines to make sure you're not accidentally going over the same area twice. Avoid applying a thick layer onto the plastic because it may glob up and cause the surface to have irregular bumps. If you're concerned about the final painted product being chipped or scratched, apply 2 very thin layers of primer. Just be sure to let the first layer dry completely before you add the second layer.
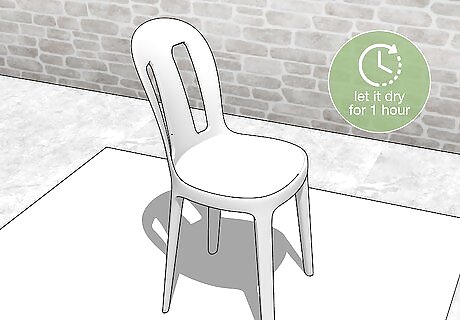
Place the piece in a well-ventilated area to dry for 1 hour. Letting primer dry is key before putting on the first layer of paint. Otherwise, the paint may blend with the primer, causing discoloration and unevenness that may lead to chipping. The primer will be dry to the touch after 30 minutes, but wait for at least another half-hour before applying your first layer of paint. If you live in an area that's very humid, it may take up to 3 hours for the primer to fully dry. Read the instructions on the canister of the primer to see exactly how long the manufacturer suggests you wait before applying your first coat of paint.
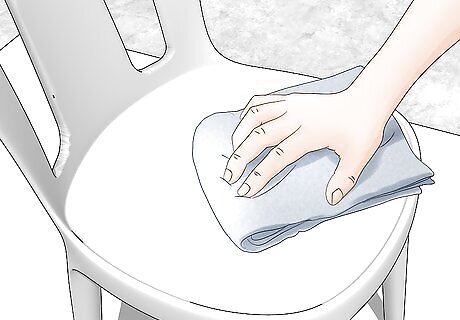
Wipe the primed plastic with a paper towel or microfiber rag. The trick to a professional-looking paint job is making sure nothing comes between the surface of the plastic and the paint. Any dust or bits of debris can cause lumps or chipping, so wipe down the plastic a final time before starting to paint. Make sure to place the piece in an area free from lots of airborne dust or pet hair so you don’t have to deal with debris midway through painting.
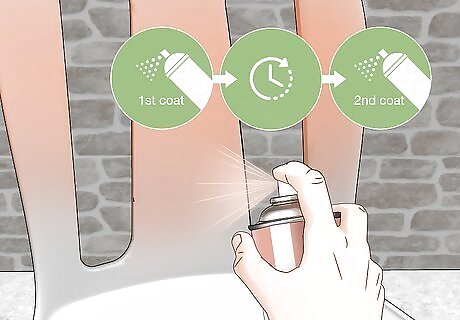
Paint the plastic with spray paint especially made for plastic. Shake the can beforehand to prepare the paint. Hold the canister 6 inches (15 cm) to 8 inches (20 cm) away from the plastic and spray it on it thin, even layers. Let it dry completely for about 30 minutes to 1 hour before adding a second coat. If you can’t find a spray paint that specifies it’s made for plastic on the label, multipurpose spray paint will work just as well. For a perfect paint job, use a paintbrush to touch up any areas that look uneven or places you may have missed. You can use only paint and a brush to cover the entire surface, but it may take longer and may not go on as evenly. Make sure you’re painting in a well-ventilated area.


Comments
0 comment