views
- Collect stones you’d like to polish either in person or online. Shape stones with a hammer and chisel, then wash them off in a bucket of soapy water.
- Polish stones by hand with 60 grit sandpaper. Dip the stone in water, then use 160 grit and 360 grit sandpaper to smooth it. Alternatively, polish them in a tumbler.
- Buff stones with a powdered polish, then wipe them down with a strip of leather. Apply rouge to the polished stone to complete the process.
Collecting Stones to Polish
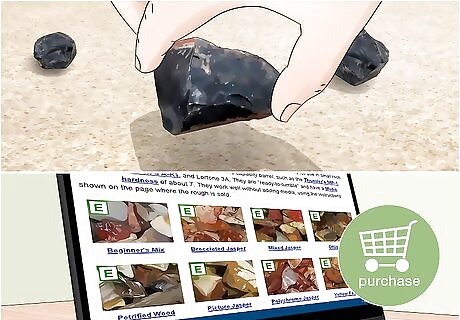
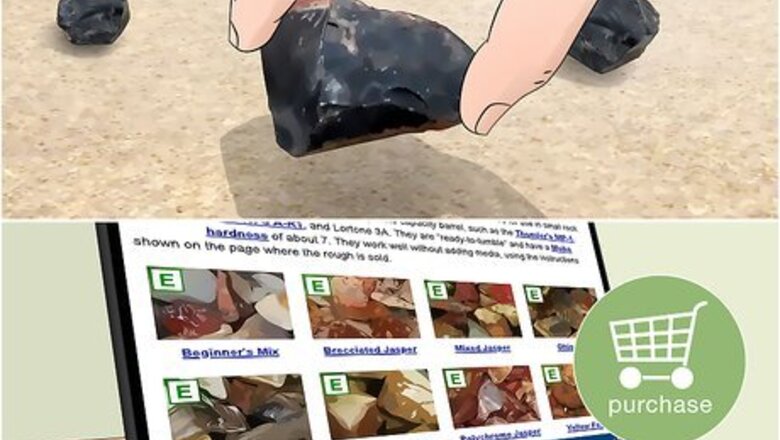
Collect your stones in person or online. You can go out and find stones on your own; look for small (thumb-sized) rocks that are not gritty (sandstone is never a good choice), and also are not fractured or broken. Also avoid rocks with stones with lots of small pits on the surface, as these will not polish well. If this is your first time polishing stones, it may be challenging to find high-quality stones on your own. You could try contacting a stone-collecting hobbyist groups in your area, and asking for their ideas about where to find stones to polish. There are many websites that can advise you and help with stone-collecting locations, and also plenty of sites that sell rough, unpolished stones in bulk. Amazon has a highly rated mix of stones available here.
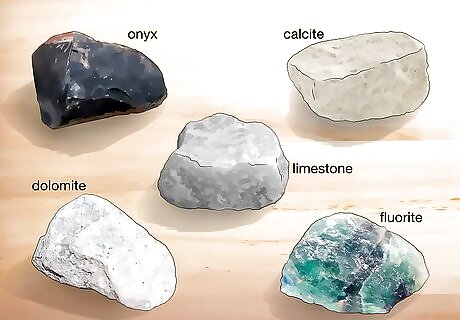
Find the stones that you'd like to polish. You will want to start with softer stones, as these are easier to shape and polish, and will take less time and work on your part. Softer stone types include: onyx, calcite, limestone, dolomite, or fluorite. Stones are ranked on hardness on the “Mohs hardness scale,” which ranks from 1 (very soft)–10 (very hard). Most of the stones listed above are a 3 or 4 on the Mohs scale.
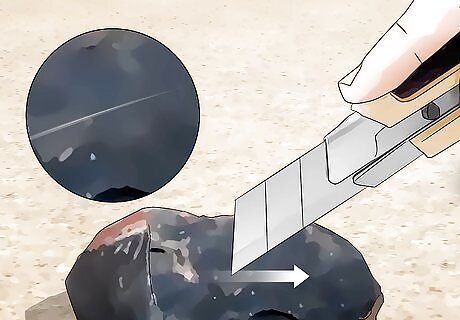
Scrape the stone with the point of a pocket knife. This will tell you if a stone is hard enough to be polished. If the scrape mark is gritty or white, the stone is too soft—you can still polish it, but its appearance will not improve. If the stone is left with a metallic mark from the knife blade, it is hard enough to polish. Be careful when using a pocket knife, and always scrape the stone with the blade moving away from your body. It doesn't take much pressure to scrape the stone's surface; start with light pressure on the knife, and only increase pressure as needed.
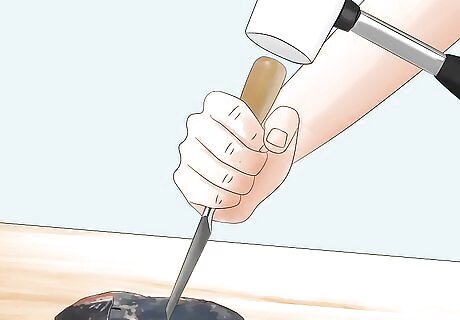
Shape the stone with a hammer and chisel. Often stones are in awkward or unwieldy shapes; in order to shape the stone to a rounded, symmetrical point, use a hammer and chisel. Especially if you are planning to polish a larger stone, you may want to break off any large protrusions. Since rock dust can be harmful to your lungs and eyes, it's recommended that you wear safety glasses and an air mask while shaping your stones. Once you have chiseled the stone into the desired shape, grind any rough edges against a concrete surface to roughly smooth the edges. You can find chisels on Amazon here.
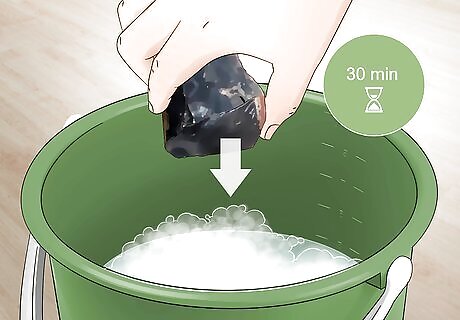
Clean all the dirt and debris off the stones. You can simply put all the rocks in a bucket of hot soapy water and let them soak for about 30 minutes. This will soften any dirt or material that have stuck onto the stone. Once the stones have soaked, rinse them off. It's necessary to clean excess dirt from stones before you polish them; otherwise, you'll clog up your sandpaper or tumbler with dirt and the stones won't be polished.
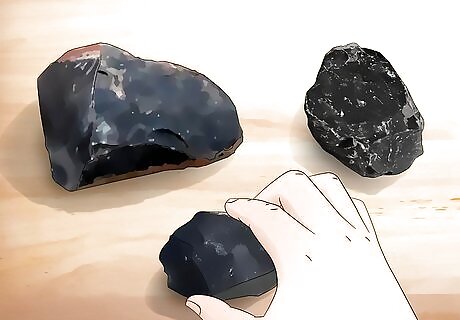
Choose the stone that you wish to polish first. It's recommended to pick the softest and smallest stone for the first time you practice polishing. A smaller, softer stone will be quicker and easier to polish. Once you see the final results, it will entice you to continue with this hobby.
Polishing Stones by Hand
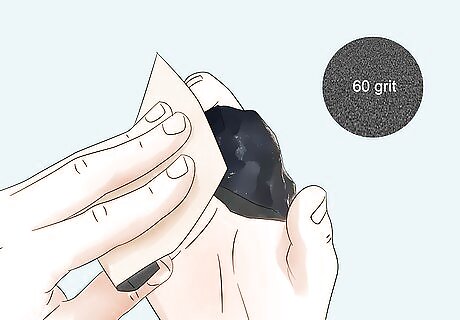
Take the 60 grit sandpaper and rub it across the stone. This rough, course-grain sandpaper will not polish the stone at first, but it will allow you to shape the soft stone slightly. If you are going for a nice round stone, start at the corners and rub them down evenly. Once you have your stone shaped like you want, you're ready to use a finer-grain sandpaper. Periodically, dip the stone into your bucket of water to keep the stone wet. Sandpaper is available from your local hardware store or online here: 60 grit, 160 grit, and 360 grit.
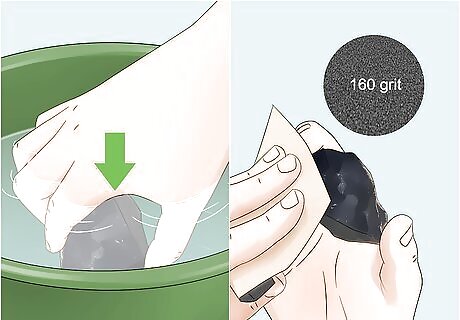
Dip the stone in the water again. Now use the 160 grit of paper and rub over the scratches the coarser paper left behind. You will notice that this grit of paper will still scratch the stone, but will smooth the larger scratches on the rock surface. Remember to keep the stone wet; dip it in the bucket periodically. When all the larger scratches have been removed; proceed to the next step.
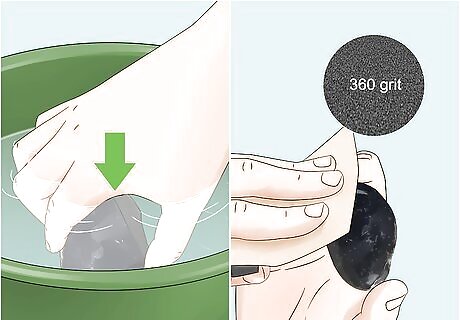
Take the 360 grit and continue rubbing your stone. As in the previous step, you want to smooth the stone even more. Each successively finer-grained sandpaper will sand out the large scratches from the larger-grain paper, and will leave smaller scratches on the stone. Continue to rinse off the rock periodically. It's important that the rock surface be damp when you are sanding it. You will be finished once all scratches from the previous sanding have been smoothed over.
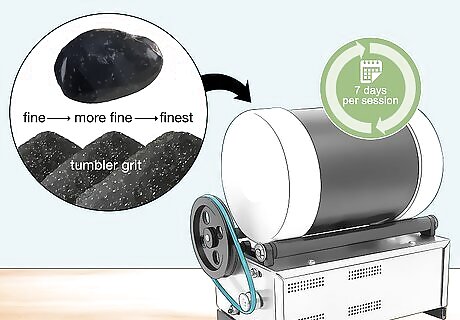
Polish your stones with a tumbler. If you don't have the time or inclination to polish stones by hand, you can use a tumbler. A tumbler polishes stones by using the same principles; instead of sandpaper, you will need to add successively finer “tumbler grit” to the tumbler (while the rocks are in the barrel). Three highly rated tumblers available online are this Dan&Darci kit, this National Geographic kit, and this Kome Stone kit. Although using a tumbler takes much less physical work than polishing by hand, the process takes substantial amounts of time. You'll tumble your stones three times (each with a successively finer grit), and each of these tumbling sessions takes about 7 days. The final polishing step takes 7 days as well. EXPERT TIP You can polish several rocks in a tumbler, as long as they're all of relatively the same hardness. Kennon Young Kennon Young Certified Jeweler Kennon Young is a Gemological Institute of America (GIA) Graduate Gemologist, an American Society of Appraisers (ASA) Master Gemologist Appraiser, and a Jewelers of America (JA) Certified Bench Jeweler Technician. He received the highest credential in the jewelry appraisal industry, the ASA Master Gemologist Appraiser, in 2016. Kennon Young Kennon YoungCertified Jeweler
Finishing Your Stones
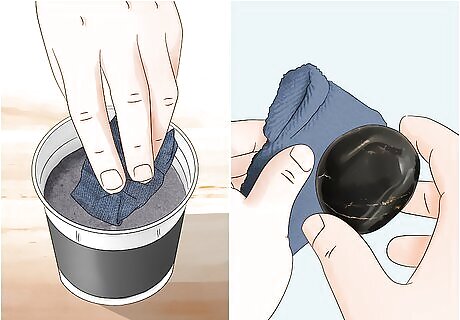
Apply a powdered polish like this one onto a damp denim cloth. Start polishing the stone with the denim until you have achieved your desired result. A polish will remove all scratches left by the finest-grain sandpaper, and give the stone a shining lustre. You don't have to put a lot of polish on the cloth; it's best to start with a small amount of the polish (e.g. ½ teaspoon) and only add more polish if needed. Powdered stone polish will likely be available at your local hardware store. Polishing powder is often used with dremel tools, so if you're having trouble finding the powder, ask the sales staff if they stock dremels. If not, you may need to go to a rock or gemstone hobby store to find the powder. Be advised that colored polish will sometimes effect the color of the stone.
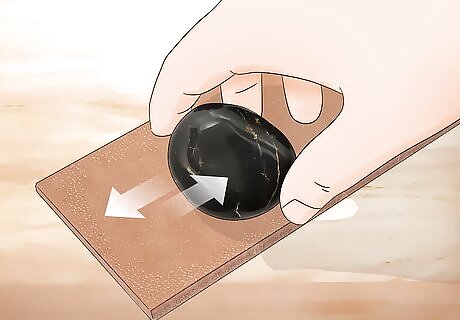
Polish your stone with a strip of leather. This can be done after you use the denim and polishing powder, or done in its place. Leather will add a softer lustre to the stone, and also make the stone smooth and soft to the touch. You can find leather scraps online here. You can add polishing power onto the leather itself, for both a smoother and softer finished product.
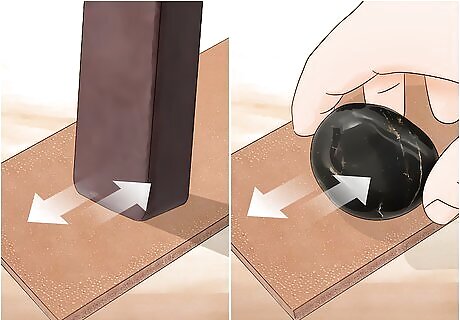
Apply a rouge to the polished stone. Rouges are typically used by jewelers to provide a finishing touch on fine jewelry, but they can be applied to polished stones as well. Apply the rouge to the denim cloth or leather strip that you used earlier, and then rub it into your polished stones. Be advised that this step is optional. Rouges are often colored, and can stain the tone of your stone. If you apply a rouge, look for a color that already matches that of your stone. If you have trouble finding a rouge at your hardware store, check at a rock and gemstone hobby store. If that fails, try a jewelry store.




Comments
0 comment