views
Labeling Your Binder
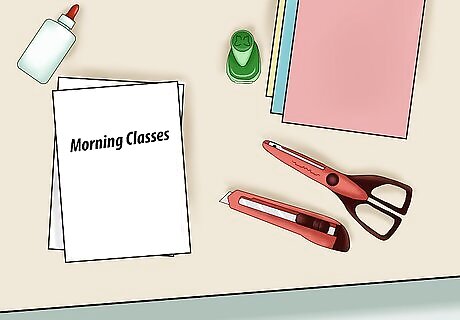
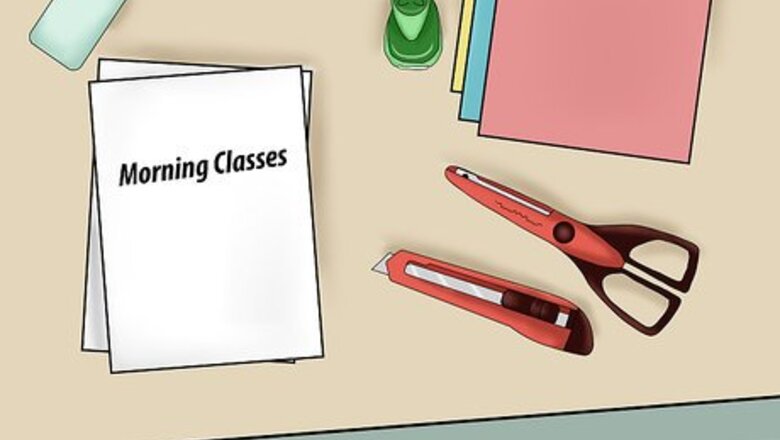
Create a cover page. A cover page helps to distinguish one binder from another binder. At the very least, the cover page lists a title. If your binder only holds papers for one course, this title may be the title of the course. If you are using the binder for multiple classes, you may wish to create a more general cover page. Label the binder “Monday/Wednesday/Friday Classes” or “Morning Courses.” You may also wish to include your name or the semester. There are several ways to create a cover page: Download a cover page from the internet and personalize it with your information. Design your cover page using word processing or design software. Make a cover page from scratch—use scrapbook paper or cardstock, permanent markers or coloured pencils, and stickers or stencils.
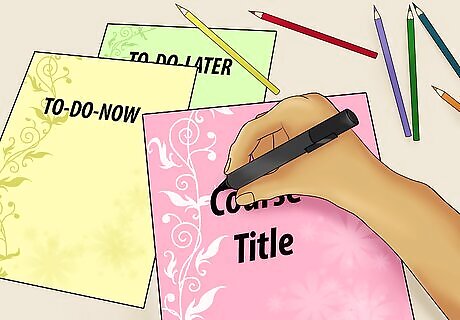
Create section dividers. Section dividers distinguish one section from another section. Create one section divider per course, a “To-Do Now” section divider, and a “To-Do-Later” section divider. Divide the sections with a labelled and or decorated piece of paper. There are several ways to create a subsection divider: Download a template from the internet. Use word processing or design software to design your section divider. Experiment with cool fonts and add clipart or pictures from the internet. Make a section divider from scratch—use scrapbook paper or cardstock, permanent markers or coloured pencils, and stickers or stencils. You may wish to include the following information on your course section dividers: Course title(s), classroom number(s), the name(s) of your professor(s) or teacher(s), and the semester or school year. Label the two “To-Do” section dividers “To-Do Now” and “To-Do-Later.”
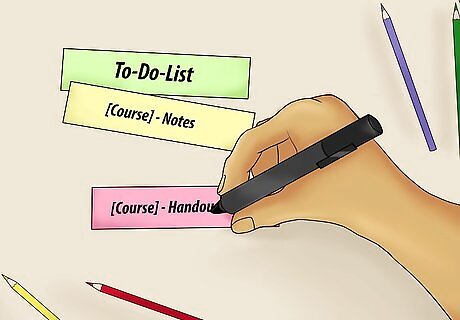
Label your tab dividers. Tabs are labels that protrude from a piece of paper that serves as a divider. They allow you to easily locate and turn to a specific point in your binder. Each tab represents one subsection. You will need two tabs per course and one tab for your “To-Do” section. Label the first tab for each course, “[Insert Course Name] Handouts.” Label the second tab for each course, “[Insert Course Name] Notes.” Label the “To-Do” section tab, “To-Do List.” You may use a permanent marker, label maker, or printer to label your tabs.
Organizing Your Binder
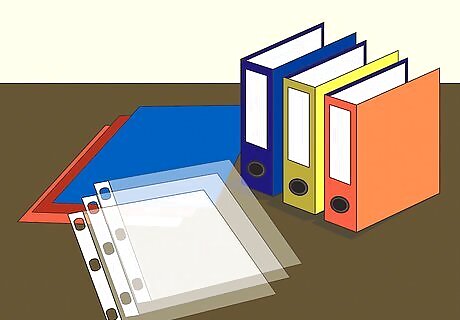
Get a three-ring binder. Choose a size that is best for you. Binders can be 1 inch, 2 inches, 3 inches, or 5 inches. If you are using the binder for more than one class or subject, get a 3 or 5-inch binder. Get the 1 or 2-inch binders if you plan to use separate binders for each of your classes. Do whatever works best for you. Either method is fine.
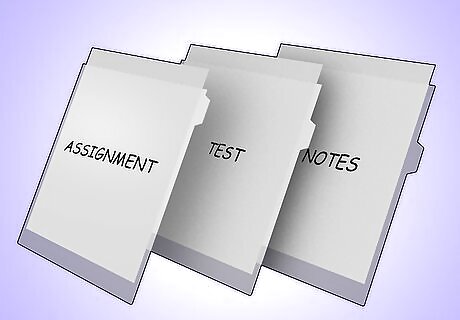
Gather your papers. Get all of the papers for the classes that you need to put in your binder including your syllabus, notes, assignments, homework, class requirements, etc. Separate the papers by class/subject and the type of paper (e.g. science notes, science homework, math syllabus, etc.). Place each in a separate pile. This will make it easier to place the times in your binder. Use a 3 hole punch to put holes in all of your papers that will go in your binder.
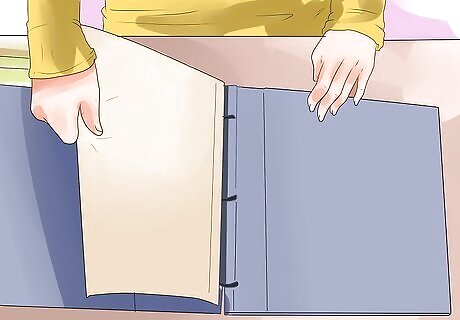
Add paper dividers. Dividers are used to create separate sections in your binder. The sections should match the type of papers that you have for your class. For example, have a notes section, homework section, projects section, class information section, etc. Label each divider tab and then place it on top of the corresponding papers. You can write on the divider tab or use the computer to type and print the section names. Your teacher may have specific instructions for the sections that you need to include in your binder. Check with your teacher before you label your dividers. You have some options for dividers. Some dividers have pockets that you can slide papers into if you have a few papers that you do not want to punch holes in.
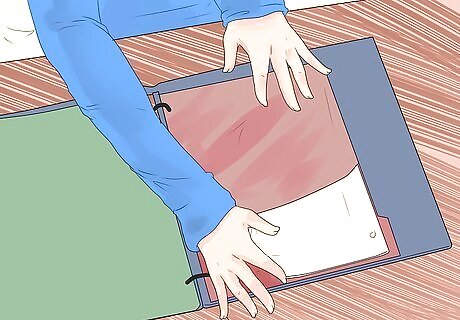
Assemble your binder. Once your papers are sorted and your dividers have been made, put them in your binder. If you are using a single binder for all of your classes, it may be helpful to put the dividers in the same order as your daily schedule. However, organize the sections in an order that makes sense to you. Keep extra notebook paper in the back of your binder in case you need it. Always date new papers that you add to your binder. It might help to place a clean label along the outside of your binder, especially if you have more than one.
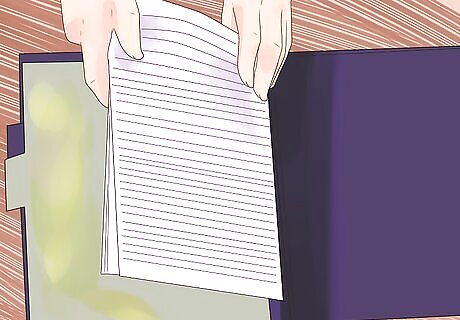
File papers as soon as you get them. Go ahead and file your papers as soon as you get them. It can be easy to drop papers in your backpack or lose them between home and school. Make a habit of filing them in your binder as soon as you get them. This will help you avoid misplacing papers and stay organized.
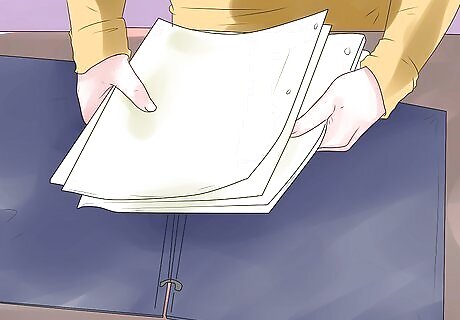
Clean out your binder regularly. Your binder can become cluttered with papers that you do not need anymore or old completed assignments. Go through your binder periodically to keep it neat. Set a time (e.g.every grading period, once a quarter) for how often you will clean out your binder. As you go through your binder, look for torn holes. You want to repair them so you do not lose the paper.
Improving Your Organizational Skills
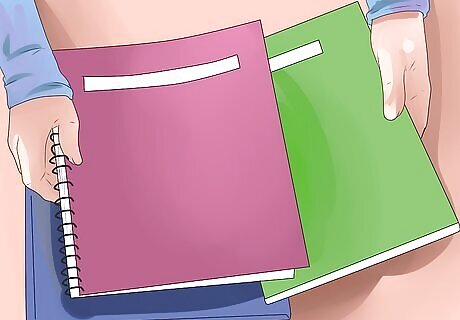
Use an assignment book or planner. Keeping all of your assignment due dates in one place will help you turn in your work on time and help you keep up with multiple classes. Write down both the day your assignment is assigned and the day that it is due. Check off assignments as you finish them. If you have not finished an assignment yet, continue to add it to the following day until it is complete. You can keep your assignment book/planner in one of your binder pockets. Look ahead in your planner to see when everything is due. Read your planner at the end of each day so you know what you need to take home with you.
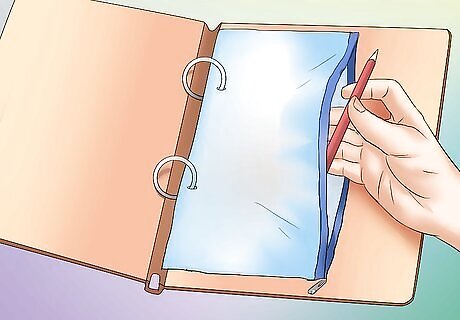
Get a pencil bag. A pencil bag with holes can also be included in your binder. Put pencils, pens, erasers and other small items in the bag. It is easier to stay organized when everything you need is in one place.
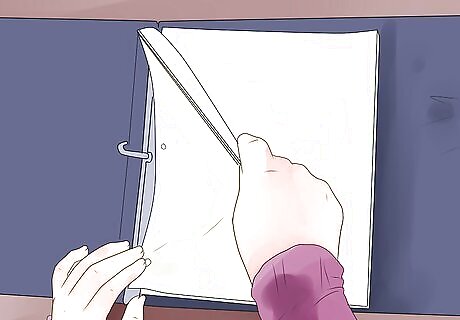
Have a catch-all folder. You may not always have time to file your papers neatly in your binder throughout the day. Keep a special folder for items that need to file. At the end of the day, file all the papers in your binder. This will keep your papers from getting crumpled in the bottom of your backpack and keep you from forgetting the papers altogether.

Get a buddy. Have a buddy in each of your classes that you can call in case you forget an assignment or have questions about something. Check-in with this person at the end of class to make sure you both have written down your assignment information correctly. You can also ask the person what he or she is taking home from school that day. You can also share pens and pencils with your buddy if one of you forgets. Trade phone numbers with your buddy in case you need to call them when you get home.

Consider using an organizational app. In addition to having your binder, you can try using an app to help you organize all of your assignments. homework Student Planner and Studious let you keep track of your class schedules, due dates, and reminders for assignments and are more suited for college students. Complete Class Organizer, EpicWin, Chore Pad HD, iHomework, and reward chart Lite are good for children and adolescents. These apps should be used in combination with your binder and are not a substitute.

Ask for help. If you are struggling to stay organized or feel overwhelmed by all of your assignments, talk to your teacher and/or parent. They can help you organize your binder. Many students can stay organized once a good system has been set up. Do not be afraid to speak up. It takes time to learn good organizational skills.




Comments
0 comment