
- One of the best and simplest tools for opening RAR files on a Mac is a free app called The Unarchiver.
- If you can’t install apps on your Mac, free online tools like the B1 Online Archiver or Archive Extractor are good alternatives.
- You can also extract RAR files in the command line using Terminal, but you’ll need to install some third-party tools first.
Using The Unarchiver

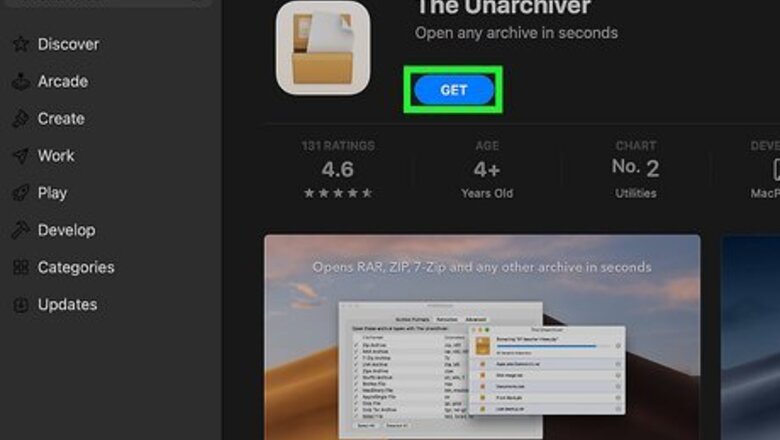
Download the Unarchiver application. The Unarchiver is a free app that allows you to quickly and easily open RAR files on your Mac. To download it, do the following: Open your Mac's iPhone App Store Icon App Store. You can find it by clicking the Launchpad in the Dock at the bottom of your screen (the icon looks like a grid of colorful squares). Click the search bar in the upper-left side of the App Store window. Type unarchiver into the search bar, then press ⏎ Return. Click Get below the "The Unarchiver" heading. Click Install App below the "The Unarchiver" heading when prompted. Enter your password or verify your identity with Touch ID if prompted. You can also download the install file directly from https://theunarchiver.com/.

Open Launchpad. Click the Launchpad icon. It's usually found in the Dock at the bottom of your Mac's screen.

Click The Unarchiver to launch the application. If you don’t see it right away when you open Launchpad, go to the last screen by clicking the dots at the bottom of the grid of apps, or search for unarchiver in the search field at the top of the screen.
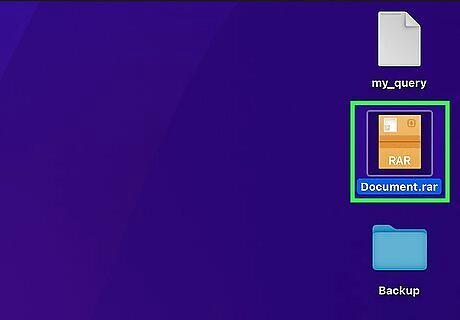
Select a RAR file and Ctrl-click it. Go to the location of a RAR file which you want to open, then Ctrl-click the RAR file. A menu of options will open up. If you are trying to extract a multi-part RAR file, start with the ".rar" or ".part001.rar" file. All the parts should be in the same folder.

Select Open With. A pop-out will appear. You can also find Open With by clicking the RAR file to select it, then opening the File menu at the top of your Mac’s screen.
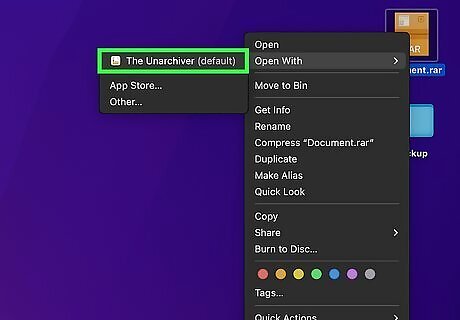
Click The Unarchiver. It's in the pop-out menu. Doing so will prompt your RAR file to open in The Unarchiver, which will begin extracting the RAR file's contents into the RAR's folder. If the RAR file is password-protected, you'll be prompted to enter the password before the files can be extracted. Once the file is extracted, a dialog box will pop up letting you know it is finished. Currently, at the top of this box is a message inviting you to click a Stand with Ukraine button. You will see the message that your file has been extracted underneath that message in small print. Click the magnifying glass symbol next to the “[file name].rar extracted” message to open the location of the extracted file.
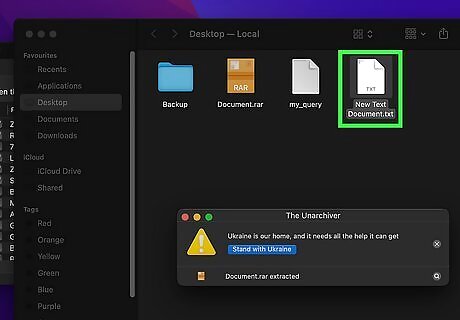
Open the extracted file(s). By default, The Unarchiver will extract the RAR's files into the same folder in which the RAR file was located. For example, if the RAR file was in the Desktop folder, you'll find the extracted files there.
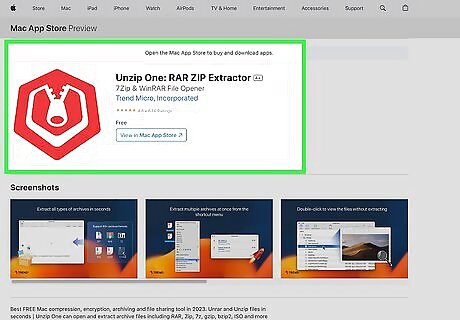
Try other third-party apps if The Unarchiver doesn’t work. There are a variety of apps available that claim to unarchive RAR files. If you’re having trouble using The Unarchiver, or if you want an app with more advanced options, consider one of these alternatives: Unzip – RAR ZIP 72 Unarchiver. This is a free app with thousands of positive reviews. It can both archive and unarchive files in a variety of formats. Unzip One: RAR ZIP Extractor. This app is also free and well-reviewed. It claims to be able to securely extract all common archive formats. RAR Extractor – Unarchiver. Despite the title, this app also extracts many other types of archive files, including ZIP, TAR, and PKG. Users claim that it is fast and easy to use.
Using Online Tools
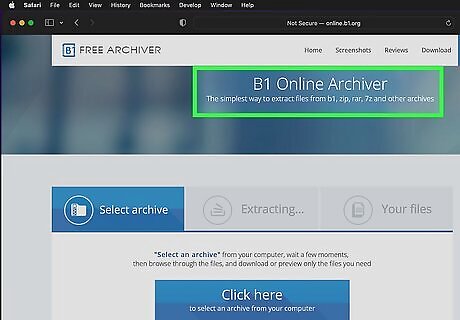
Try one of these options if you don’t want to install an app. If you prefer to completely avoid installing any new apps on your Mac, you can extract your RAR files with one of these online tools. These resources are also a great option if you’re using a computer where you don’t have the administrative privileges to install new apps. Most of these websites are free to use. Some popular options include: B1 Online Archiver Archive Extractor Unzip Online
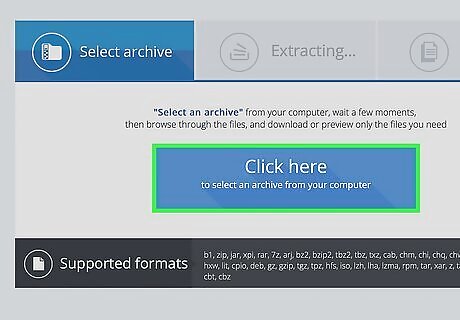
Upload your file to the website. To use an online extractor, you’ll need to upload the RAR file from your computer, extract it, and then download the contents. Follow the instructions on whichever site you choose to upload the file. You’ll probably need to click a button that says Choose file, Click here to select an archive, or something similar. Browse your Mac to find the file you want to extract. Follow the prompts to complete the process of extracting the file.

Download the extracted file(s). Once the extraction process is done, you’ll need to download the file or files you want. If there were multiple files inside the RAR, you may be given the option to select individual files or download all of them.
Using Terminal

Launch the Terminal app. If you don’t want to install a third-party app from the App Store for whatever reason, you can set up Terminal to open RAR files from the command line. This is kind of complicated to set up, but once you’ve done so, it’s quick and easy to extract RAR files this way. Start by opening Mac Terminal Terminal on your Mac. The easiest way to find Terminal is to use the keyboard shortcut Command + space bar and type terminal into the Spotlight Search bar. This method will still involve installing some third-party software on your Mac, but you can do it all through the Terminal interface.
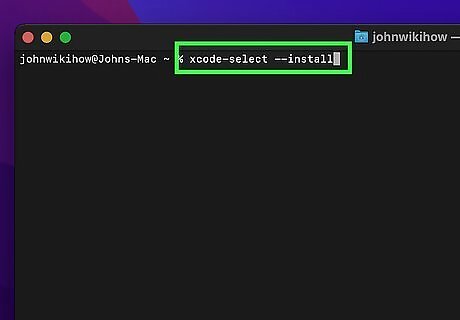
Type the command xcode-select --install. Press ⏎ Return to confirm the command. This will start the process of installing Apple’s Command Line toolkit, which you’ll need to use to install Homebrew.

Click Install. A window will pop up asking if you want to install the command line developer tools. Click Install to confirm. You’ll be prompted to agree to the Command Line Tools License Agreement. Click Agree to continue. Wait for the software to download and install. This may take several minutes. Click Done once the installation is complete. If you’ve already installed the Command Line Tools in the past, you will see an error message.
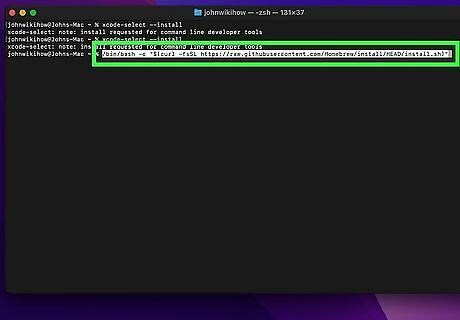
Run the script to install Homebrew. To install Homebrew, type or copy and paste the following command and press ⏎ Return: /bin/bash -c "$(curl -fsSL https://raw.githubusercontent.com/Homebrew/install/HEAD/install.sh)" Enter your administrator password and press ⏎ Return when prompted, then press ⏎ Return again. It may take a while for the installation to complete. If you’re using MacOS Catalina or above, you’ll need to switch to the bash shell first for this to work. To do this, enter the command chsh -s /bin/bash, enter your computer’s administrator password, then restart Terminal before entering the code above.

Enter the specified commands to add Homebrew to your PATH. You may see a warning saying that Homebrew is not in your PATH. If this happens, don’t worry. You’ll see a message instructing you to run the following two commands: (echo; echo 'eval "$(/opt/homebrew/bin/brew shellenv)"') >> /Users/[your username]/.zprofile eval "$(/usr/local/bin/brew shellenv)" Type or copy and paste each command and press return to execute it.
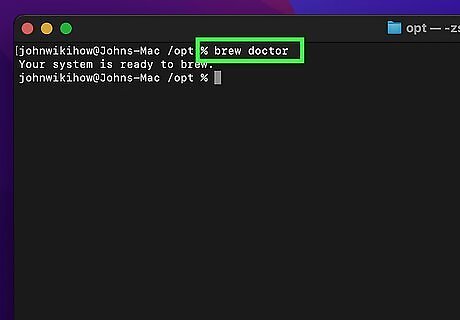
Type the command brew doctor to test the installation. If it installed successfully, you’ll see a message saying “Your system is ready to brew.” If you get a warning message saying the installation didn’t work, check out the troubleshooting tips here.

Enter the command brew install rar. This will install the tool you’ll need to extract RAR files from the command line. Type in the command and press ⏎ Return. Some sources will tell you to use the command brew install unrar, but this no longer works. Using the brew install rar command will allow you to both create and extract RAR files.

Type the command unrar x filename.rar. Make sure to use the actual name of your RAR file in the command. Press ⏎ Return to execute the command. If the file extracts successfully, you’ll get a message saying “All OK.” You should see the extracted file(s) in the same directory as the RAR file. Important: Make sure the file you want to extract is in the right directory (typically home/username), or the Unrar tool won’t be able to find it. For example, if it’s in your Downloads folder or in iCloud, you’ll need to move it. You may get a security alert saying that the command couldn’t be run because “Apple cannot check it for malicious software.” If this happens: Click OK in the warning popup. Click the Mac Apple Apple menu and select System Settings or System Preferences. Click Privacy & Security in the sidebar menu. Scroll down to the Security heading and look for a message about the attempt to open unrar. Click Allow Anyway. Verify with Touch ID or your administrator password. Run the command again. This time, click Open in the popup warning.


Comments
0 comment