
views
- To insert a line break in Microsoft Word, click a space in the document. Hold "Shift" and press "Enter".
- Holding "Shift" removes any gaps created by pressing "Enter" alone.
- To insert a visible horizontal line, enter three dashes (-) and press "Enter".
Using a Keyboard Shortcut

Click or tap where you want a line break. You should see the blinking cursor in the line. If you don't have a Word document open, open one now. Microsoft Word is available to install for Windows, Mac, iOS, and Android.
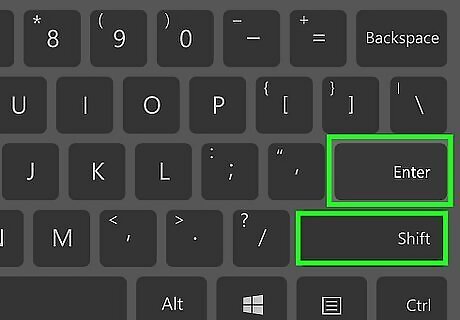
Press ⇧ Shift+↵ Enter. This keyboard shortcut will enter a line break. If you're using a mobile device, Shift usually looks like an up-arrow. A line break ends the current line and continues onto the next. Holding Shift removes any gaps created by pressing Enter alone.
Inserting a Horizontal Line
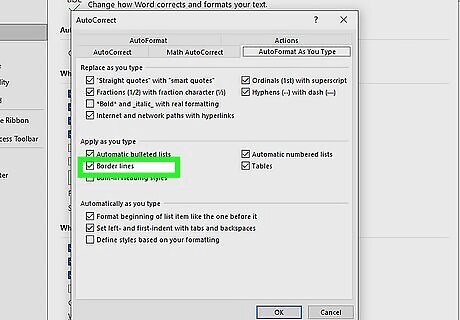
Enable AutoCorrect. By default, this should already be enabled. If it's disabled, do the following: Click File. Click Options. Click Proofing. Click AutoCorrect Options. Check the box for Border Lines. Click Apply.

Click or tap where you want a line break. You should see the blinking cursor in the line. Use this method to insert a solid, dotted, or stylized line to separate other lines of text.
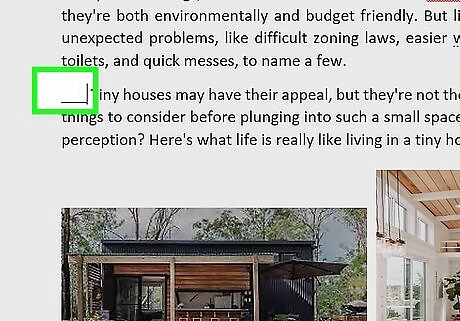
Type ---+↵ Enter. This is three dashes followed by the Enter key. This converts the dashes into a solid line. AutoCorrect will automatically create a solid line directly beneath the previous line of text. You can also use different characters for different line styles: Thin line: Three hyphens (-). Thick line: Three underscores (_). Double line: Three equal signs (=). Dotted line: Three asterisk (*). Triple line: Three pound signs (#). Squiggly line: Three tildes (~).


Comments
0 comment