views
Designing the Game
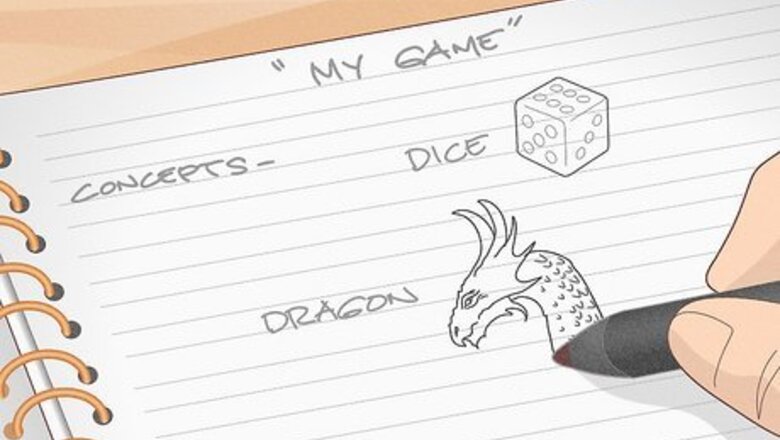
Write down your ideas. You never know when the perfect inspiration is going to hit. You may find that combining two different ideas makes a neat new game concept. Keep a log of ideas in a notebook, on your computer, or in a note-taking app on your phone. It might be particularly useful for you to keep your note-taking tools handy when you’re at game night. Playing games might spark the perfect idea for your own game. When using store-bought games for inspiration, ask yourself, “What would I do to improve this game?” This question can often lead you to interesting innovations.
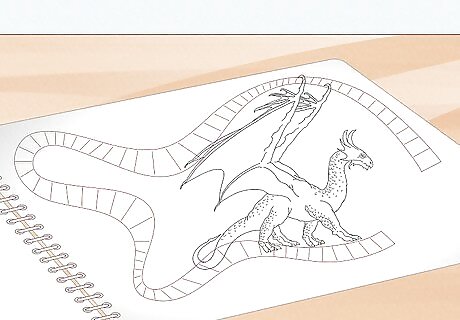
Develop your game with a theme. Themes are the “feel” of a game and can also be referred to as the game’s “genre.” Games like Sorry! have a simple "race to the end" theme. Complex wargames have conflicts, player politics, and game piece placement strategy. You might find inspiration for the theme of your game in your favorite novel, comic book, or TV series. Mythology and legends are often used when developing themes. Common elements include vampires, witches, wizards, dragons, angels, demons, gnomes, and more.
Use mechanics to develop your game, alternatively. Mechanics are the ways players interact with the game and each other. In Monopoly, the mechanics are centered around dice-rolling, buying/selling property, and making money. The mechanics of Axis & Allies involve moving pieces across a large board and resolving player conflicts with dice rolls. Some people come up with a mechanic and then create a theme around it, while others come up with a great theme and then tailor the mechanics to match that theme. Experiment to find what works best for you. Common mechanics you might be interested in using include turns, dice rolling, movement, card drawing, tile laying, auctioning, and more.
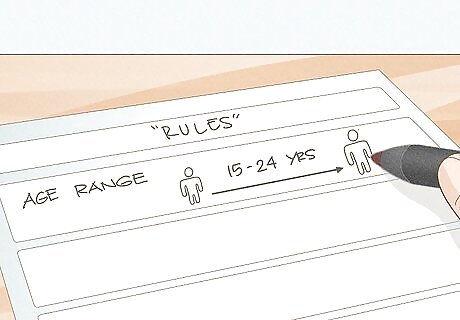
Determine the age range of your players. The age range of your players will influence the complexity of your game board and its rules. If you are designing the game for children, it’s better for your game to be simple, easy to understand, and fun. For adults, you could create something more competitive, exciting, and complex. Keep your theme in mind when you’re deciding the age range. A zombie hunting game won’t be suitable for children, but it might be perfect for adult fans of zombie TV shows.

Set player, time, and size limits for your game. Some games are limited by the size of the board, the number of player tokens, or the number of cards. Game board size and the number of cards will also influence how long it takes for players to complete your game. When setting these limits, think about: The number of players your game will support. Will the game be fun with just two players? How about with the max number? Will there be enough cards/tokens? The average length of your game. Additionally, the first playthrough generally takes longest. Players will need time to learn the rules. The size of your game. Large game boards and decks will usually add complexity and lengthen the game time, but this will also make your game less portable.
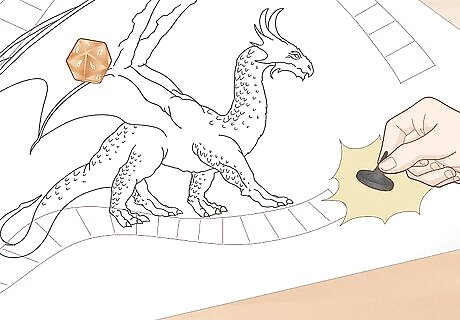
Decide how players will win. Once you have the basic ideas behind your game written down, ask yourself, “What are the winning conditions of this game?” Consider the different ways that the player could win, and keep these in mind as you work on the game. Race games have players hurry to the end of the board. In these games, the first player to reach the final square wins. Point-gain games require players to accumulate awards, like victory points or special cards. At the end of the game, the player with the most awards wins. Cooperative games involve players working together toward a common goal, like repairing a gnomish submarine or stopping a virus outbreak. Deck-building games rely on cards to move gameplay along. Players earn, steal, or trade cards to strengthen their hand to accomplish the game’s goals.
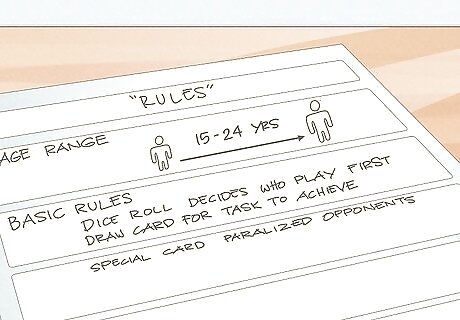
Write out the basic rules. These will undoubtedly change as you continue to develop your game, but a basic set of rules will allow you to begin testing quickly. When writing your rules, keep the following in mind: The starting player. Many games choose the first player by having players roll dice or draw cards. The highest roll or card goes first. The player phase. What can players do during their turn? To balance turn time, most games only allow one or two player actions per turn. Player interaction. How will players influence each other? For example, players on the same square might “duel” by rolling for the highest number. The non-player phase. If there are enemies or board effects (like fires or floods), you’ll need to establish when these operate during gameplay. Outcome resolution. Outcomes might be decided with a simple roll of the dice. Special events might require specific cards or rolls (like doubles).
Making a Prototype
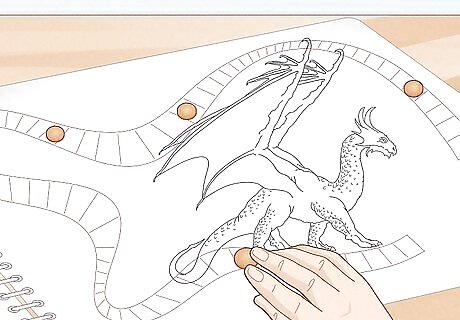
Use prototypes to evaluate your game. Before you begin work on the finished product, create a rough prototype (test game) so that you can play around with it. It doesn’t have to be pretty, but a hands-on experience will help you to see if the basics work the way you planned. A prototype is a vital part of the game creation process, as it gets ideas out of your head and into the real world where you can evaluate them with other players. Hold off on adding artistic details until you begin assembling the final product. Simple, pencil-drawn game boards and cards will allow you to erase and make adjustments as necessary.
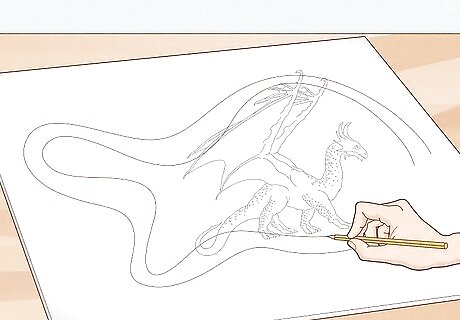
Sketch a rough draft of your board design. This will give you a sense of whether your board is too large or small. Depending on the theme and mechanics of your game, your board may or may not include the following elements: A path. Simple games may have a single path that leads to a finish line, more complex path games may have splits or loops in the path. A playing field. Games that have a playing field do not have a set path. Instead, players move as they see fit through areas that are usually divided into squares or hexes. Landing positions. These can be depicted with shapes or images. Landing positions can have special effects, like allowing you to advance a square or draw a card.
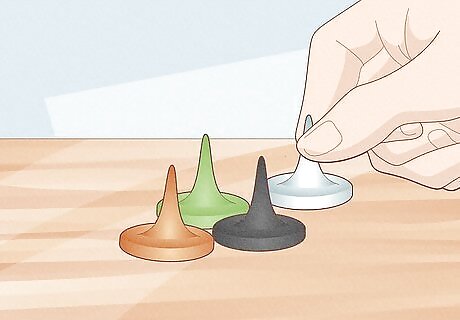
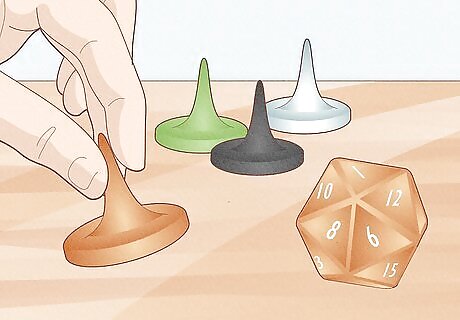
Assemble prototype game pieces. Buttons, checkers, poker chips, chess pieces, and knickknacks work well as prototype game pieces. Avoid using game pieces that are too large for your prototype, since these can make it difficult to read information written on the board. Game pieces can change considerably over the course of your game’s development. Keep prototype game pieces simple so you don’t invest a lot of time designing something that ends up getting changed.
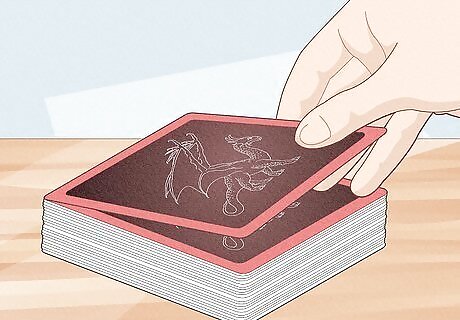
Use game cards to add variation. Randomly shuffled game cards will affect players in unexpected ways. A card often tells a quick story about an event that befalls a player and then changes their score/position/inventory accordingly. Decks have about 15 to 20 card types (like trap cards and tool cards). These types are limited to about 10 cards to a deck to create a balanced mix. Cards can have out-of-game requirements, like one that challenges a player to talk like a pirate for five minutes for a prize. Failed challenges may have a penalty.
Testing the Prototype
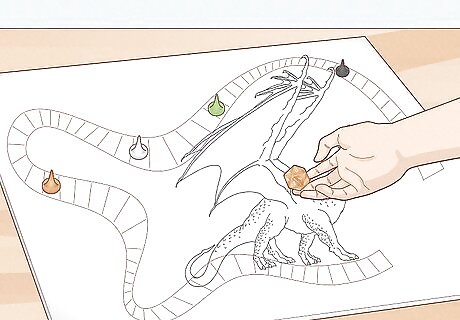
Test your prototype by yourself. Once you have all of the basics assembled for your prototype, you can start testing the game to see how it plays. Before trying it out on a group, play it by yourself. Play through the game as each player and record any positives or negatives you notice as you play. Solo test your game several times. Adjust the number of “players” as you do to determine whether or not your game actually supports the minimum and maximum number of players. Find flaws in your game by trying to break it while solo testing. See if it’s possible for players to always win with a specific strategy, or if there are loopholes in the rules that create an unfair advantage.
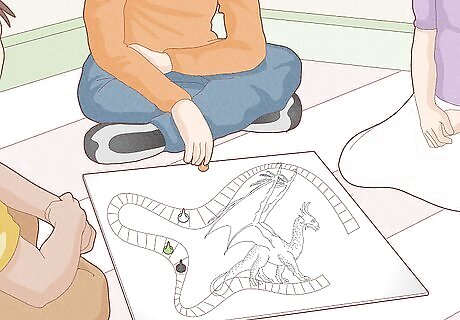
Test your game with friends and family. After you’ve solo played your game enough to work out most of the kinks, it’s time to playtest. Gather some friends or family and explain that you’d like them to test your game. Let them know that it's a work in progress and that you’d appreciate any feedback. During playtesting, avoid adding any additional explanations. You won’t always be able to clarify the rules. Take notes while the game is being played. Be alert for times people don’t seem to be having fun or the rules get confusing. You’ll likely need to improve these areas. Pay attention to players’ ending position. If one player is consistently ahead of the other players, there's probably an unfair advantage.
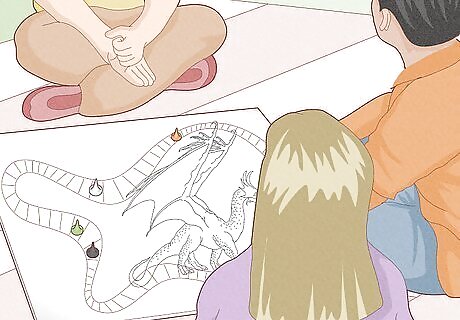
Switch up the test players for a better perspective of your game. Everyone approaches games differently, and some might see things missing that you wouldn’t have realized on your own. The more people you get to test your game, the more opportunities you’ll have to find flaws or weak points and fix them. Local hobby and game shops often have community games nights. These events are the perfect place to try out your game and get the opinions of veteran board gamers. A player’s age will likely impact how they approach your game. Try out the game with your younger siblings and grandparents to test its age appropriateness.
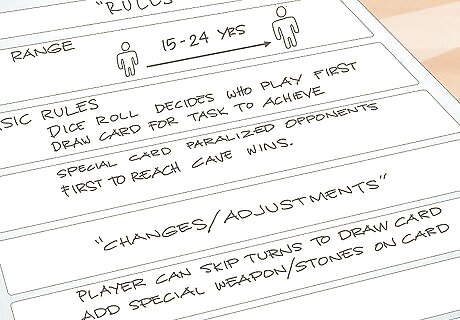
Refine your prototype throughout testing. As you finish each playtest, make necessary changes or adjustments to your game board, rules, and/or other components. As you continue to test, keep track of the features that you’ve changed. Some “improvements” may end up hurting more than helping.
Creating the Final Product
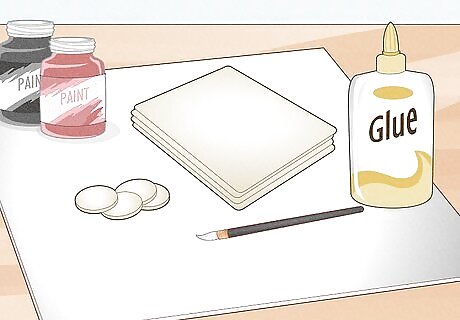
Make a list of needed materials. Once testing is complete and you're happy with your game, you can get started on the final version. Each game will have unique needs, so your materials may vary. Make a list of all the parts your finished game will require so you don’t forget anything. Board games are traditionally mounted on chipboard or binder board. These provide a durable backing that has a professional feel. You can use an old game board as the base if you’d rather not purchase anything. Glue paper over it or paint it to hide the old game’s layout. Durable cardstock is useful both for covering game boards and making game cards. Blank playing cards can be bought at most hobby shops. Simple tokens and counters can be made by cutting or punching circles out of cardstock.
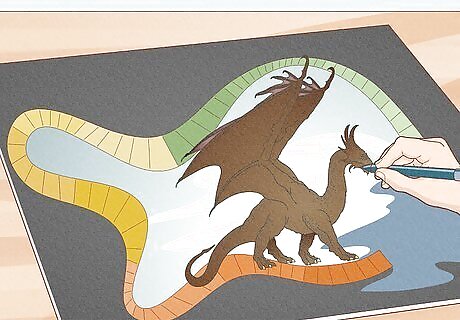
Illustrate your board. Your game board is the centerpiece of your board game, so feel free to get creative with the design. Make sure that the path or playing field is clearly marked and that all the instructions on the board are easy to read. Your imagination is the limit when decorating your board. Ready-made printouts, patterned paper, paint, markers, magazine cutouts, and more can be used to jazz up your board. A vibrant, colorful design will be more eye-catching to players. Color is also a great way of setting a mood. A vampire-themed game, for example, would probably be dark and spooky. Game boards are handled frequently and may become worn over time. Protect your hard work by laminating your board when possible.
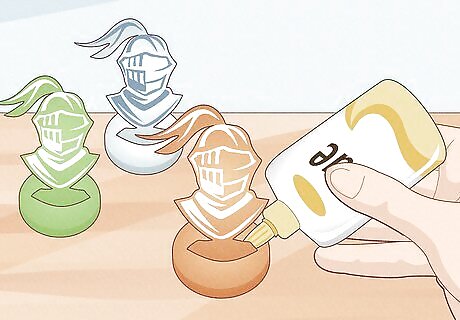
Create the game pieces. The simplest way of doing this is by drawing or printing images on paper and then taping or gluing them to a sturdy backing, like cardstock. If you are making a game for family or friends, you can even use real photos of players. If you want more polished looking game pieces, take your designs to a professional printer and have them printed on thick, high-quality stock. Fit your paper game pieces into plastic game card stands to give them a base. Plastic game card stands can be bought at most hobby stores and general retailers. Try using homemade chess pieces, figurines sculpted from polymer clay, or origami animals for game pieces.
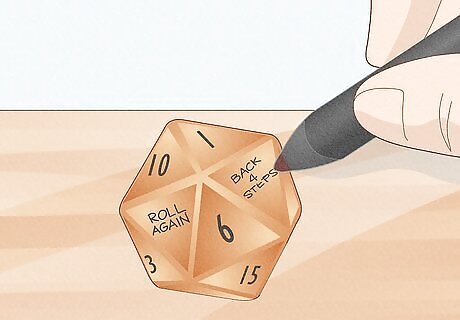
Repurpose old dice and spinners or create your own. If your game involves the use of dice or a spinner, you can use ones from store-bought games. Create your own spinner with cardboard, a pushpin, and markers. Stick the pin through the base of a cardboard arrow and attach it to the center of a circular piece of cardboard, then draw the spinner options on the cardboard circle. There are many different kinds of dice you can choose from. Dice with more sides will decrease the odds of repeated numbers. Spinners often use colors to determine player moves. For example, if you spin the arrow and it lands on yellow, your piece would advance to the next yellow square. Spinners are great for prize rounds. If a player draws a prize card or lands on a special square, they could use a spinner to determine their reward.
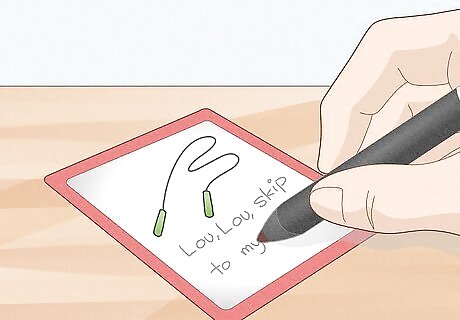
Write out your game cards, when necessary. Plain cards won’t likely capture the interest of players. Use graphics, creative descriptions, and witty one-liners to add some flavor to your deck. For example, a card that skips a player might be accompanied by the image of a jump rope and the text, “Lou, Lou, skip to my Lou…” Create your game’s cards using blank playing cards bought at a hobby shop to give your game a high-quality appearance. Homemade game cards can be made from cardstock. Use a normal playing card as a template when cutting so your cards are the same shape.
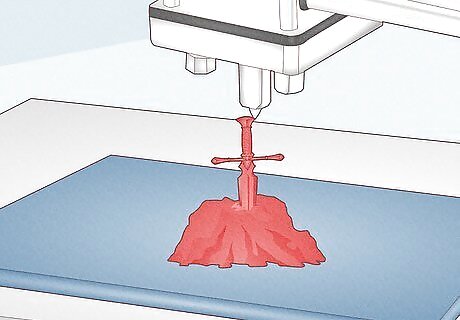
Look into 3D printing to add wow factor. If you really want to make your game stand out, you can look into getting 3D pieces, tokens, and/or boards printed. You will need to either find and learn to use a 3D printer, or submit a model to a 3D printing company (which yields higher quality models, at the expense of price and speed). Either way, the result will be custom models that look like they came from a store-bought game.


Comments
0 comment