views
Choosing a Design
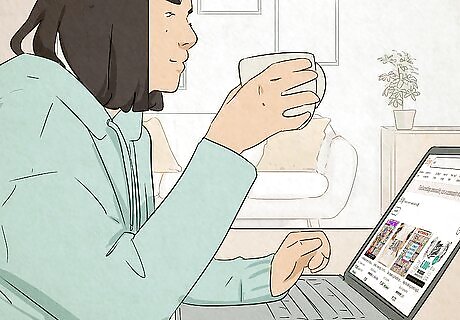
Check out what's trending in SVG files. If you want to create designs that will sell easily, it'll be helpful to find out which designs people are already buying. A few places to start: Etsy's own SVGs category: https://www.etsy.com/market/svgs The current top-selling SVGs on Etsy: https://www.etsy.com/search?q=svgs&explicit=1&order=most_relevant InsightFactory's Trending SVG list (a free account gives you some limited information that's still helpful): https://insightfactory.app/etsy-trends/?product_category=svg
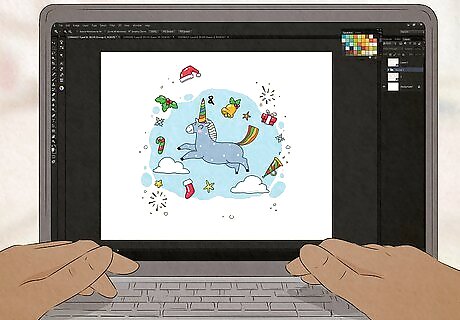
Select fonts and designs that are suitable for cutting. You'll need to make sure your design can be easily cut by a Cricut or similar cutting machine, which means you'll want smooth, thick lines. Avoid super narrow lines and rough grunge fonts. Want to see what your phrase idea will look like in different font styles? Visit https://wordmark.it to test it out!
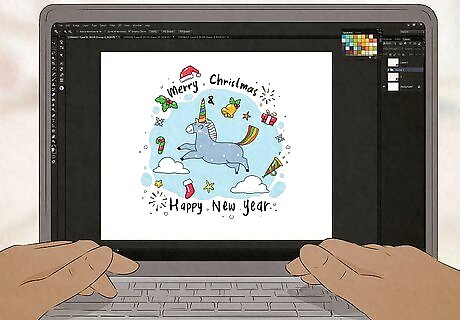
Only use royalty-free fonts. If you've already settled on a font, check its license to make sure it's free for commercial use. If you don't have the license file on your computer, search for the font's name online to find out who made it and check their website for license info. Here are a few places you can download royalty-free fonts you can use in your SVG files without worrying about copyrights: 1001 Fonts: https://www.1001fonts.com/free-for-commercial-use-fonts.html Fontspace: https://www.fontspace.com/commercial-fonts Fontbundles: https://fontbundles.net/free-fonts
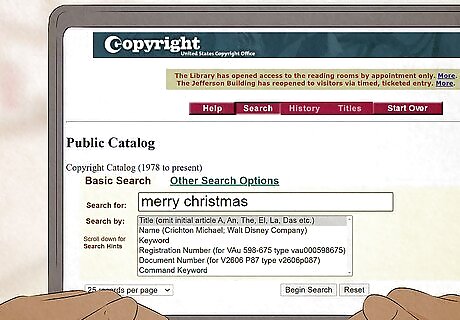
Check for copyrights and trademarked phrases. Don't try to sell somebody else's trademarked name or phrase—you're likely to get caught. If your design includes a phrase or group of words: Search for the phrase in the United States Copyright Office database: https://cocatalog.loc.gov/cgi-bin/Pwebrecon.cgi?DB=local&PAGE=First Search for trademarks in the United States Patent and Trademark Office database: https://www.uspto.gov/trademarks/search
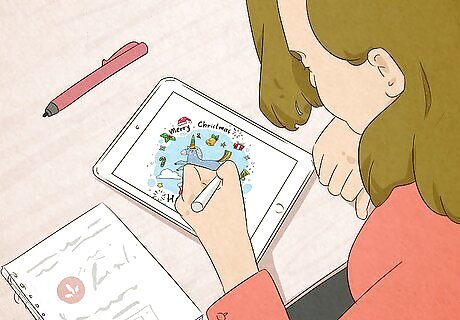
Create the design on your own. Creating your design from scratch ensures that the art you're creating is your own work. Don't begin with someone else's artwork and add your own touches—this can get you in trouble for copyright infringement. Alternatively, you can use royalty-free vector art. Here are few places you can find some downloads and/or ideas: Public Domain Vectors: https://publicdomainvectors.org VectorStock: https://www.vectorstock.com/royalty-free-vectors Pixabay: https://pixabay.com/vectors/
Creating an SVG File in Inkscape
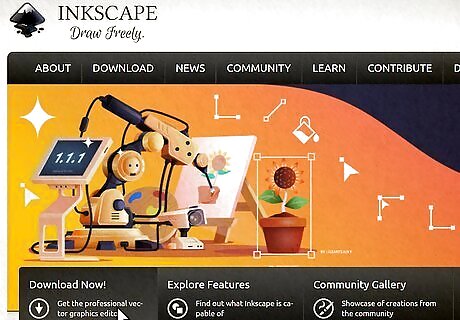
Install Inkscape on your PC or Mac. Inkscape is one of the most popular vector art creation apps, and it's also completely free. Even if you created your design in a raster-based editor (or downloaded a design in the BMP, PNG, or JPEG format), you can import it into Inkscape and use the tracing tools to convert it. If you haven't already installed Inkscape, you can download it from https://inkscape.org. Click the DOWNLOAD link at the top of the page, and then click the link for your operating system to start the download. To install Inkscape, just double-click the downloaded file and follow the on-screen instructions.
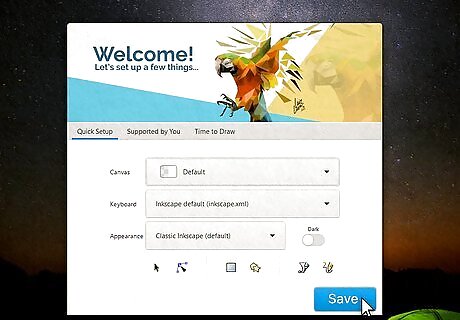
Create a new document in Inkscape. Here's how: Open Inkscape. On the Quick Setup screen, click the blue Save button. Click Thanks. Click the Print tab. Select the print size you want to work with. Doesn't worry—no matter which size you decide to work on, your final SVG file can be resized much larger or smaller without any quality degradation. That's the magic of vector images!
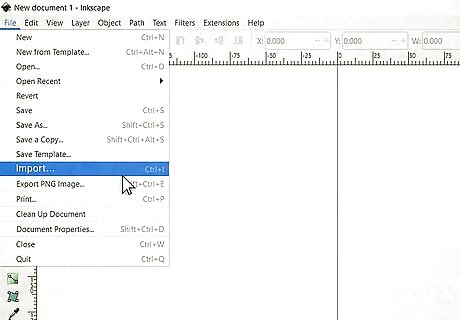
Import an existing image (optional). If you already have a design you created, you can import it into Inkscape and use the built-in tracing tools to transform it into a vector image. Images with smooth, thick lines will convert best. Here's how to get your image into Inkscape: Click the File menu. Click Import. Select All Bitmaps as the "Files of Type." Select the image you want to use and click Open. Select Smooth as the Image Rendering Mode and click OK.
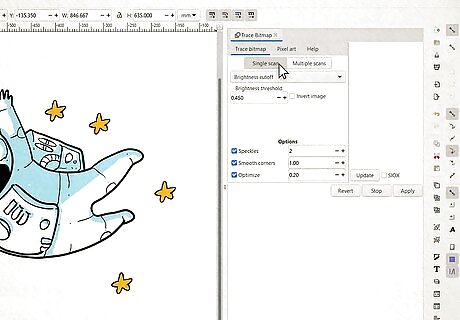
Use the tracing tools to trace an image you imported (optional). If you imported an existing image, here's how you can convert it to a vector so you can save it as an SVG: Click the imported image to select it. Click the Path menu and select Trace Bitmap… The options you choose will depend on the type of image you're converting. The goal is to create a simple black outline. Start by selecting Single scan and choose the Brightness cutoff option. Click Update as you work to see how your changes will look. Adjust the "Brightness threshold" menu until the image you want to use is just solid black lines where the cutter will cut them. Click Apply to place the outline over your image. Click and drag your original image away from the outline so the two are beside each other. Right-click the original image and select Delete so you're left with only the outline. The outline is the vector version of your drawing.
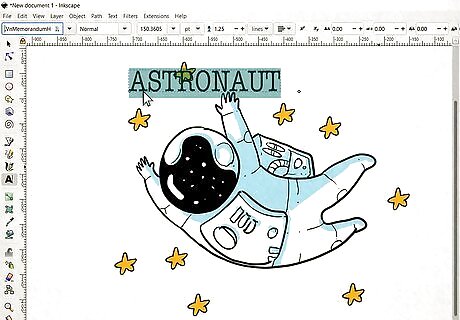
Add text. If you want to place some text on your image, it's really easy! Just click the text tool in the left panel, choose the font you want to use, and type your word or phrase anywhere you wish. To move the text, just click the arrow selector tool at the top-left, and then click and drag the text to the desired location. You can resize the selection by clicking it once and then dragging any of the arrows until it's at the desired size. To change the font, click the Text tool again, select the text, and choose a different font.
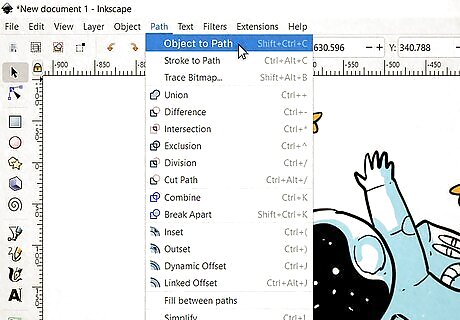
Convert the text to paths. After adding text, you'll have to do a quick conversion so the text you typed is on a path. Here's how: Click the text to select it. Click the Path menu at the top. Click Object to path on the menu. If you want to be able to move or resize letters in the word/phrase separately, you can click the Object menu at the top and select Ungroup. Now you can click and select letters individually. Regroup when you're finished by drawing a box around the entire word or phrase, click the Path menu, and then select Union.
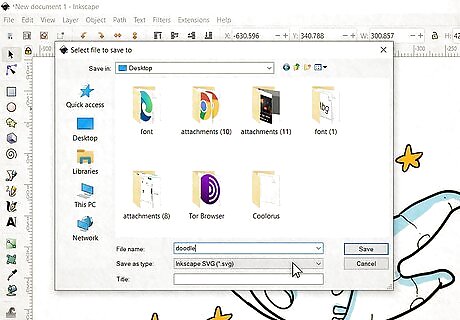
Save the file as an SVG. Now that you've created your image, it's time to export it. Here's how: Click the File menu. Click Save As... Select Inkscape SVG (*.svg) as the file type. Click Save.
Selling Your SVGs
Decide where to sell your SVGs. Etsy (https://www.etsy.com) is the largest craft marketplace, but it's not the only place you can sell SVGs. You can sell on Etsy as well as any of these marketplaces: Creative Fabrica: https://www.creativefabrica.com/open-store/ Design Bundles: https://designbundles.net The Hungry JPEG: https://thehungryjpeg.com Creative Market: https://creativemarket.com/
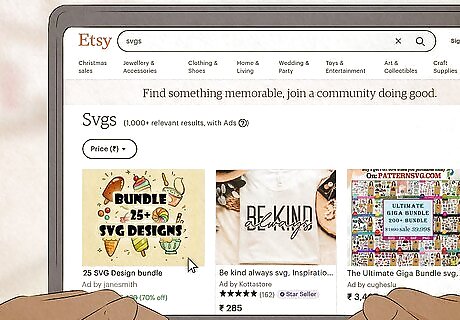
Consider creating a bundle of several SVG designs. As you may have noticed on all of the marketplaces, SVGs are commonly sold in packages of similar or themed styles. Create a cohesive set of SVG images a crafter could use on a number of different product types.
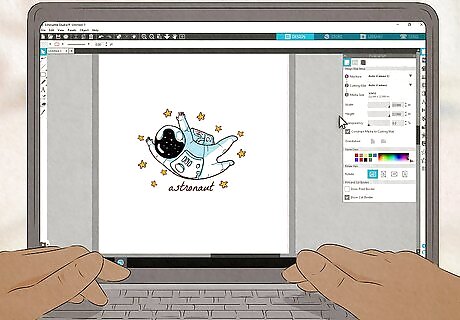
Test your SVG file in Cricut Design Space and/or Silhouette Studio before selling. Before you prepare your artwork to sell, you'll want to make sure the SVG file looks good in the apps people are most likely to use them in. You can test in one or the other, but both is best. If you see any inconsistencies, you can correct them in Inkscape before you create your package. You can download Silhouette Studio from https://www.silhouetteamerica.com/software/ss/download. Once you open the app, just go to File > Open and select your SVG to check it out. Get Cricut Design Space from https://design.cricut.com. To test your image, open the app, click Upload image, select Browse, and double-click the image to open it.
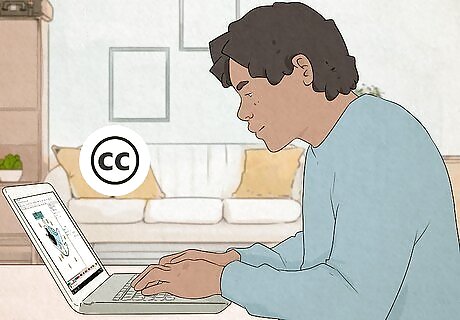
Decide how to license your SVG file. There are many options for licensing your files. Many people on Etsy allow buyers to use SVG files however they wish—for personal and commercial use. Others only allow personal use, but offer a paid commercial license customers can purchase if they want to sell their own products with your designs. You'll want to state your license terms clearly in the description of your product on Etsy (or wherever you plan to sell your work). Check out the Creative Commons FAQ for tips on selecting the right license for your work at https://creativecommons.org/faq. You can even find text to use in your licenses. In addition to detailing your license terms in the ad for your SVGs, create a text file (in an app like Notepad or TextEdit) that contains the full license terms, and include that text file in the ZIP file you create that contains your SVG file(s).
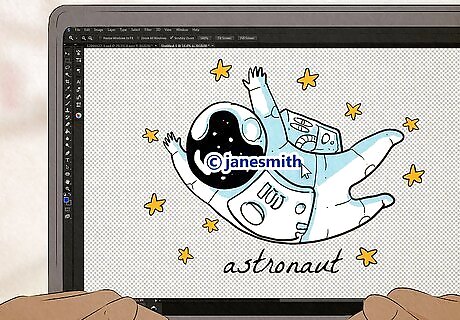
Make a creative ad photo. Nobody will want to buy your SVGs unless they can see them in action! You can use your preferred graphic design software, such as Adobe Photoshop, Gimp, or Canva to create an attractive image using your art as the basis. Check out other peoples' Etsy products for ideas on presentation. Even if you just upload a plain JPG or PNG of your SVG design, someone can download that file and convert it to an SVG on their own in Inkscape without paying you! Use an app like uMark Online or PowerPoint to easily add watermarks to photos so nobody can steal your work.
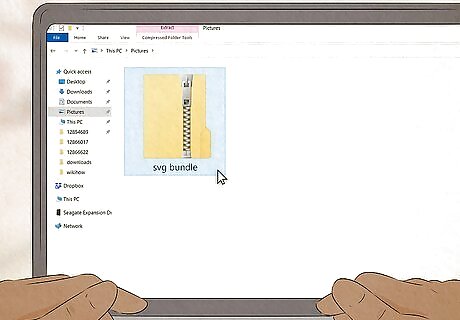
Create a ZIP file that contains the SVGs. When you sell digital files on craft marketplaces, buyers will be able to download a file containing their purchase. Rather than just including a single SVG file (or set of SVG files) and a text file containing your license info, you may also want to include the same image in other formats, such as PNG or GIF, in case they want to use those as well. To include multiple files in a single package, compress the files into a ZIP file, which is easy to unpack on any operating system.







Comments
0 comment